Assembling a high‑performance PC in the late 2000s was as much about personal craftsmanship as it was about raw speed. This build brings together two of the most respected components of that era: the Antec P180, a case known for its silent‑focused dual‑chamber design and steel‑plastic hybrid construction, and the ASUS Maximus II Formula, a premium P45 motherboard built for overclockers who wanted full control over their Core 2 processors. Paired with two AMD Radeon HD 5870 graphics cards, this system aims to capture the spirit of enthusiast computing at a time when PC building was defined by experimentation, tuning, and hands‑on problem‑solving.
“Anyone can buy a computer, but building one is different it’s the moment the machine stops being a product and becomes something you shaped with your own hands.”
This worklog documents the entire process from planning and preparation to GPU installation and cable management highlighting both the technical steps and the personal satisfaction of building a machine by hand.
Parts List
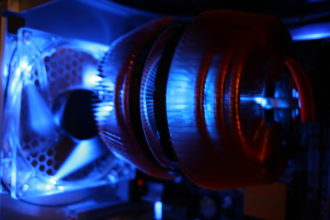
Cooling: Air Cooling or Early Water Loop The P180 was designed for quiet air setups but could be adapted for custom cooling with some creativity.
Case: Antec P180 A quiet‑focused, dual‑chamber mid‑tower with thick panels, sound‑dampening layers, and a unique lower PSU compartment.
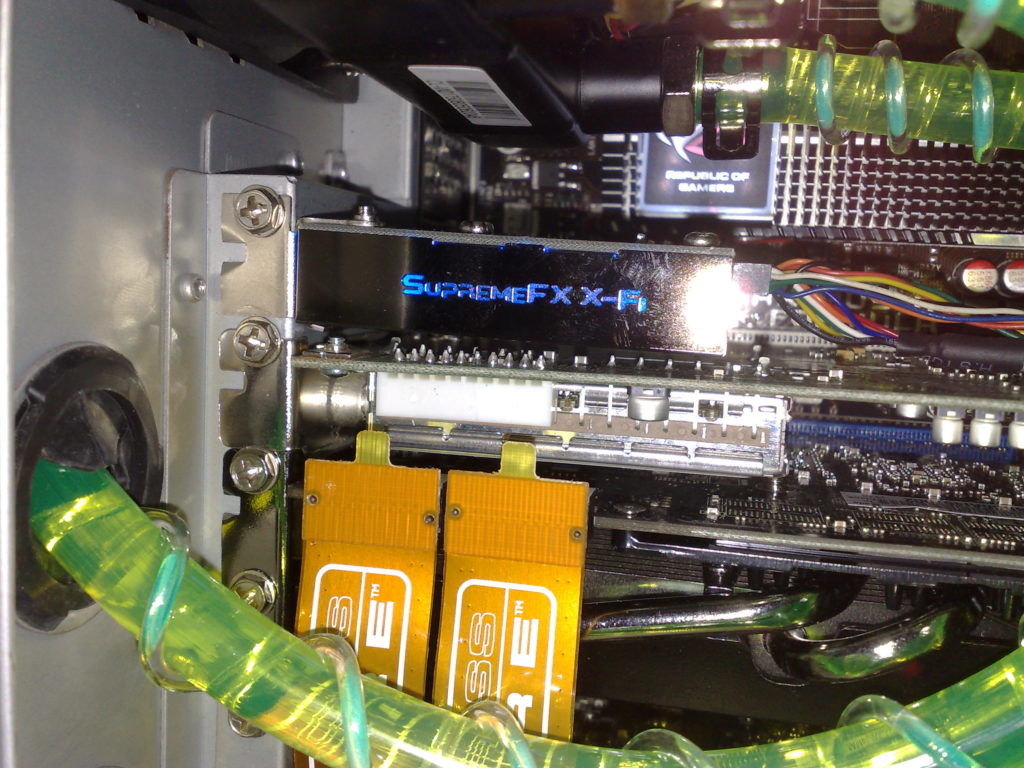
Motherboard: ASUS Maximus II Formula (Intel P45) A Republic of Gamers board designed for Core 2 overclocking, featuring strong power delivery, advanced BIOS options, and excellent stability.
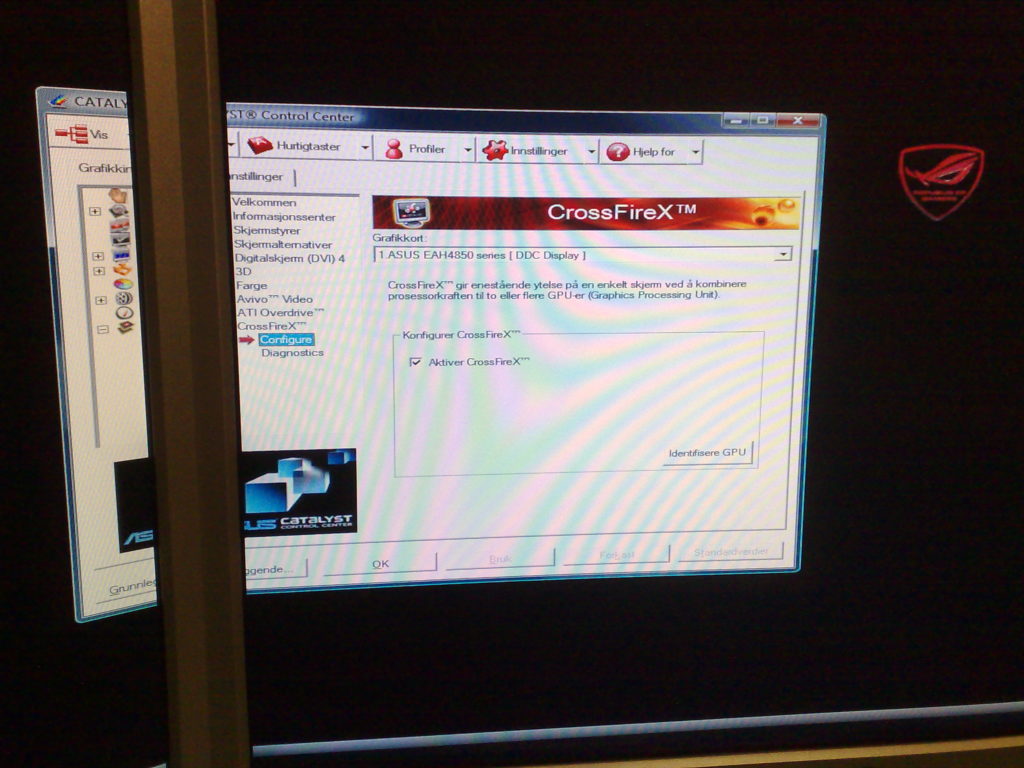
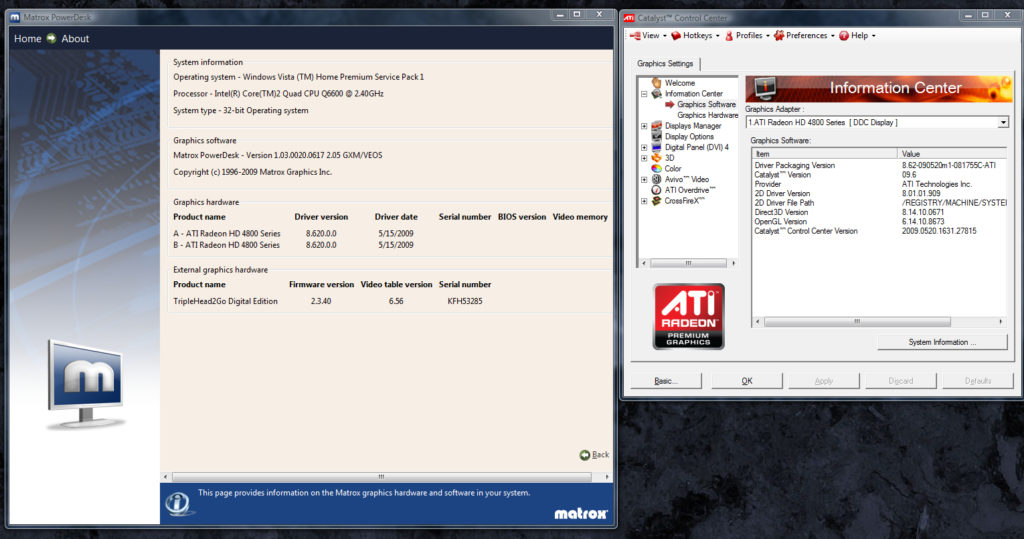
Graphics: 2× AMD Radeon HD 5870 A powerful CrossFire setup delivering top‑tier DirectX 11 performance for the time.
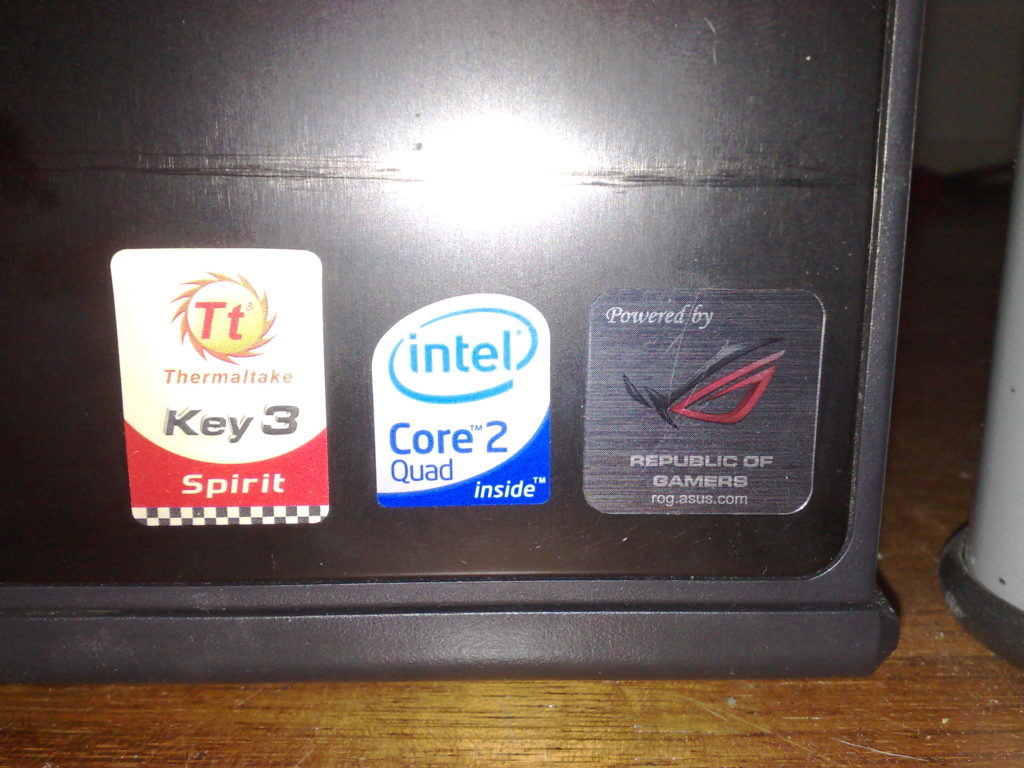
CPU: Intel Core 2 Quad or Core 2 Duo (LGA775) The natural pairing for the P45 chipset, offering strong overclocking potential.
Memory: DDR2 Performance Kit Typically 4–8 GB of high‑frequency DDR2 for enthusiast builds.
Storage: HDD or Early SSD Mechanical drives were still dominant, though early SSDs were beginning to appear.
Power Supply: High‑Wattage Modular Unit Necessary for powering two HD 5870s and an overclocked LGA775 CPU.

Planning the Build
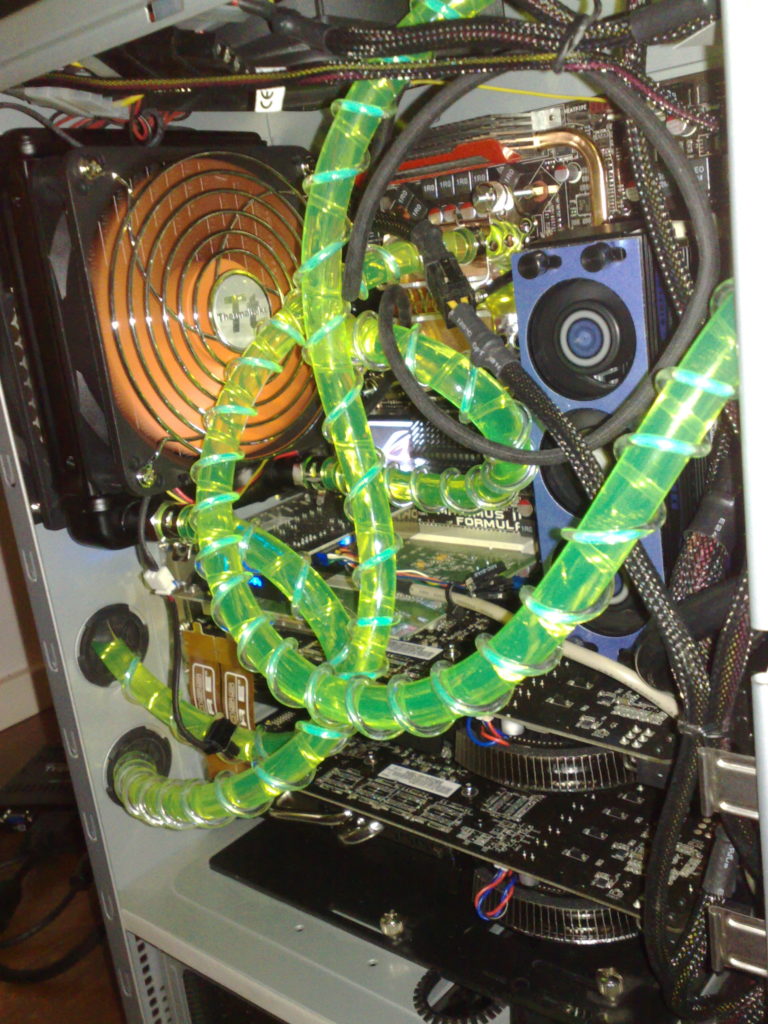
The Antec P180 requires a bit more planning than open‑layout cases of the time. Its dual‑chamber design isolates the PSU and drives in the lower compartment, while the upper chamber houses the motherboard and GPUs. This layout improves thermals and noise but demands careful cable routing.
Key goals for this build:
Efficient airflow to support two HD 5870s in CrossFire
Quiet performance using the P180’s sound‑dampened structure
Strong overclocking with the Maximus II Formula’s BIOS features
Clean cable routing despite the case’s limited cutouts (typical of pre‑2010 designs)
Preparing the Case
The P180’s internal layout rewards preparation:
- Remove both side panels and the drive cages.
- Clean the interior and check all standoff positions.
- Plan cable routes through the lower chamber and behind the motherboard tray.
- Decide whether to use the upper or lower HDD cage depending on airflow needs.
Because the P180 predates modern cable‑management cutouts, routing requires creativity and patience.

Motherboard Assembly
With the Maximus II Formula outside the case:
- Install the CPU into the LGA775 socket.
- Apply thermal paste and mount the cooler.
- Insert the DDR2 memory kit.
- Pre‑connect any rear‑facing headers to reduce strain later.
Once complete, mount the motherboard into the upper chamber of the P180

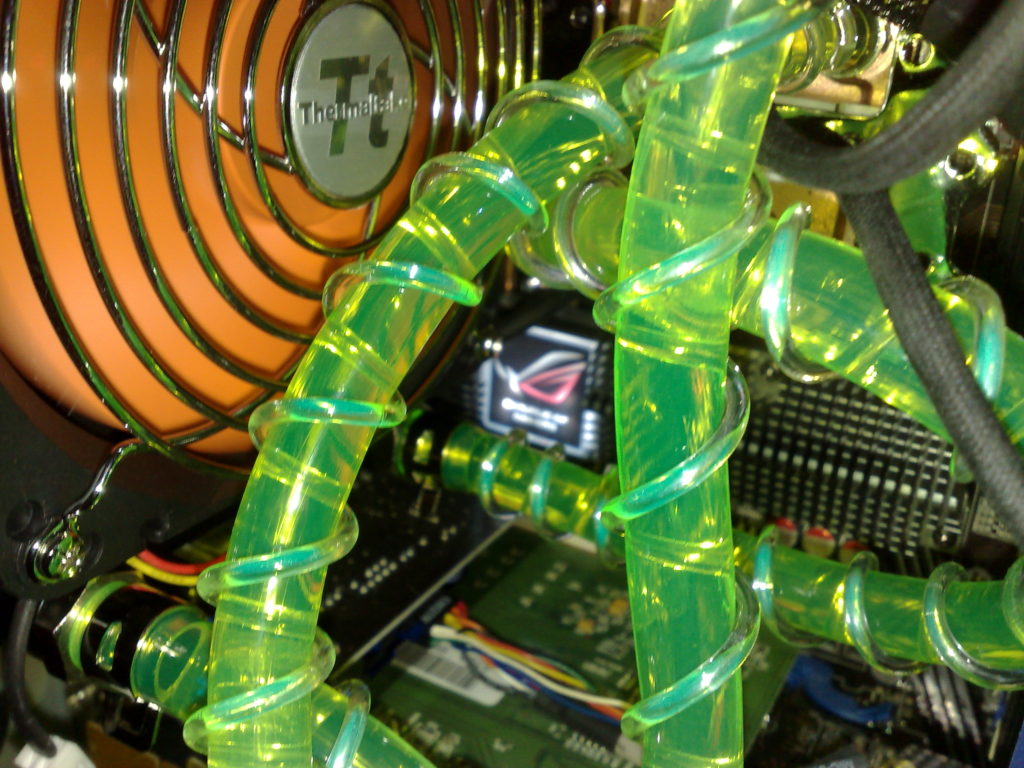
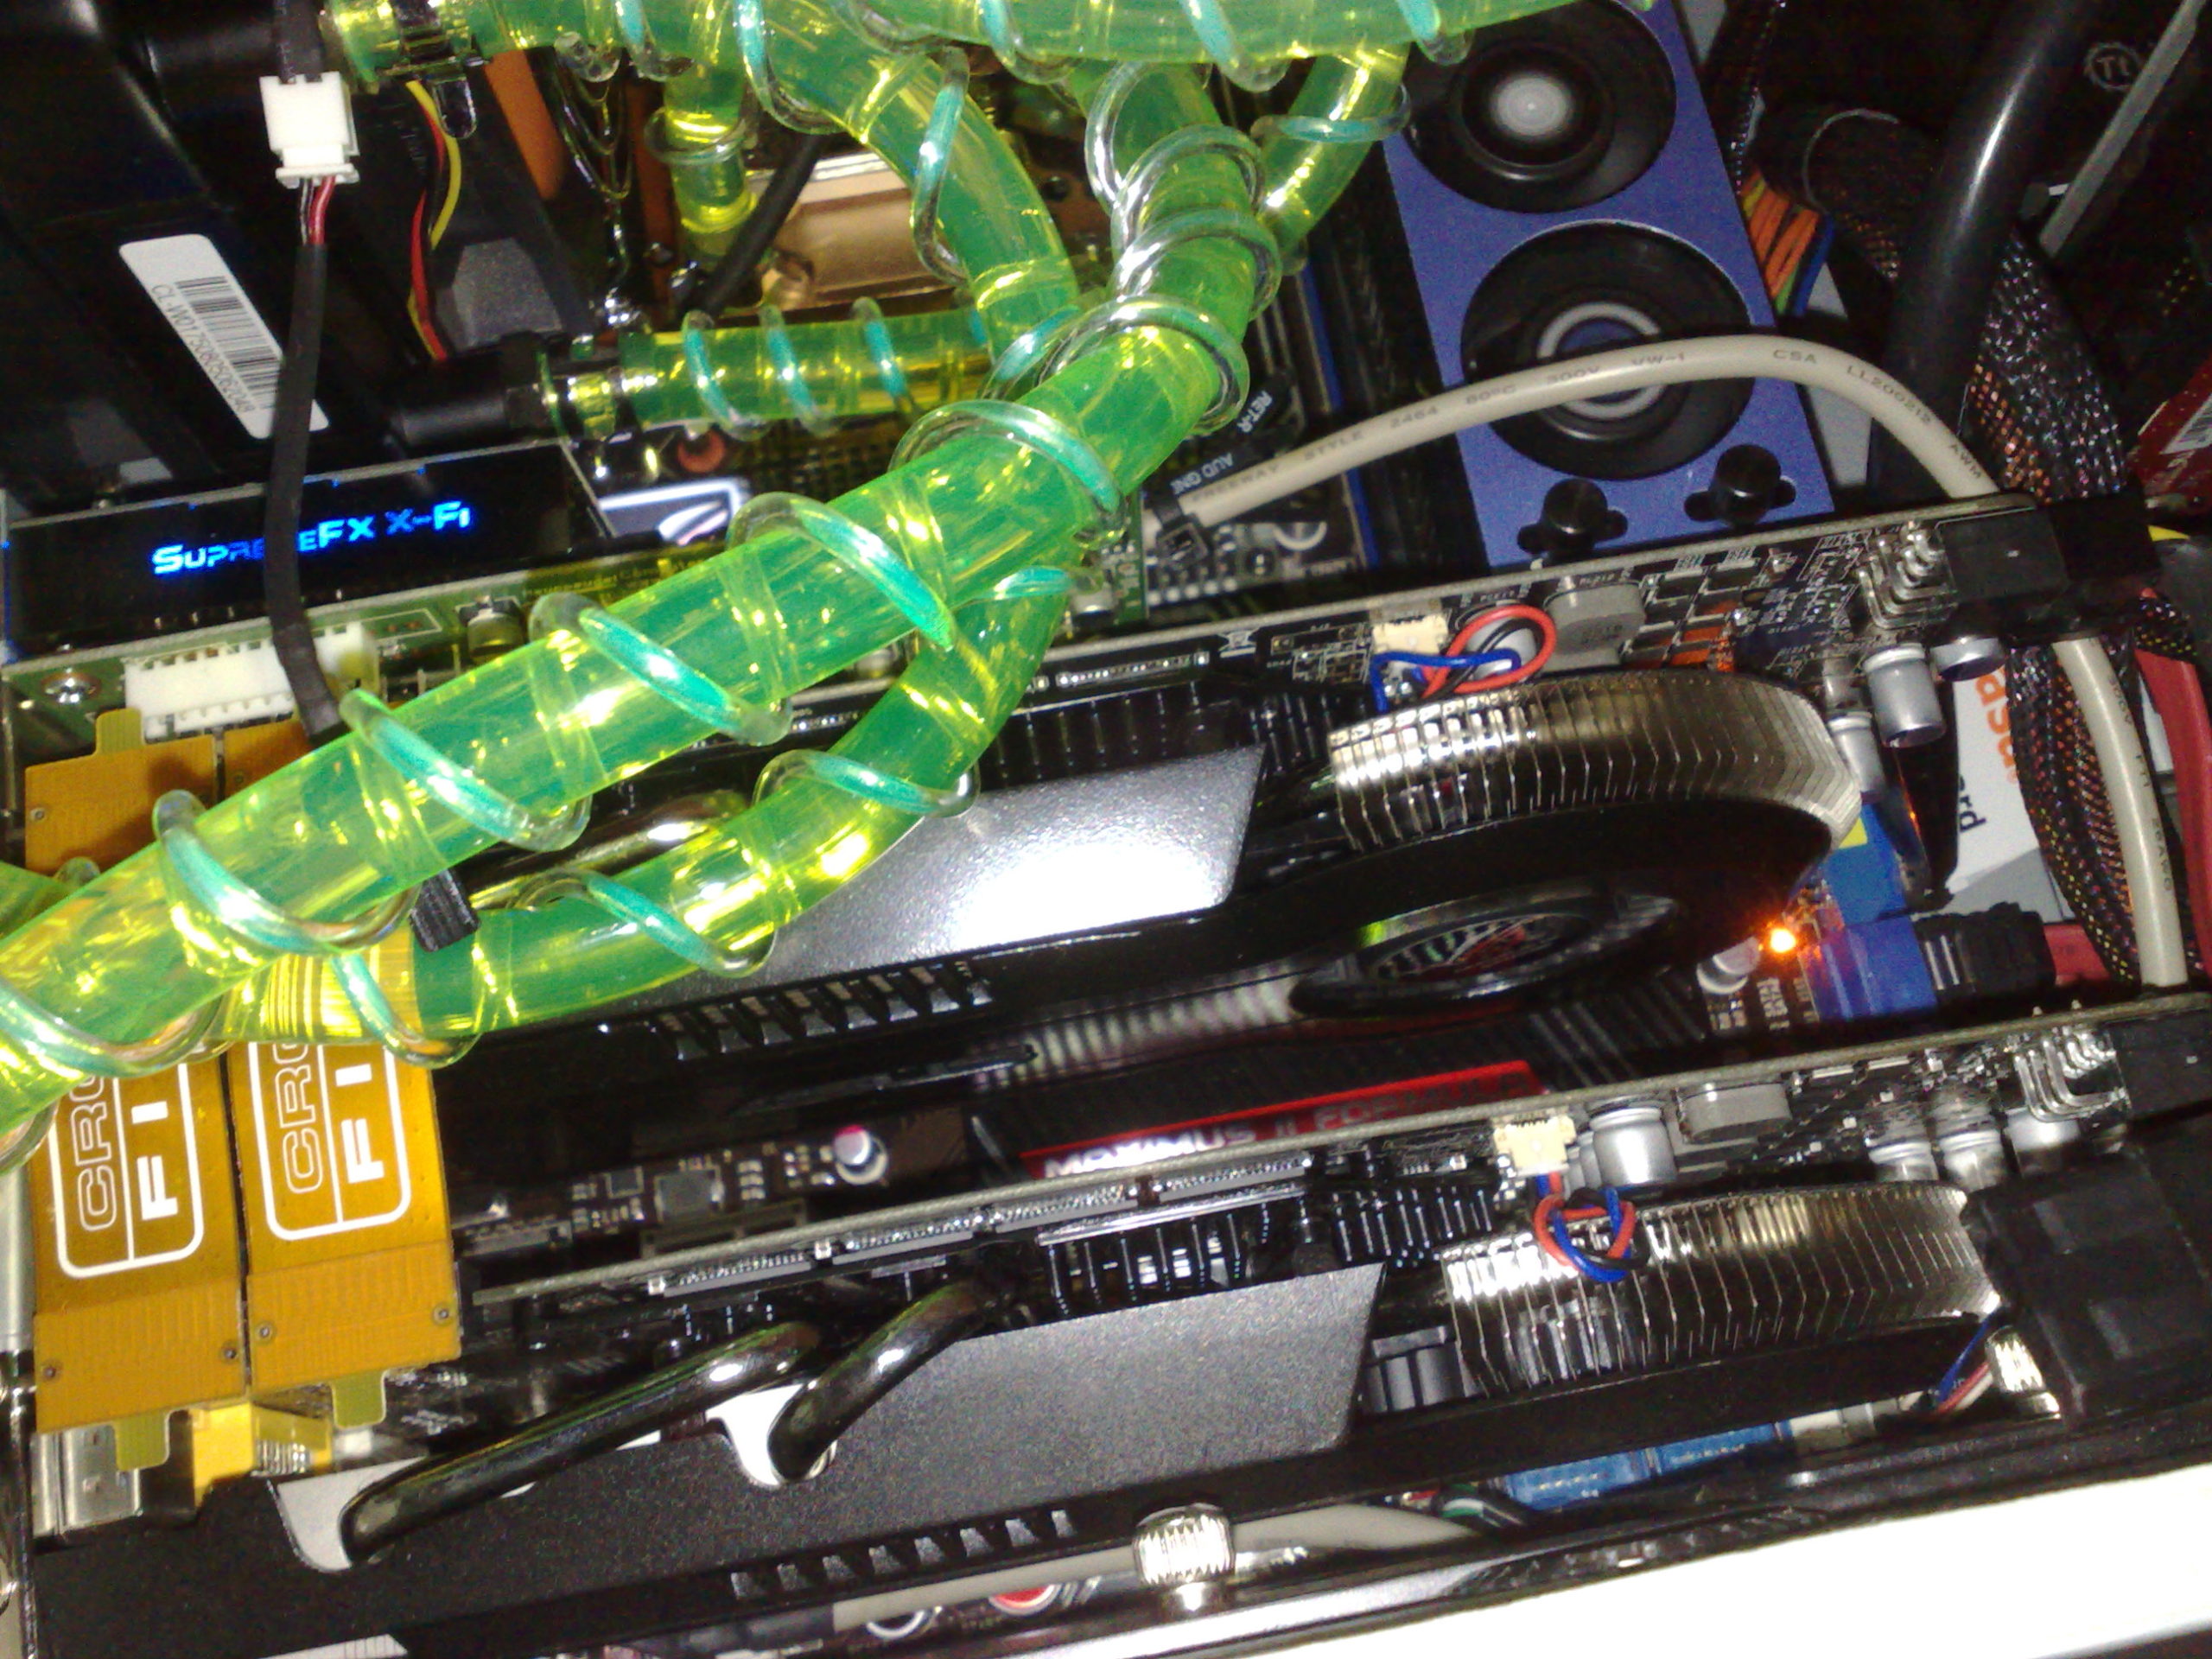
Installing the GPUs (Dual AMD Radeon HD 5870)
The HD 5870s are long cards, but they fit well in the P180’s upper chamber with the lower drive cage removed or repositioned.
Slot Selection
Use the first and second PCIe x16 slots on the Maximus II Formula to ensure:
- Proper CrossFire support
- Adequate spacing between the cards
- Cleaner routing for PCIe power cables
Securing the Cards
- Align each card with its slot and press firmly until the retention clip locks.
- Secure the rear brackets with screws (the P180 uses traditional screw mounts).
- Attach the CrossFire bridge on top of the cards.
Check for clearance between the front fans and the GPU PCBs.
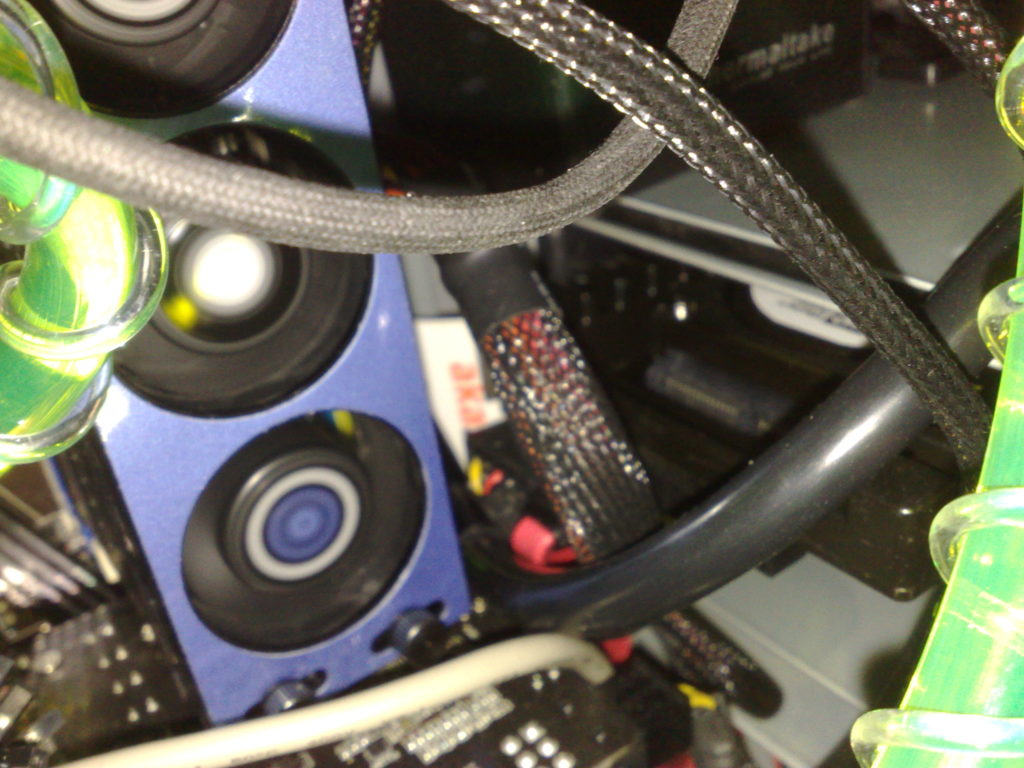
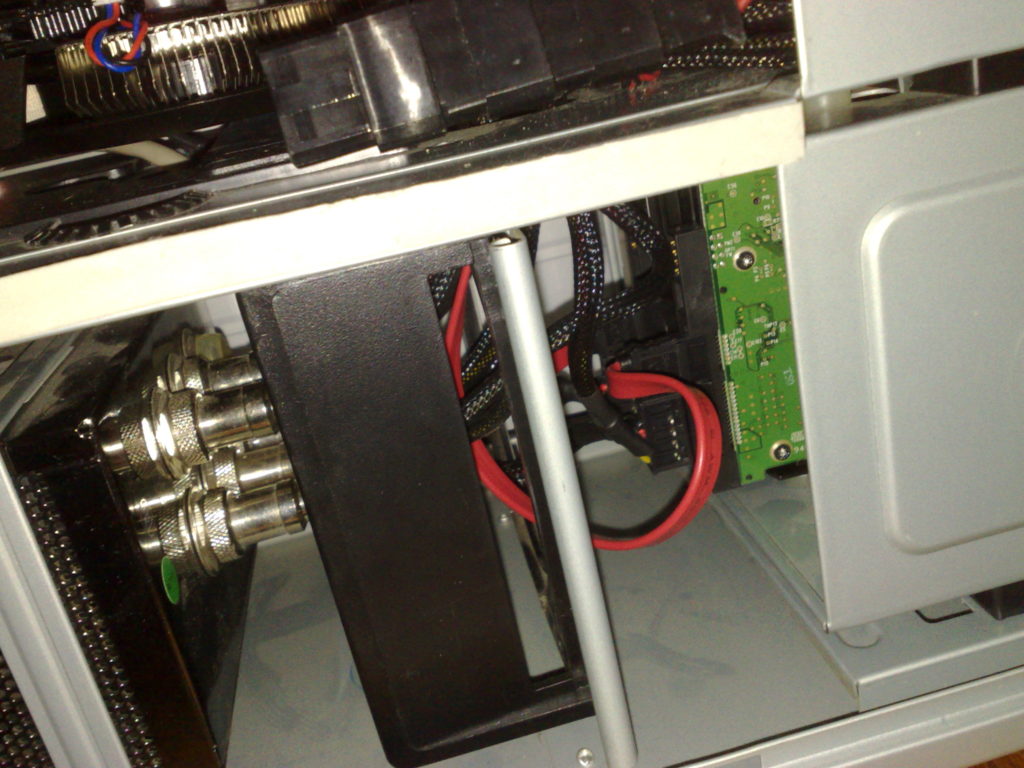
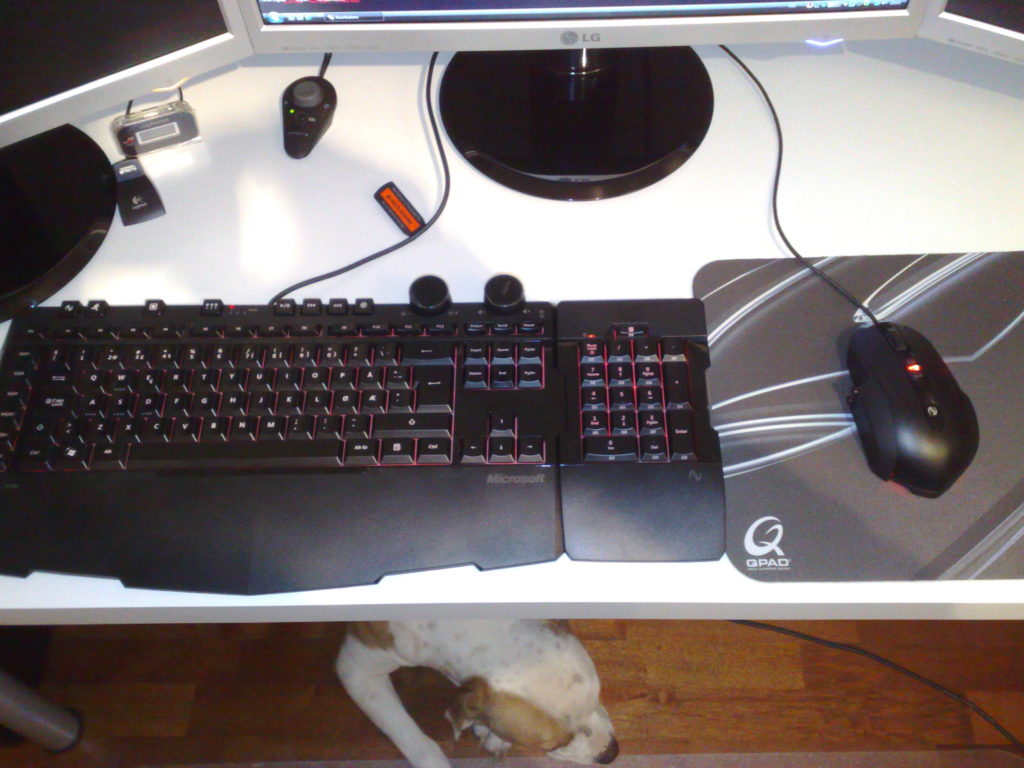
Cable Management in the Antec P180
Cable management is where the P180 shows both its age and its charm. It lacks modern grommets and routing holes, but its dual‑chamber layout allows for clever hiding spots.
Power Cable Routing
Each HD 5870 requires two 6‑pin PCIe connectors. For a clean look:
- Route the PCIe cables from the PSU in the lower chamber up through the central divider.
- Bring them along the back edge of the motherboard tray.
- Feed them into the GPU area from the rear or bottom, depending on cable length.
Short extensions help reduce visible slack.
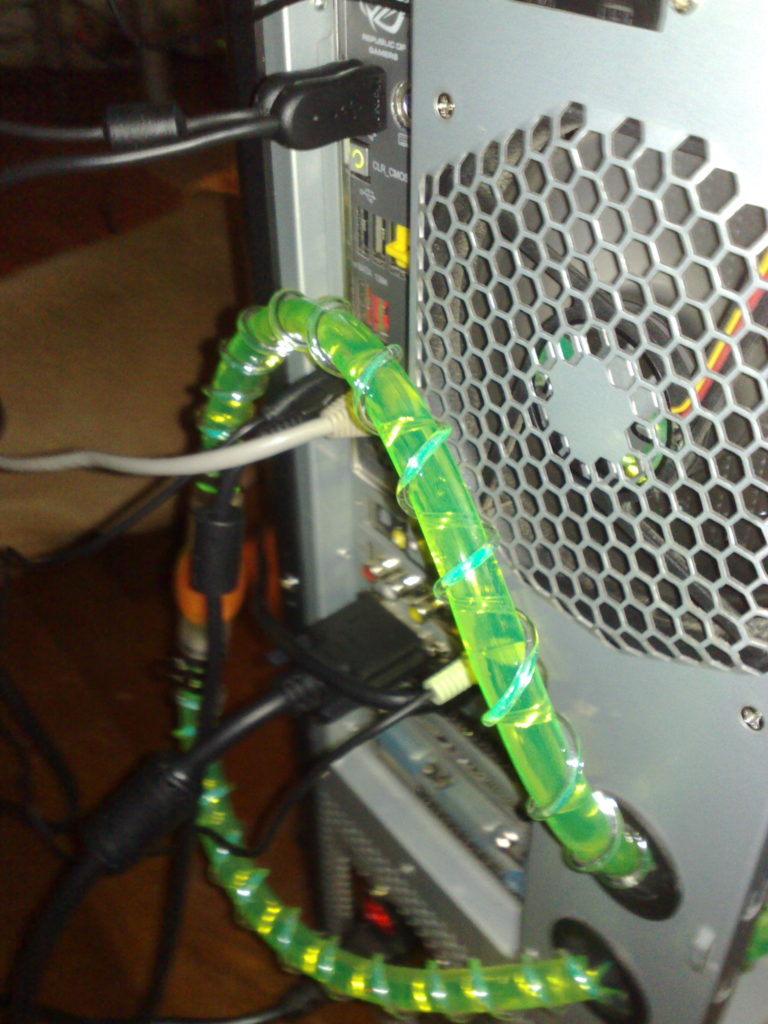
Motherboard and Front‑Panel Cables
- Run the 24‑pin ATX cable along the right side of the tray and tuck excess into the lower chamber.
- Route the 8‑pin EPS cable up the rear corner; some builders extend it to reach the top of the board cleanly.
- Keep SATA and front‑panel cables bundled and tied to the tray’s anchor points.
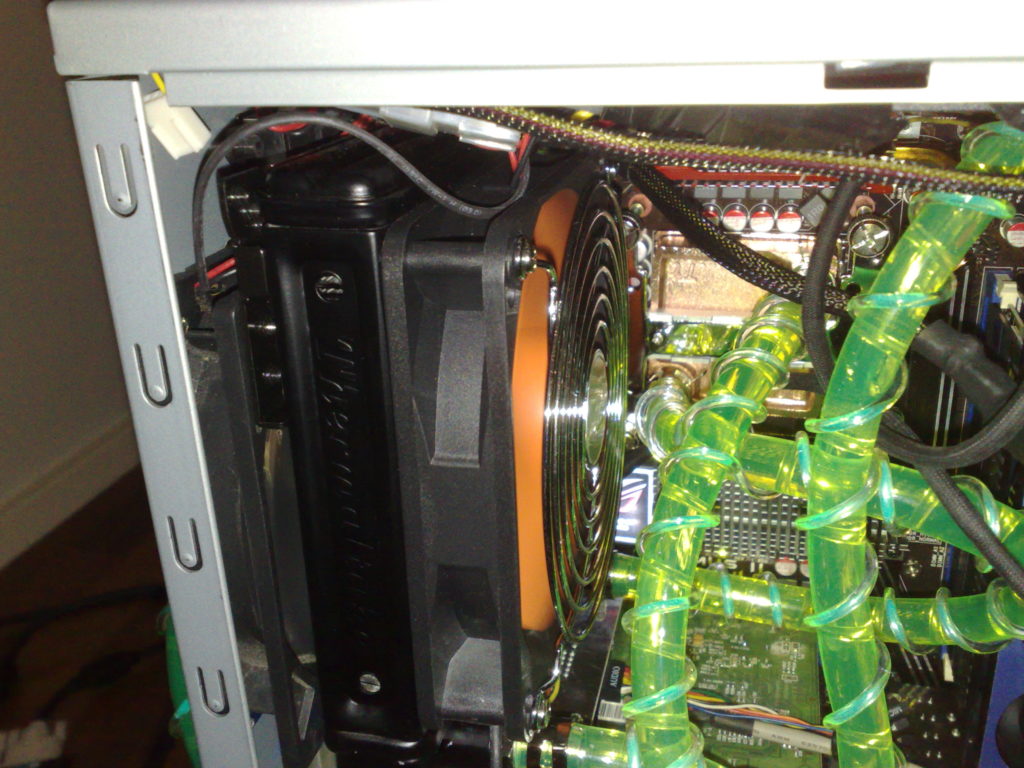
Airflow Considerations
The P180’s airflow is front‑to‑back with optional top exhaust:
- Keep the GPU area clear of cable clutter.
- Ensure the front intake fans have unobstructed paths.
- Use the upper HDD cage only if necessary to avoid blocking airflow to the GPUs.
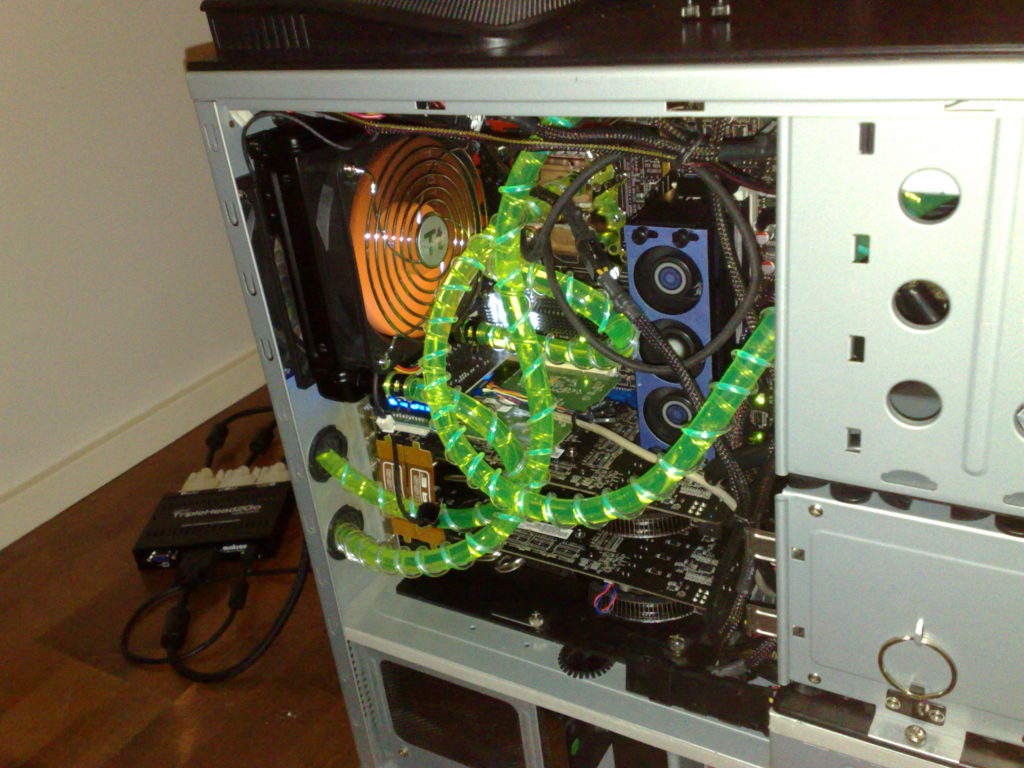
Final Fit and Visual Check
Before powering on:
- Confirm both GPUs are fully seated.
- Ensure no cables touch the GPU fans.
- Verify the CrossFire bridge is secure.
- Check that all power connectors are firmly attached.
A clean, well‑routed interior not only looks better but also improves cooling and stability.