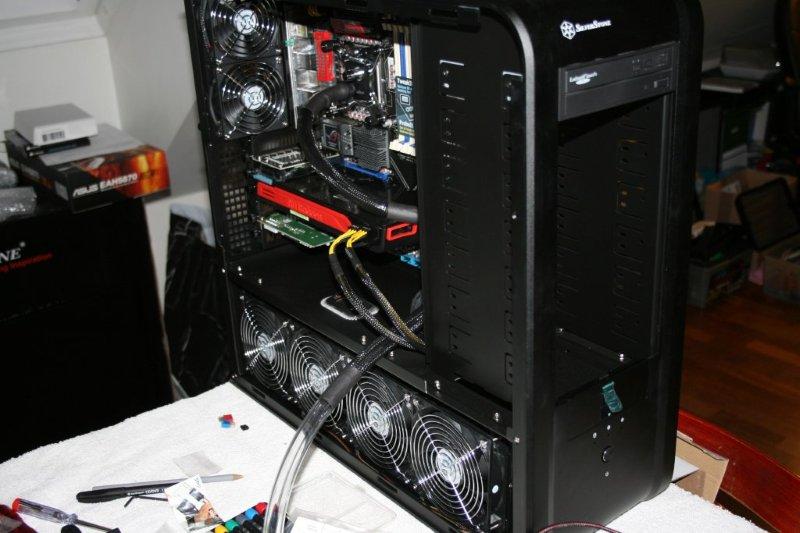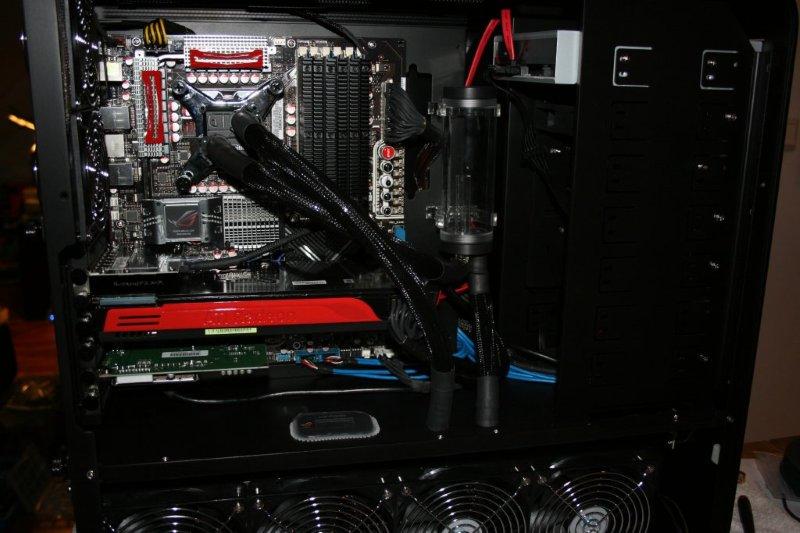
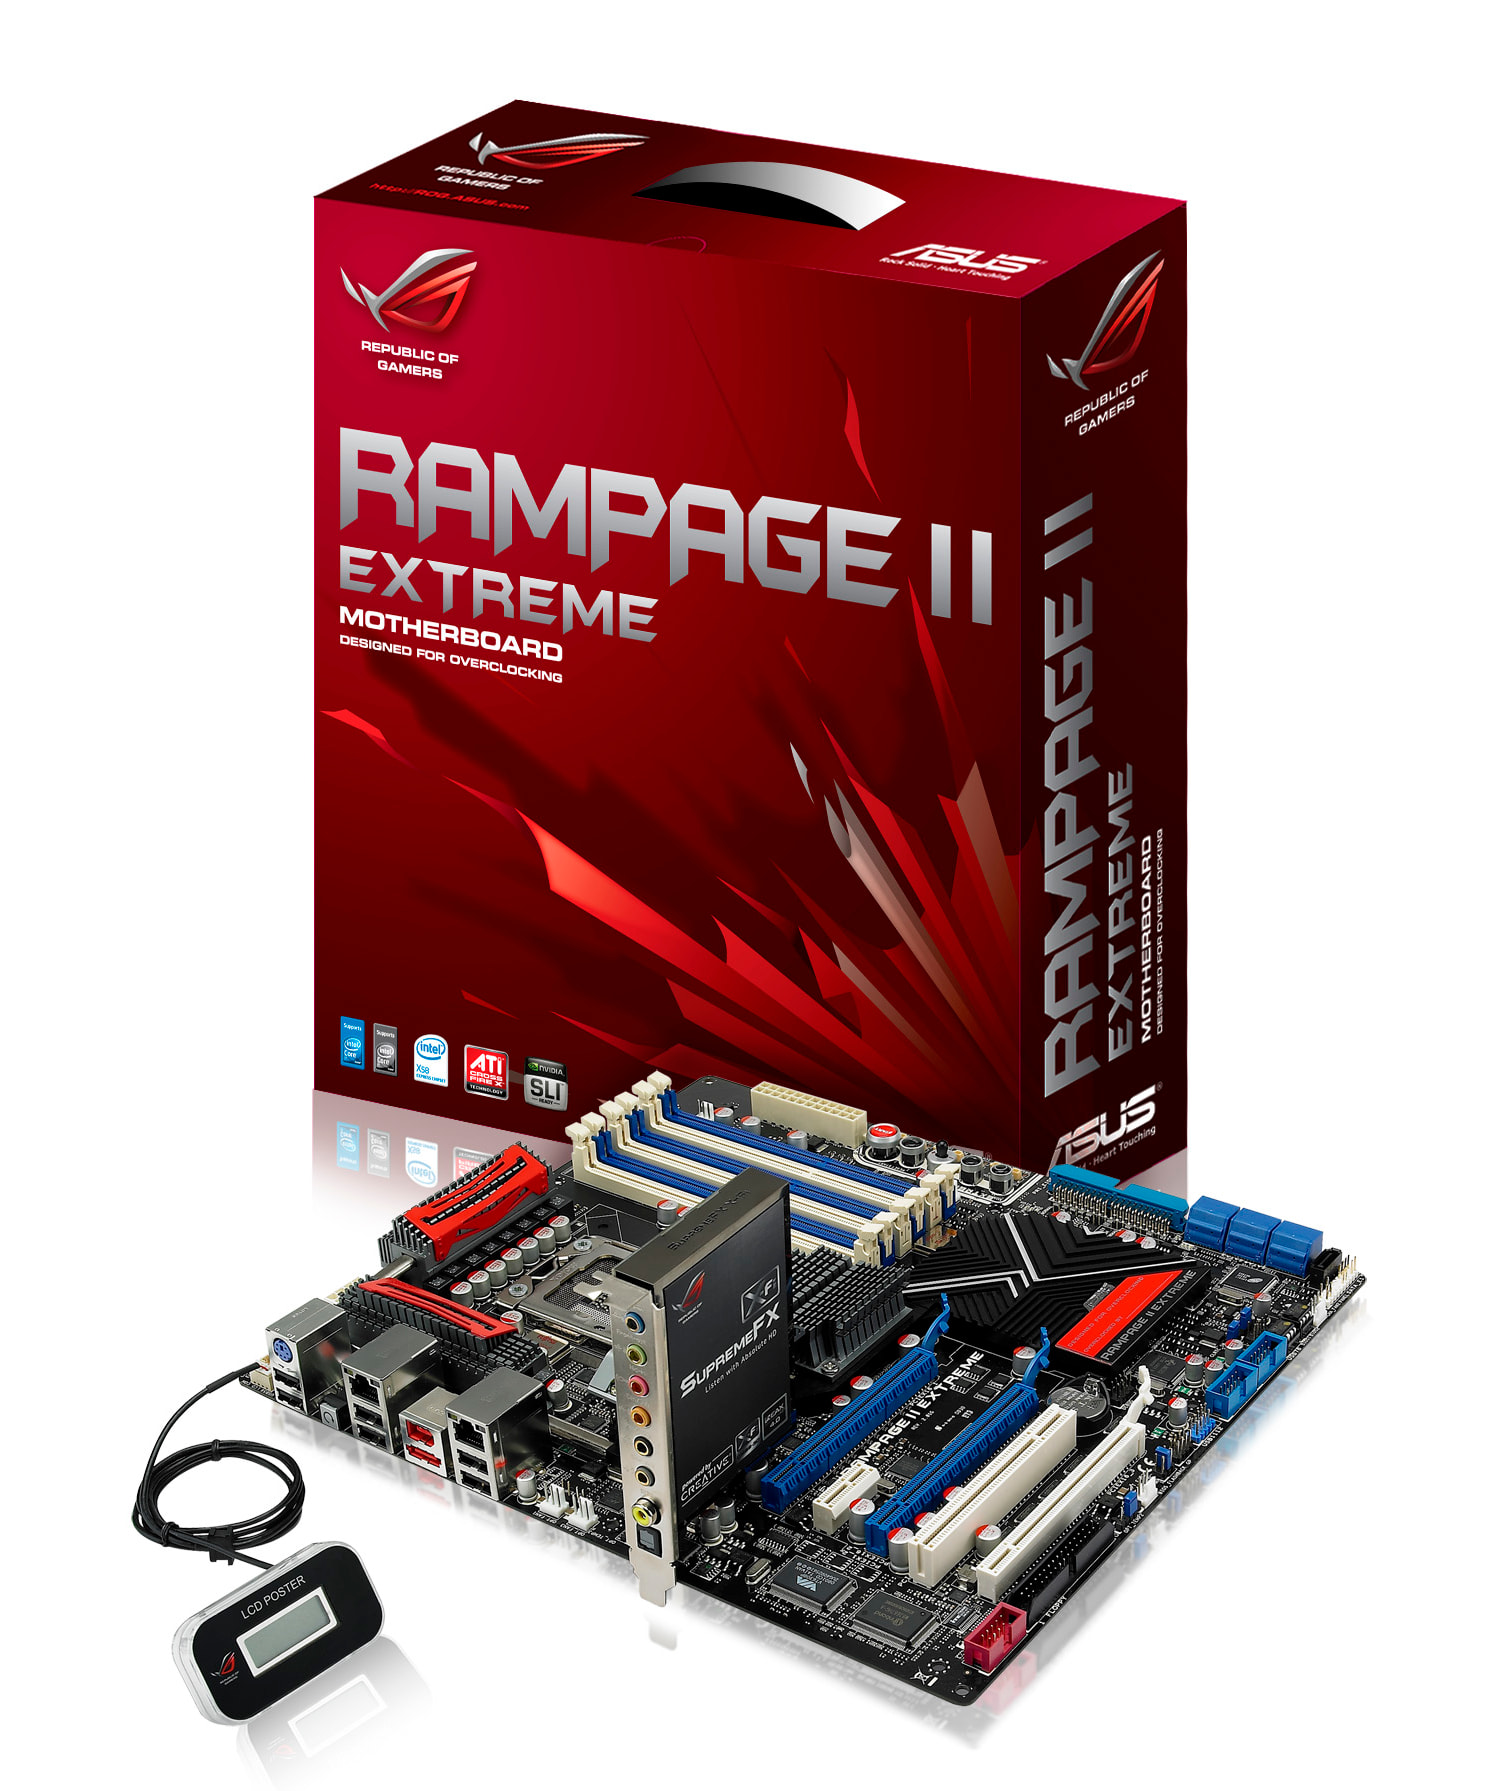
Building a high‑performance PC in 2008 meant pushing the limits of what consumer hardware could do, and this project set out to do exactly that. The goal was to assemble a system that combined cutting‑edge components, premium craftsmanship, and the kind of over‑engineering that defined enthusiast builds of the late 2000s. At the center of the project is the SilverStone TJ07, a legendary full‑tower chassis known for its aluminum construction, clean internal layout, and unmatched modding potential. Paired with it is ASUS’s Rampage II Extreme, one of the most advanced X58 motherboards of its time, built for overclockers and performance enthusiasts who wanted full control over every voltage and timing.
To drive graphics performance, the system uses two AMD Radeon HD 5870 cards, a powerhouse combination that represented the forefront of DirectX 11 gaming when they launched. Together, these components form the foundation of a build focused not only on raw speed, but also on aesthetics, stability, and long‑term upgradability.
This worklog documents the entire assembly process from planning and component preparation to cable management, cooling setup, and final tuning. It captures both the technical steps and the personal experience of putting together a flagship‑class machine during one of the most exciting eras in PC hardware.
“Buying a computer gives you performance; building one gives you ownership. Every screw, every cable, every choice becomes part of a machine that reflects you, not a product pulled off a shelf.”
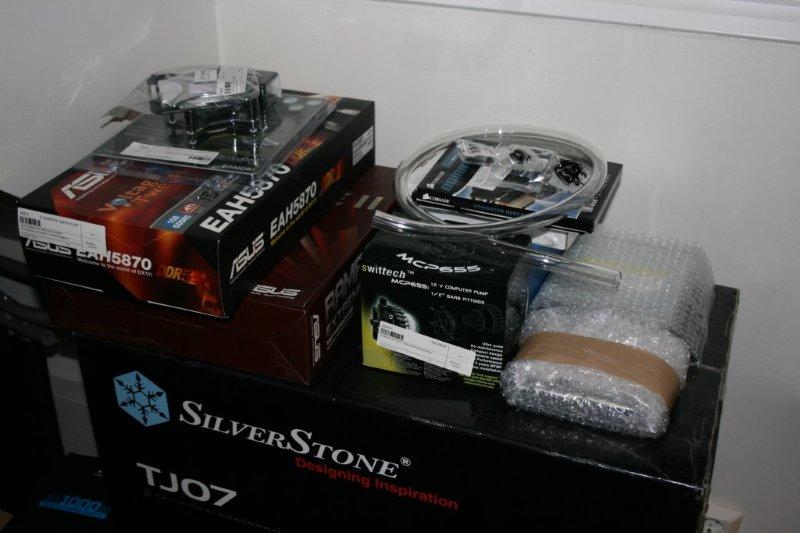
Parts list
This system brings together some of the most iconic enthusiast‑grade components of its time. Each part was chosen for performance, reliability, and the ability to push the limits of overclocking and cooling.
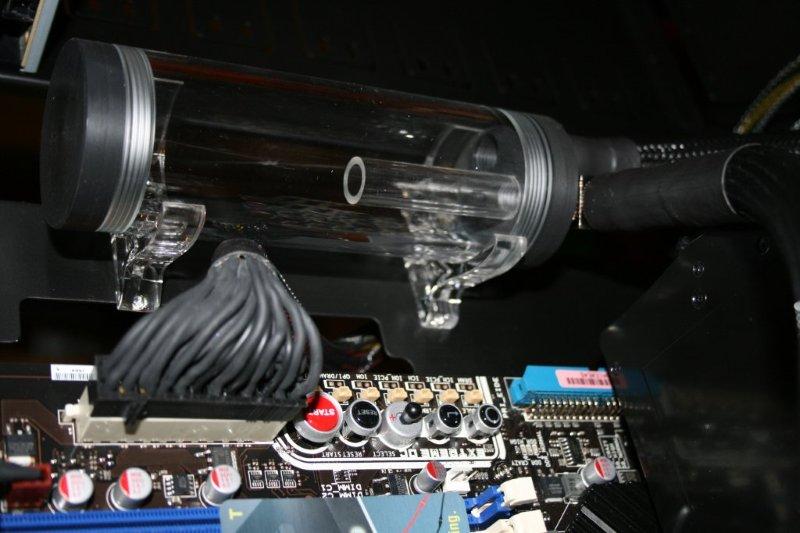
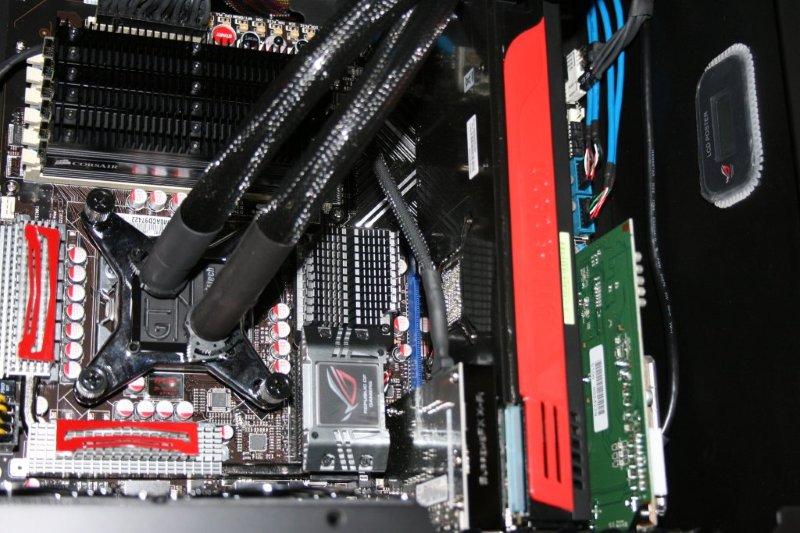
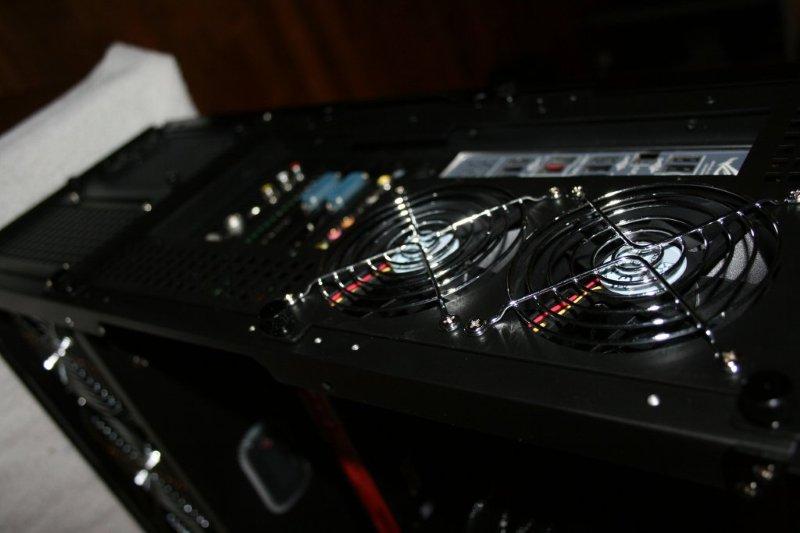
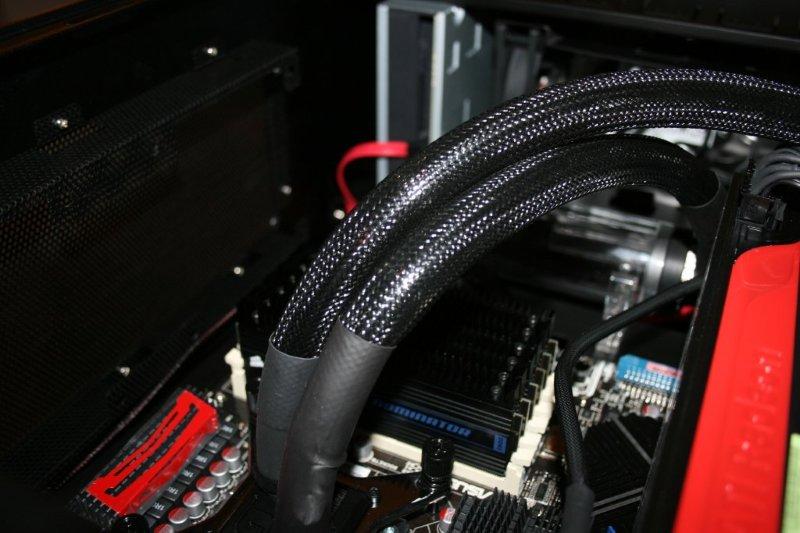
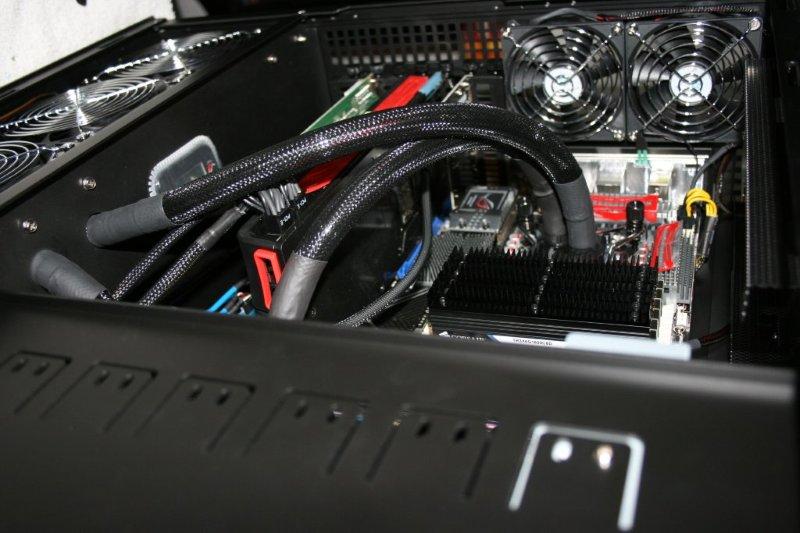
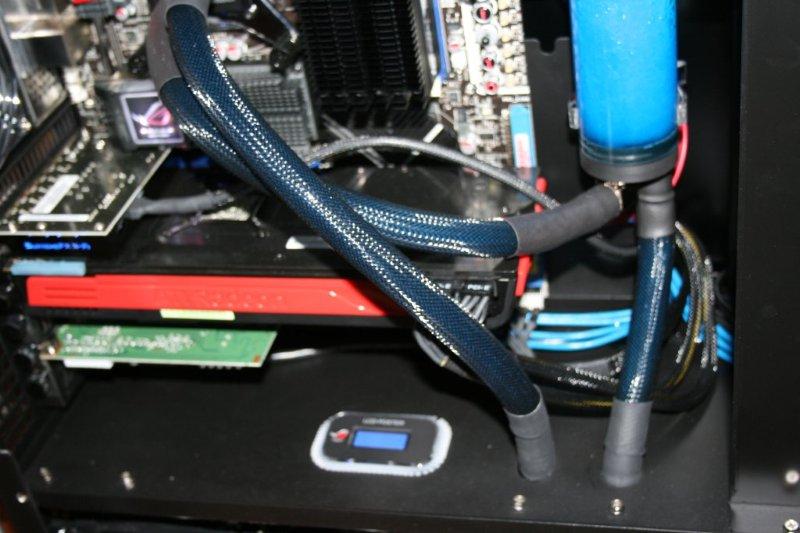
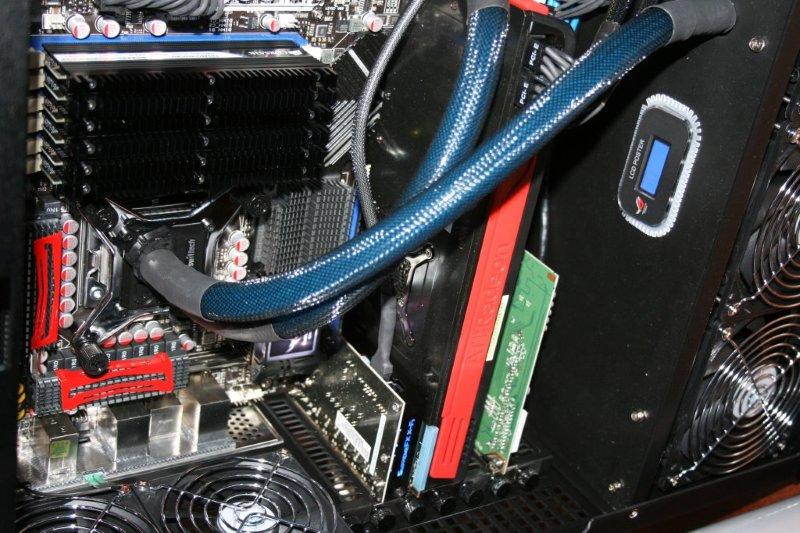
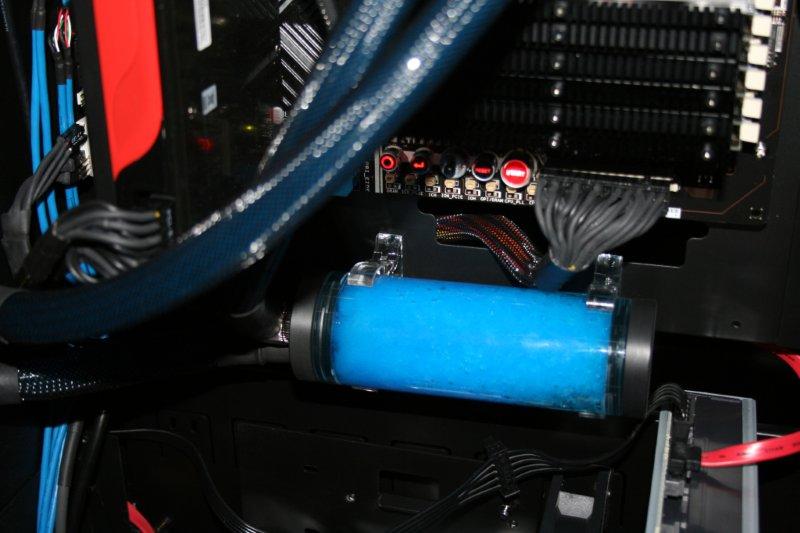
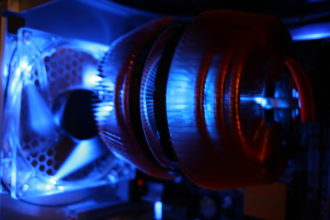
Cooling — Air or Custom Water Loop The TJ07 was practically built for water cooling, so many enthusiasts used it for multi‑loop setups.
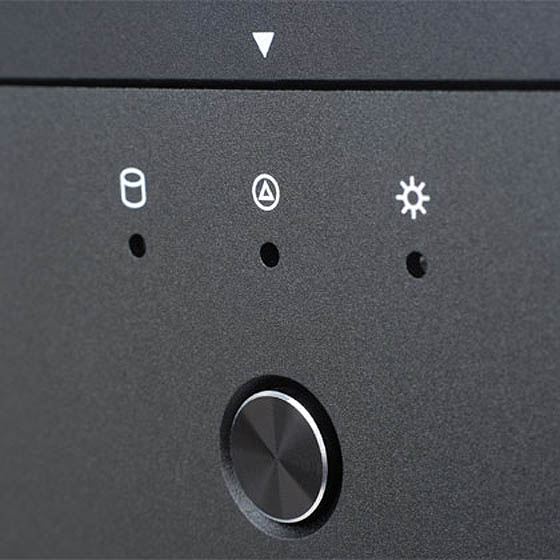
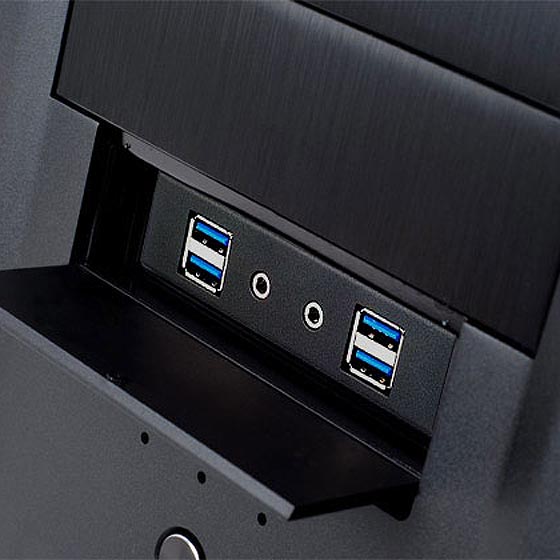
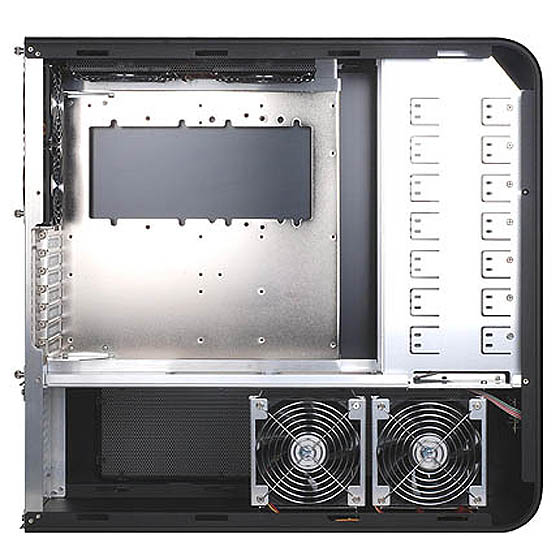
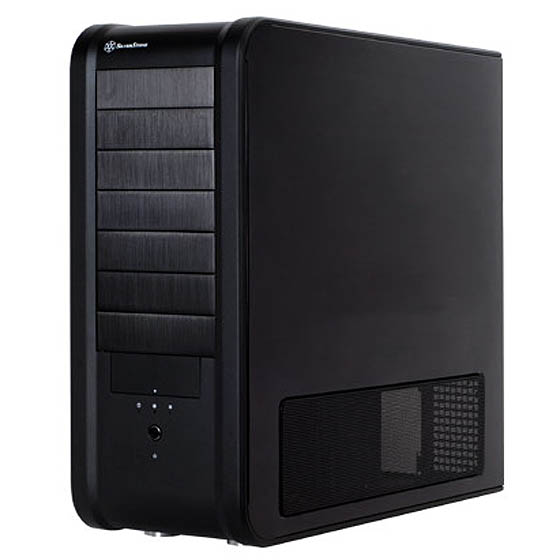
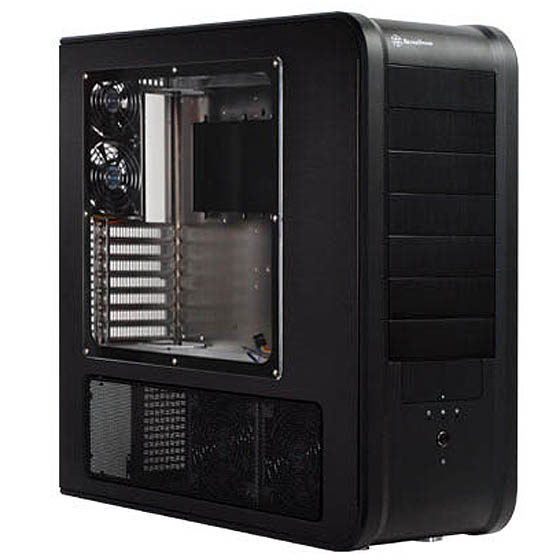
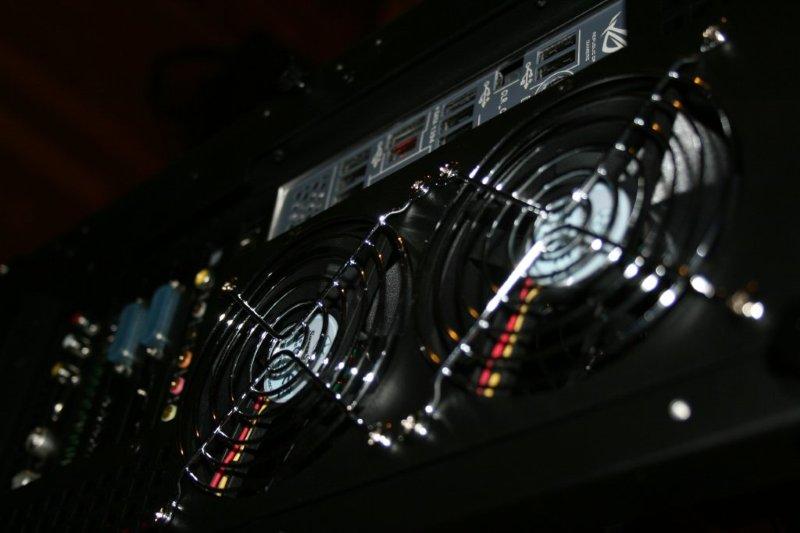
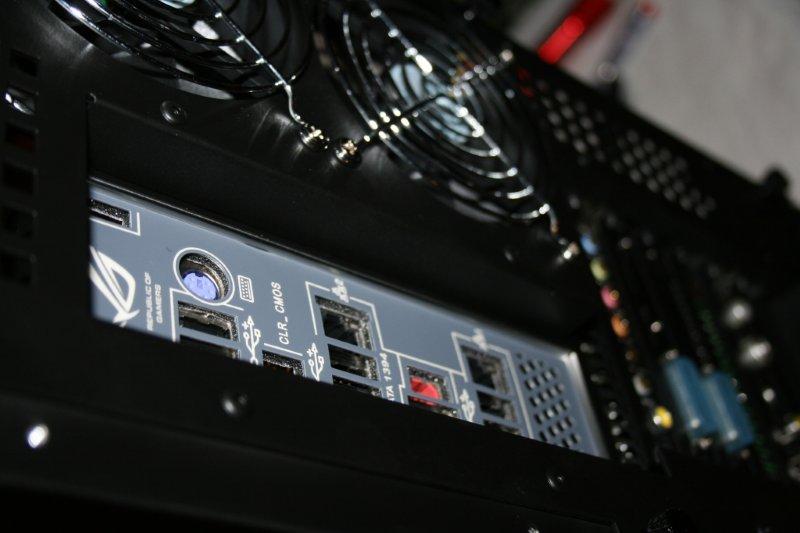
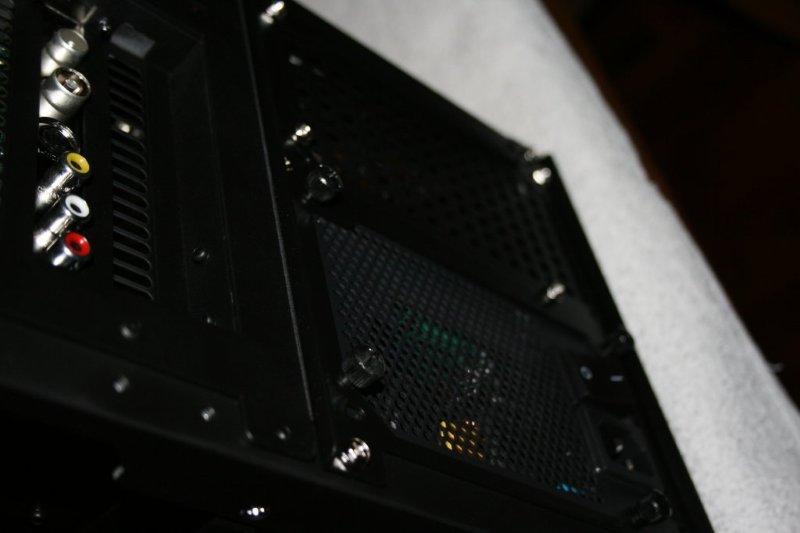
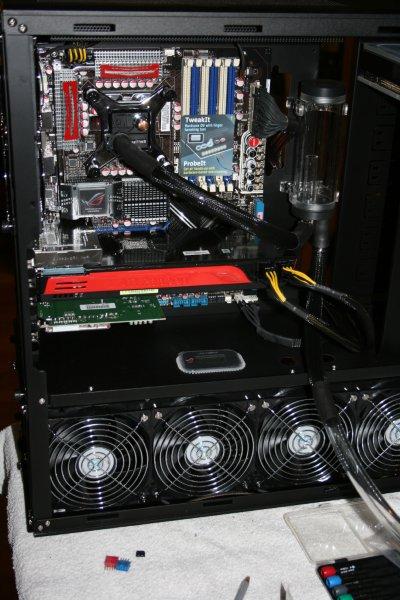
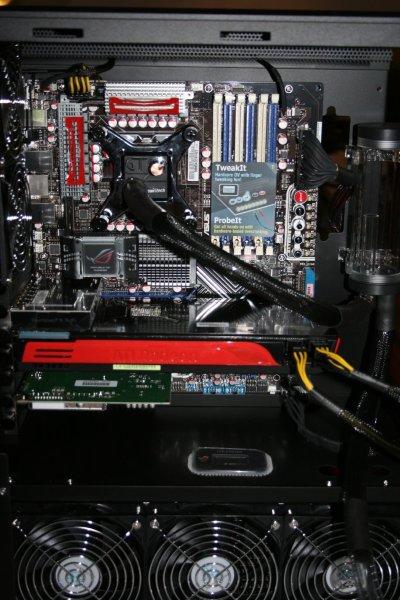
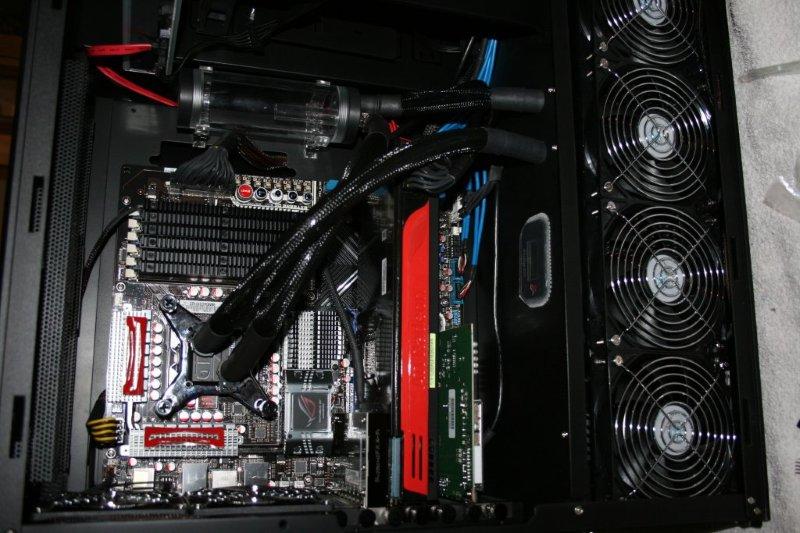
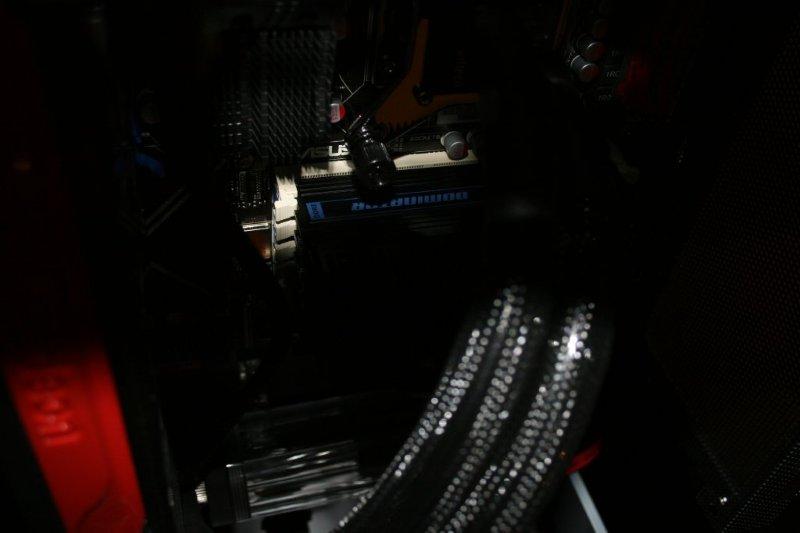
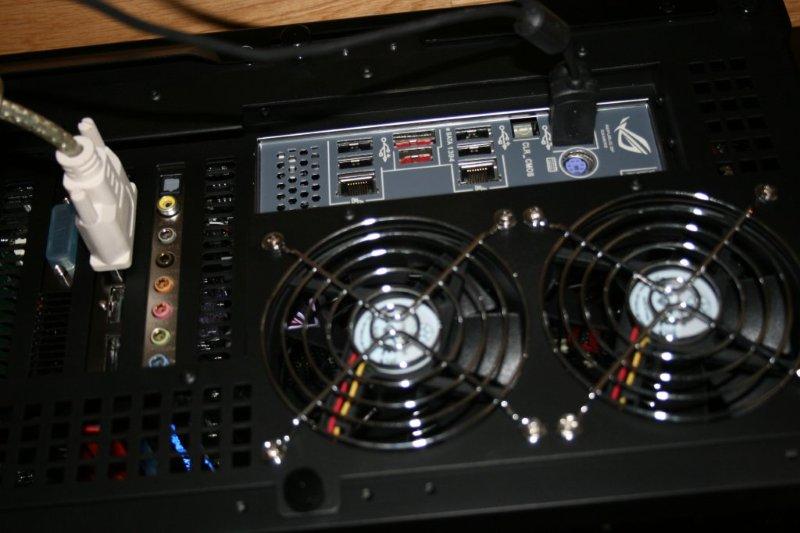
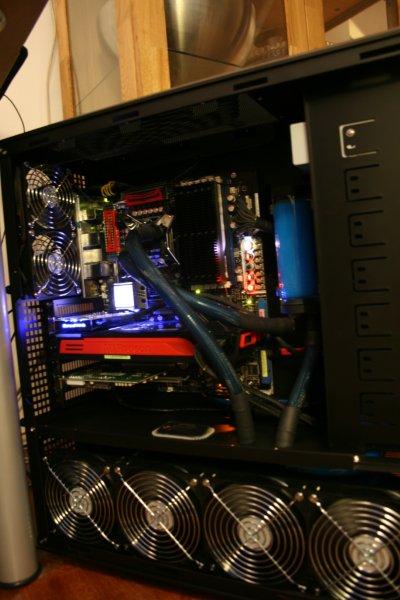
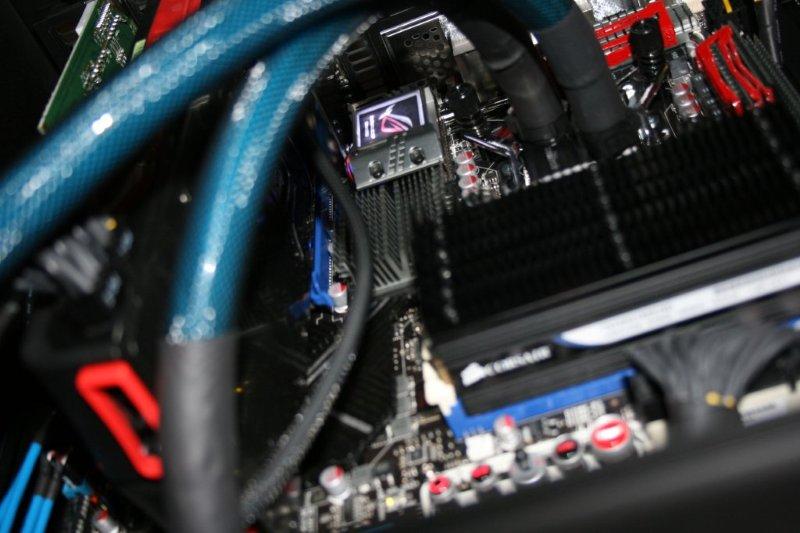
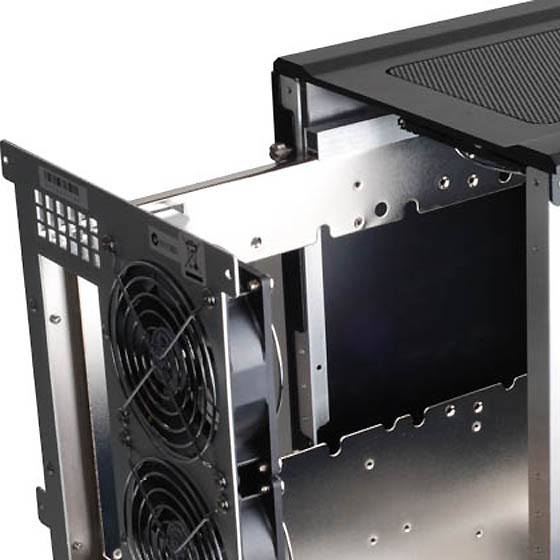
Case — SilverStone TJ07 A full‑tower aluminum chassis famous for its clean internal layout, dual‑chamber design, and unmatched modding potential. A favorite among water‑cooling enthusiasts.
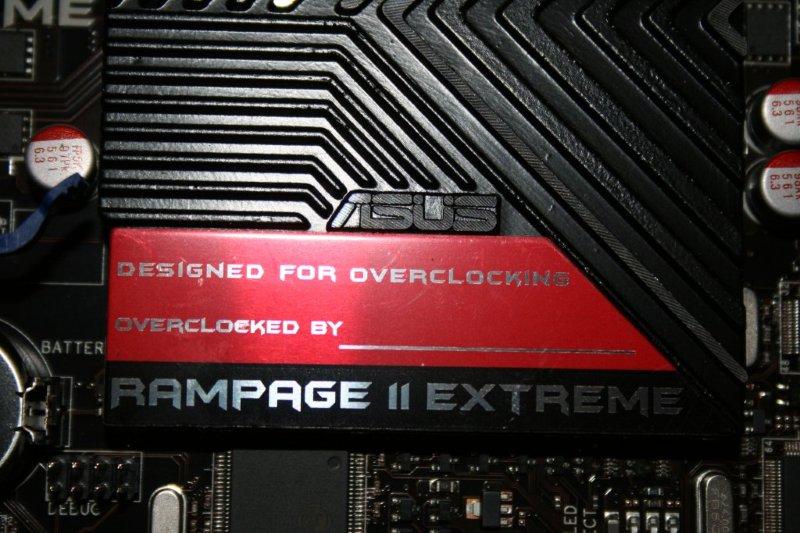
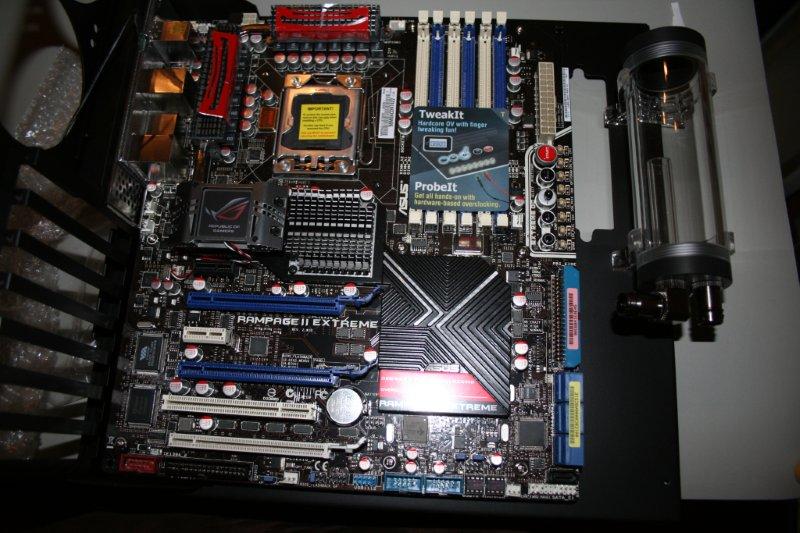
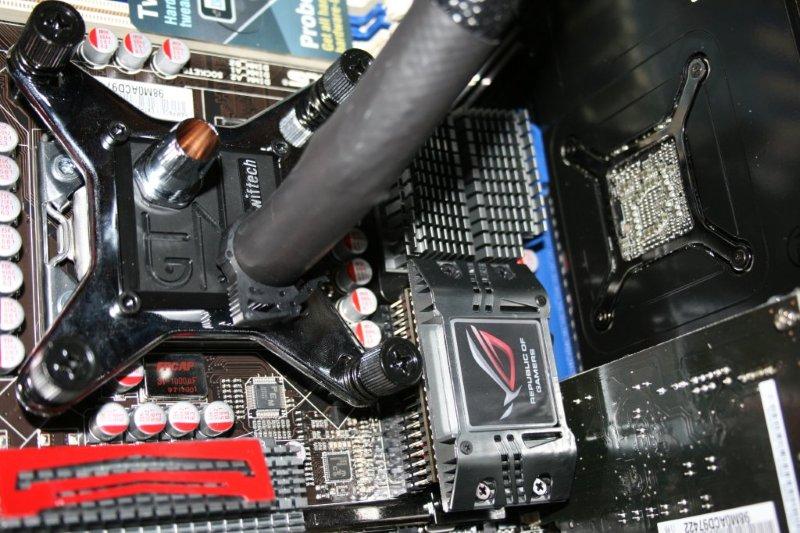
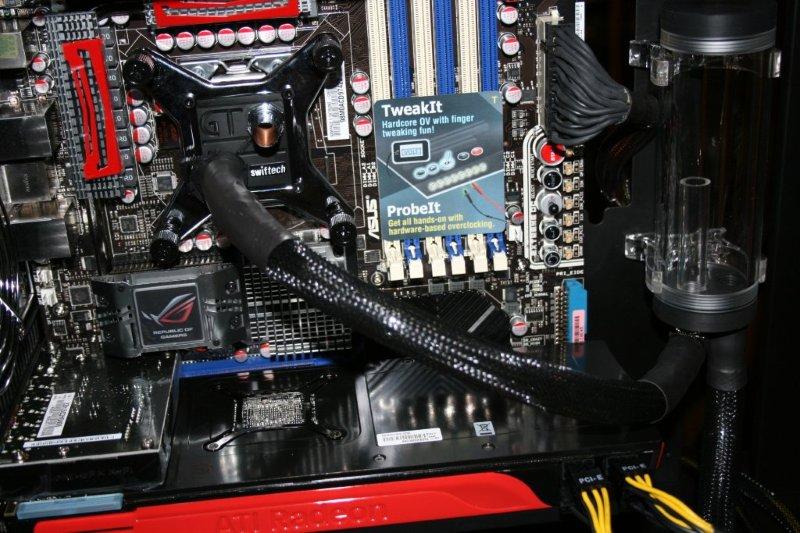
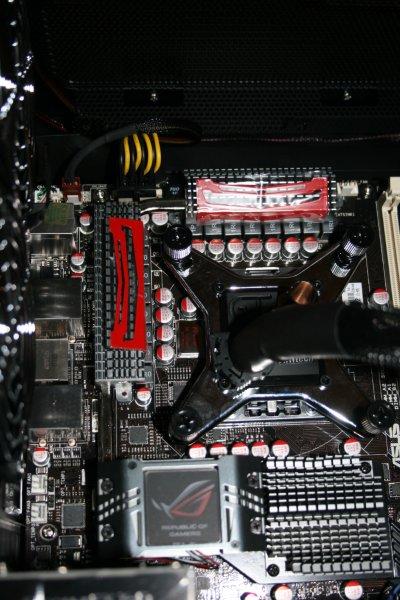
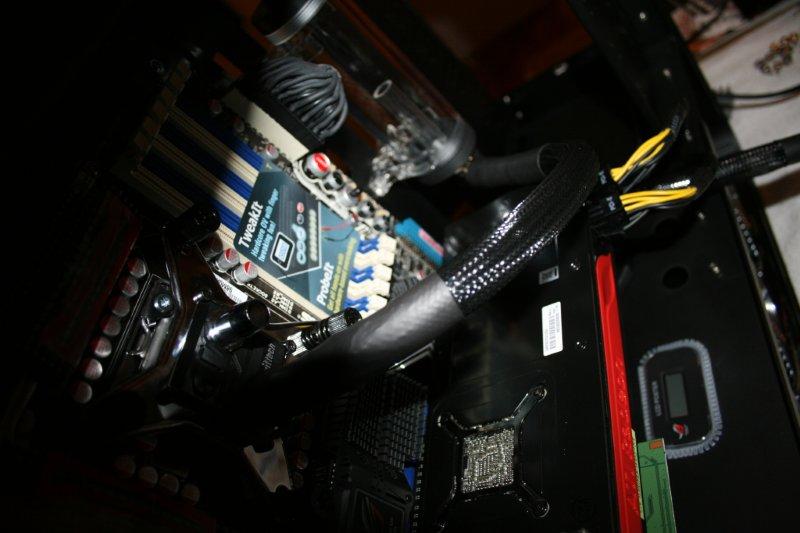
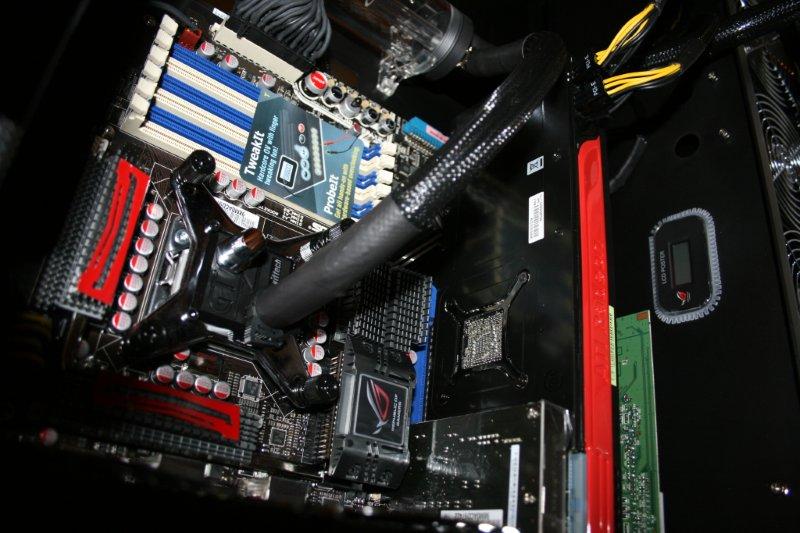
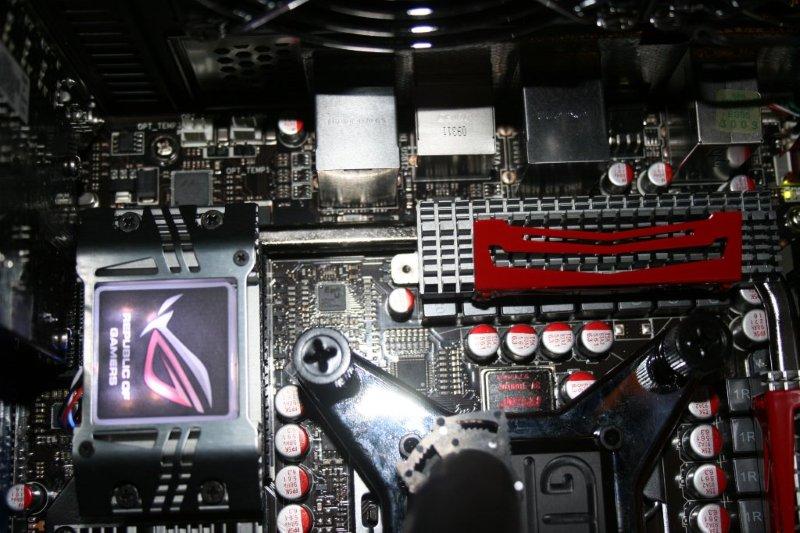
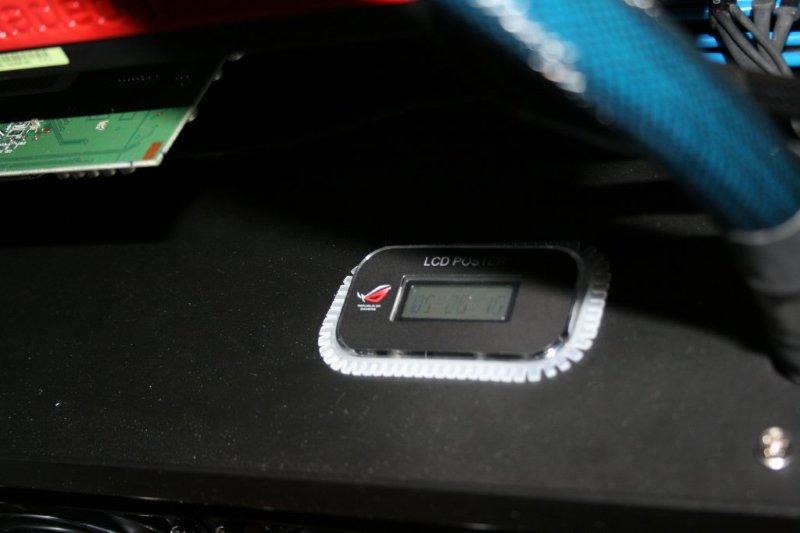
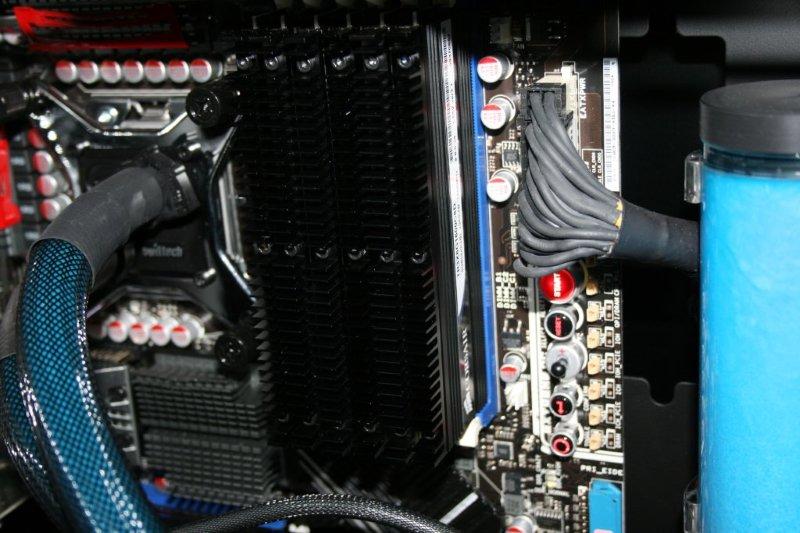
Motherboard — ASUS Rampage II Extreme (X58) A flagship Republic of Gamers board built for overclockers, featuring the LGA1366 socket, triple‑channel memory support, and extensive BIOS tuning options.
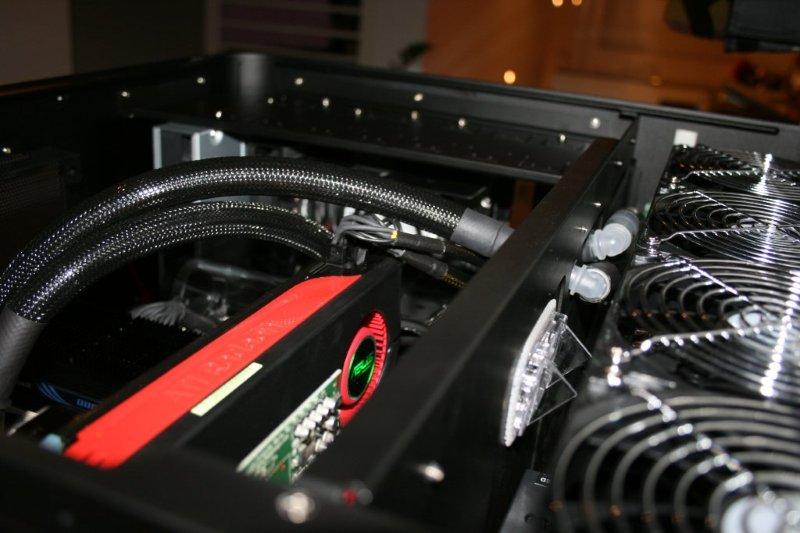
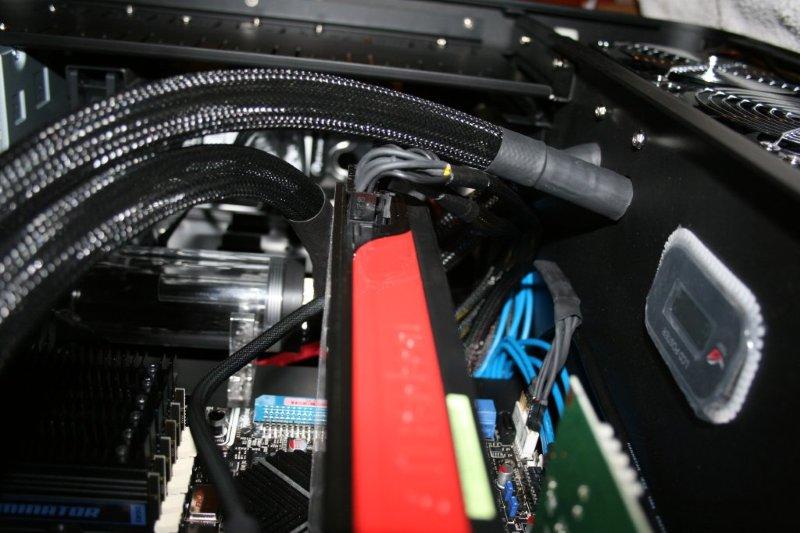
Graphics — 2× AMD Radeon HD 5870 A powerful CrossFire setup representing the cutting edge of DirectX 11 performance at the time. Known for excellent scaling and strong performance per watt.
CPU — Intel Core i7 (Nehalem) The natural pairing for the Rampage II Extreme, offering hyper‑threading, strong overclocking headroom, and a major leap in performance over the Core 2 era.
Memory — Triple‑Channel DDR3 Kit Typically 6 GB or 12 GB kits were common for high‑end builds in 2008–2009.
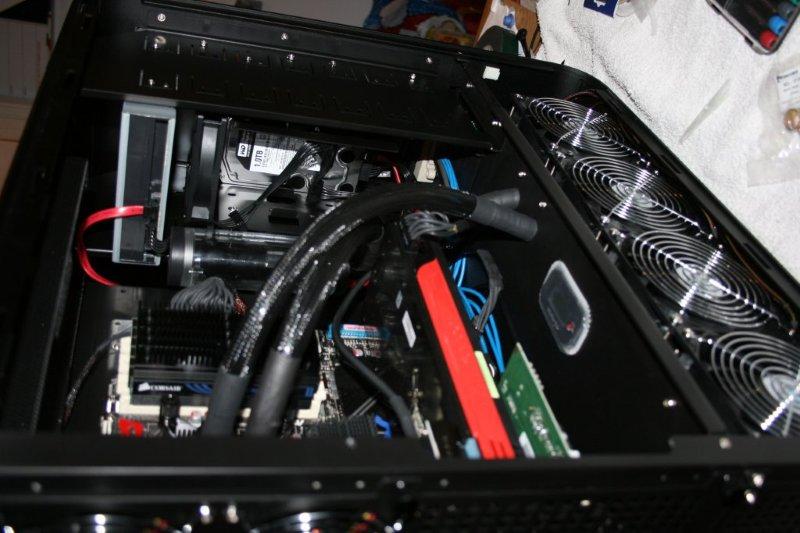
Storage — HDD or Early SSD Mechanical drives dominated the era, but early SSDs were beginning to appear for OS use.
Power Supply — High‑Wattage Modular Unit Necessary to feed two HD 5870s and an overclocked i7.

Planning the Build
Before assembly begins, it helps to outline the goals and constraints of the project. This build aims to capture the spirit of a high‑end 2008 enthusiast system:
- Performance First — The combination of an X58 platform and dual HD 5870s targets top‑tier gaming and workstation performance for the era.
- Clean Internal Layout — The TJ07’s dual‑chamber design allows for hidden cabling and excellent airflow.
- Overclocking Potential — The Rampage II Extreme offers granular control over voltages, multipliers, and memory timings.
- Future Upgradability — The case and PSU allow for additional drives, cooling expansions, and GPU swaps.
This planning phase also includes checking component compatibility, mapping cable routes, and deciding whether to use air cooling or a custom loop.
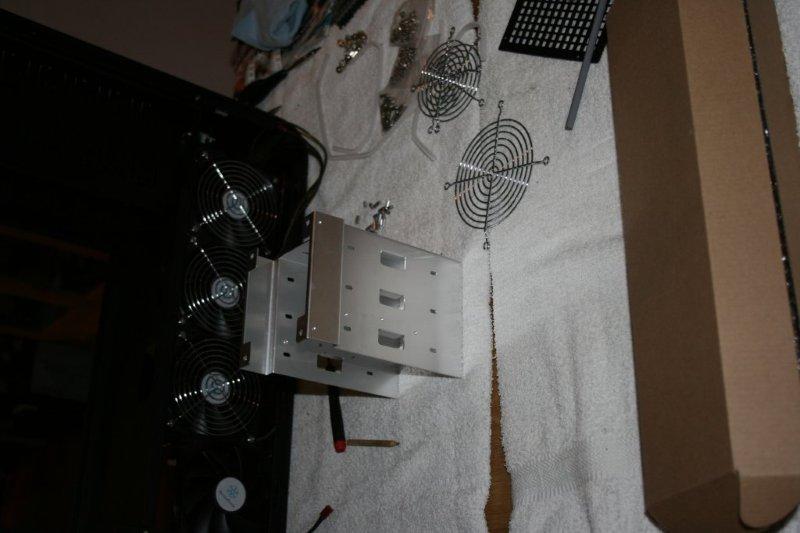
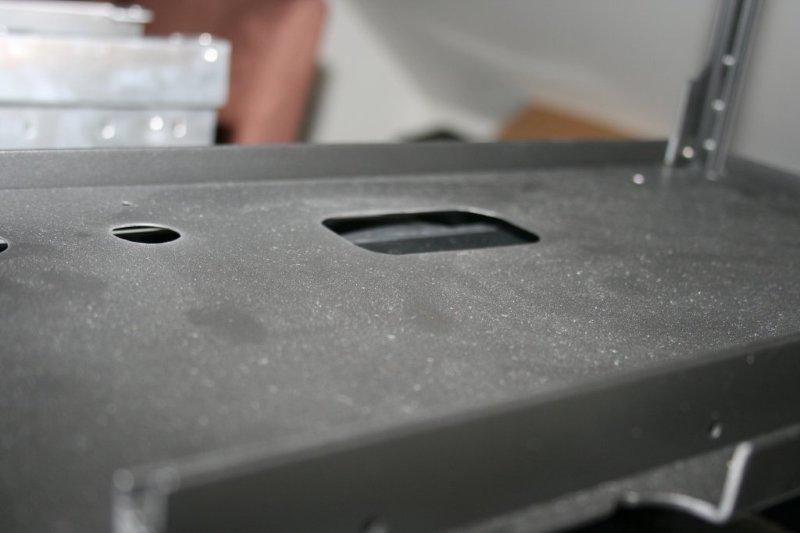
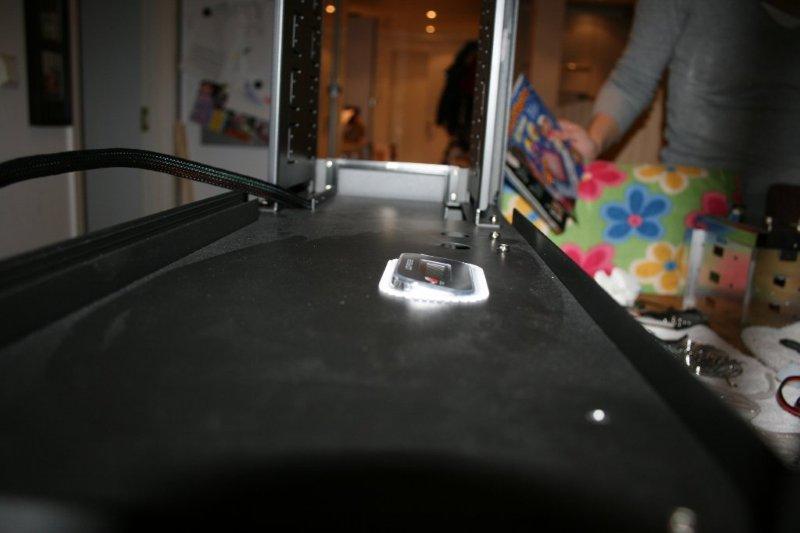
Preparing the Case
The SilverStone TJ07 is spacious, but preparation makes the assembly smoother.
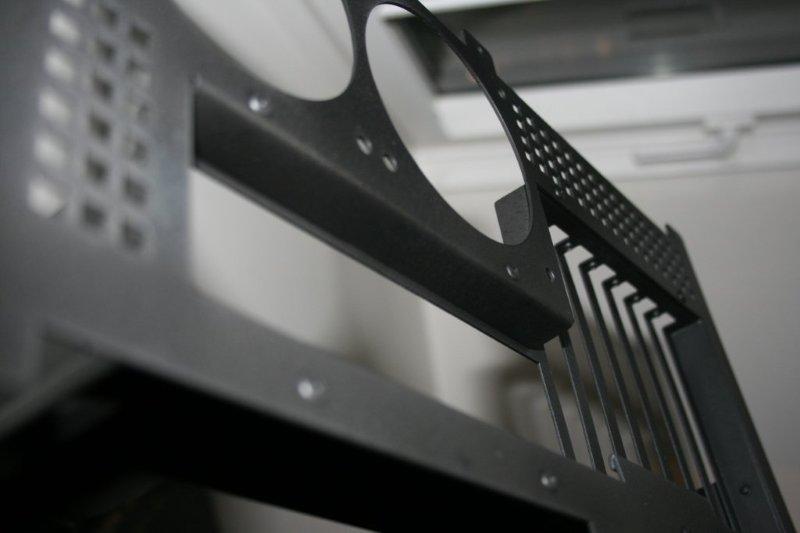
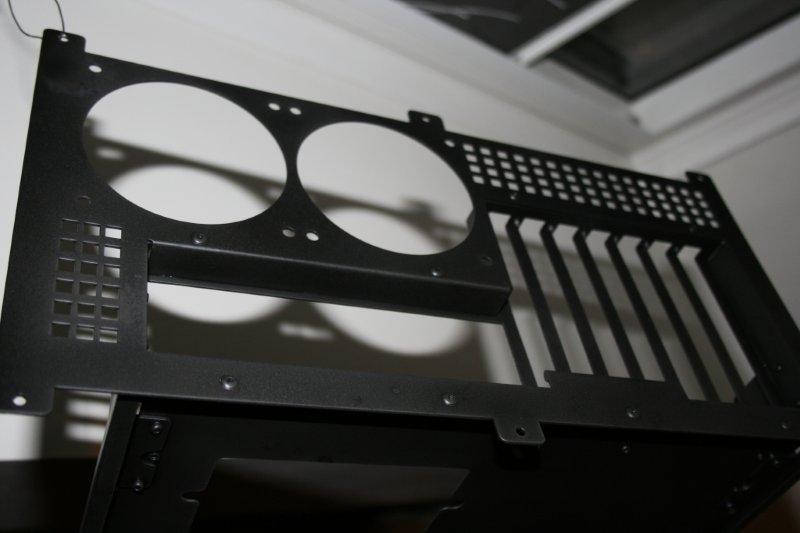
- Remove both side panels and the motherboard tray.
- Clean the interior and check all standoffs.
- Plan cable routing through the lower chamber.
- If water cooling is planned, test‑fit radiators and pump locations.
The TJ07’s removable motherboard tray is especially helpful for installing the CPU, RAM, and cooler outside the case.
Motherboard Assembly
With the tray removed, the Rampage II Extreme can be prepared:
- Install the CPU into the LGA1366 socket.
- Apply thermal paste and mount the cooler.
- Insert the triple‑channel memory kit.
- Check all power connectors and headers for clearance.
This step ensures the core platform is ready before sliding the tray back into the case.
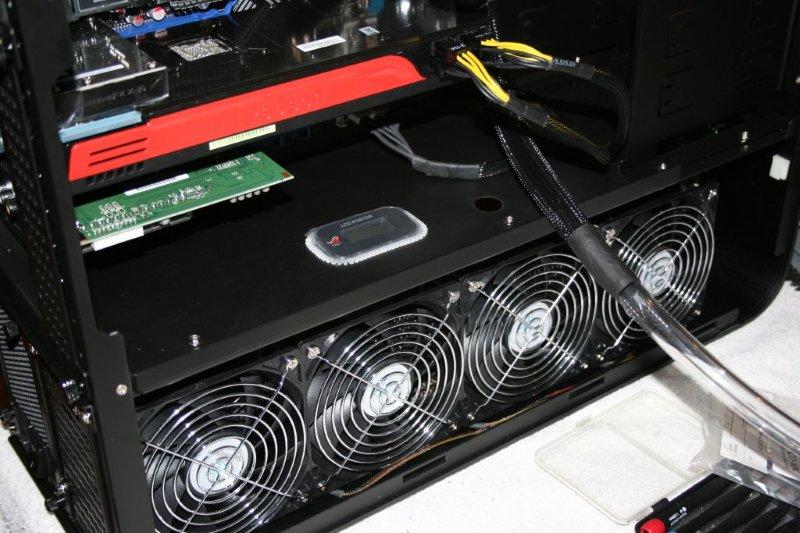
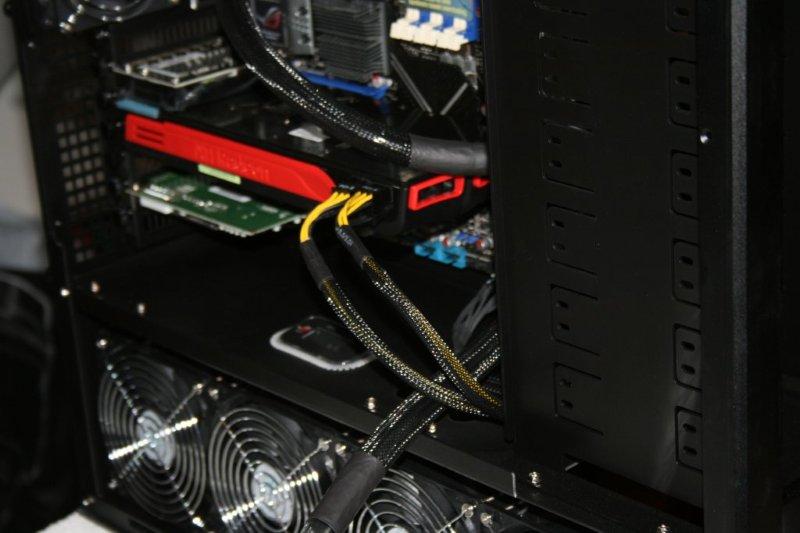
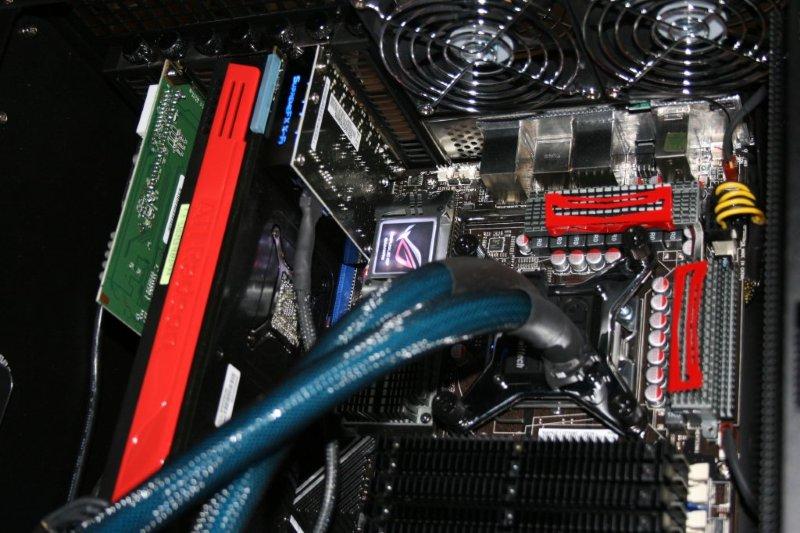
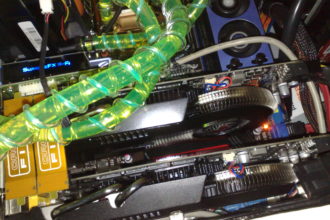
GPU Install
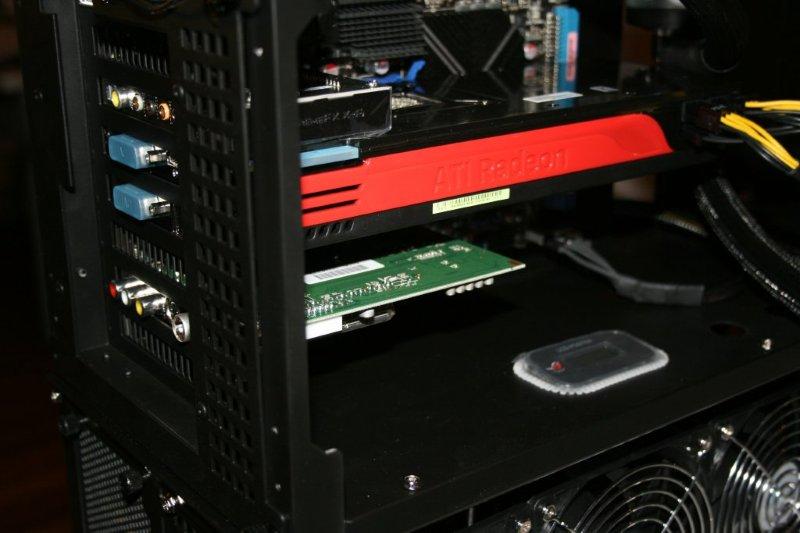
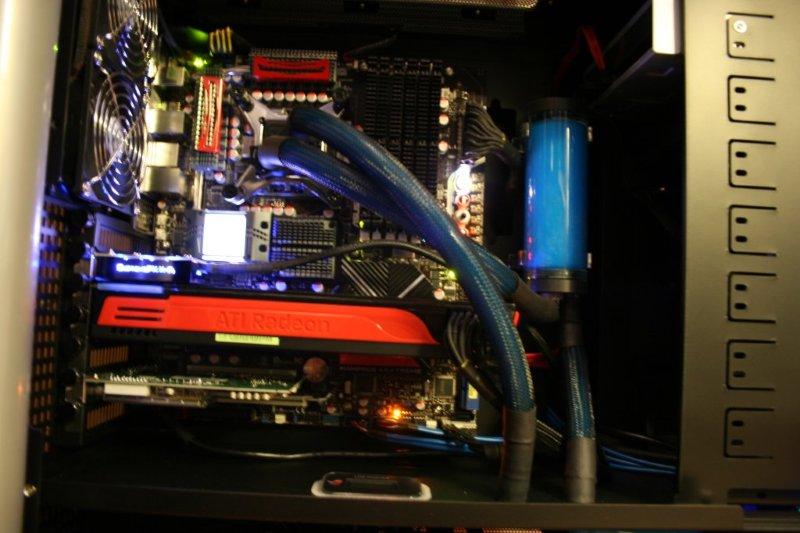
Mounting two HD 5870s in a SilverStone TJ07 with an ASUS Rampage II Extreme creates a visually impressive and performance‑focused setup. This part of the worklog highlights both the installation process and the considerations that mattered for a 2008 CrossFire build.
Positioning and Slot Selection
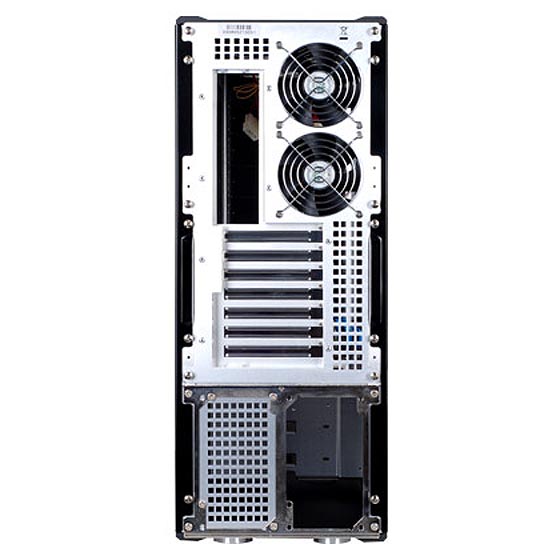
The Rampage II Extreme provides ideal spacing for dual‑slot GPUs. Using the first and third PCIe x16 slots ensures:
- Maximum airflow between the cards
- Full x16 bandwidth on both slots
- Cleaner cable routing toward the lower chamber
This spacing also prevents the top card from suffocating, which was a common issue with tightly packed GPUs of the era.
Securing the Cards
Once aligned with the slots:
- Press each card firmly into place until the retention clip locks
- Secure both cards with the TJ07’s rear thumbscrews
- Double‑check that the CrossFire connectors are seated properly on top of the cards
The HD 5870’s long PCB fits comfortably in the TJ07, but it’s still worth checking for front‑bay clearance if drive cages are installed.
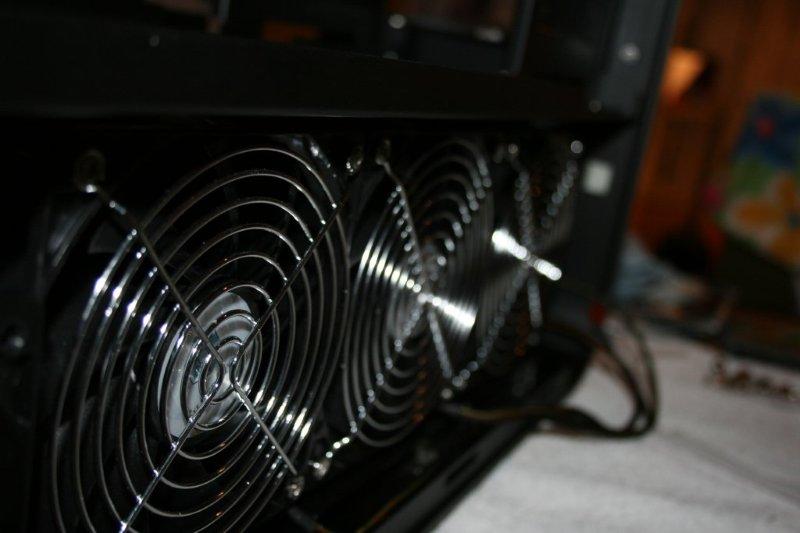
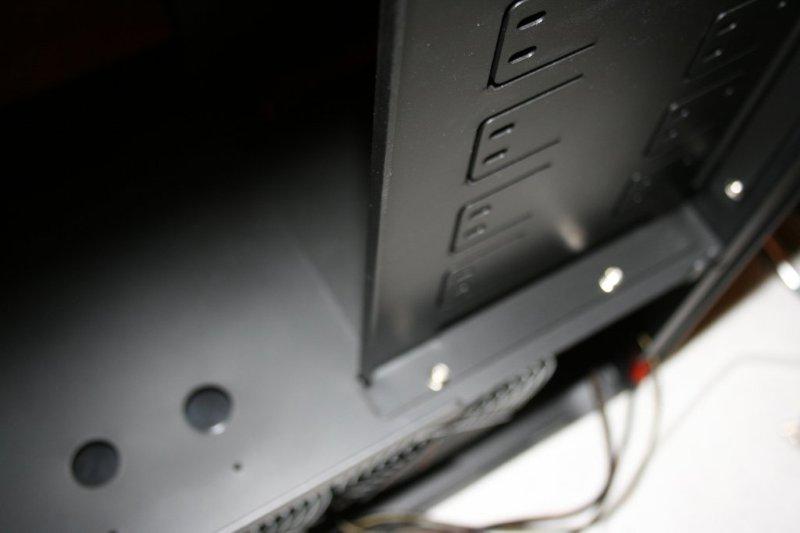
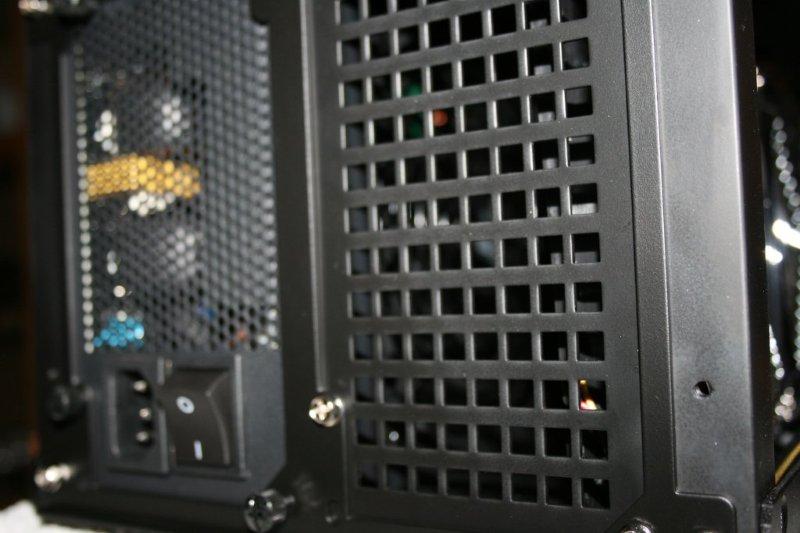
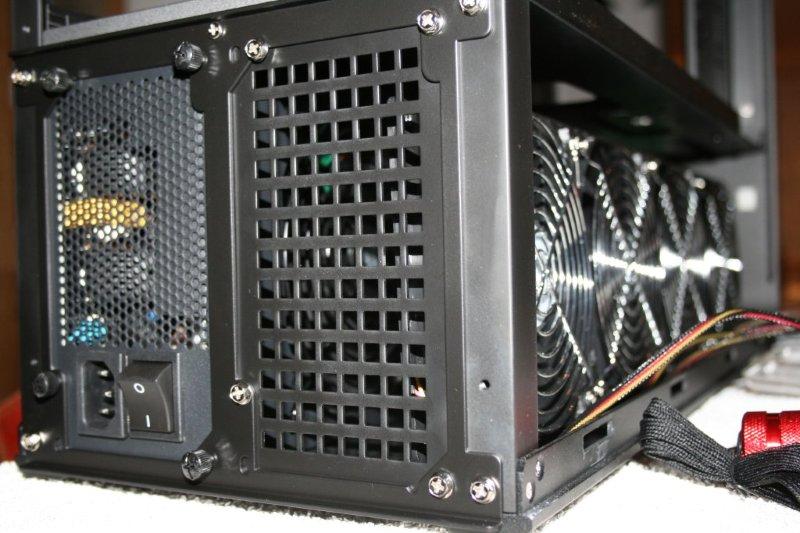
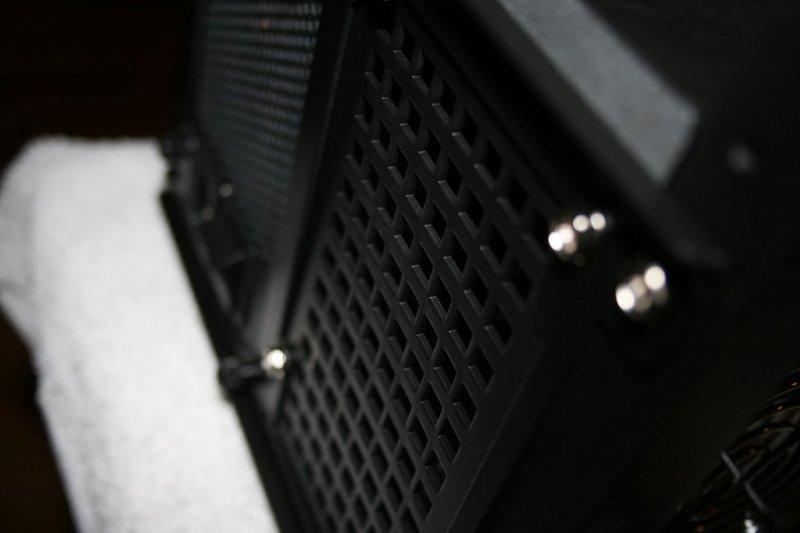
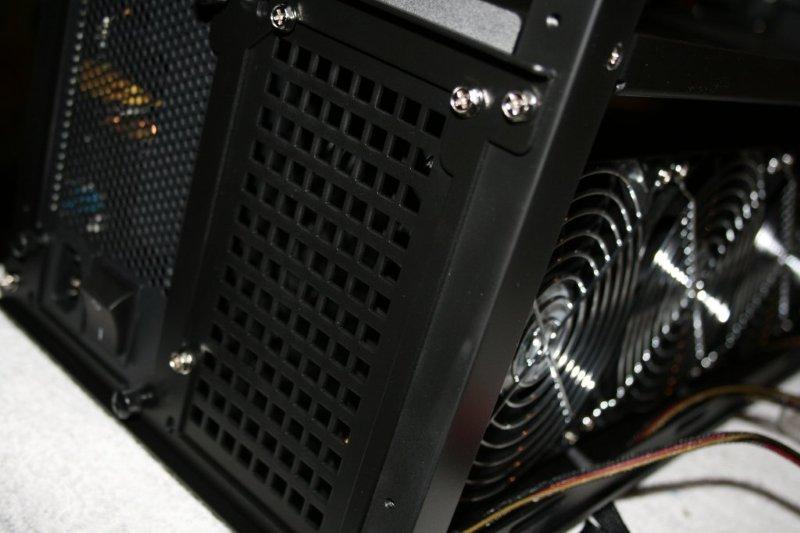
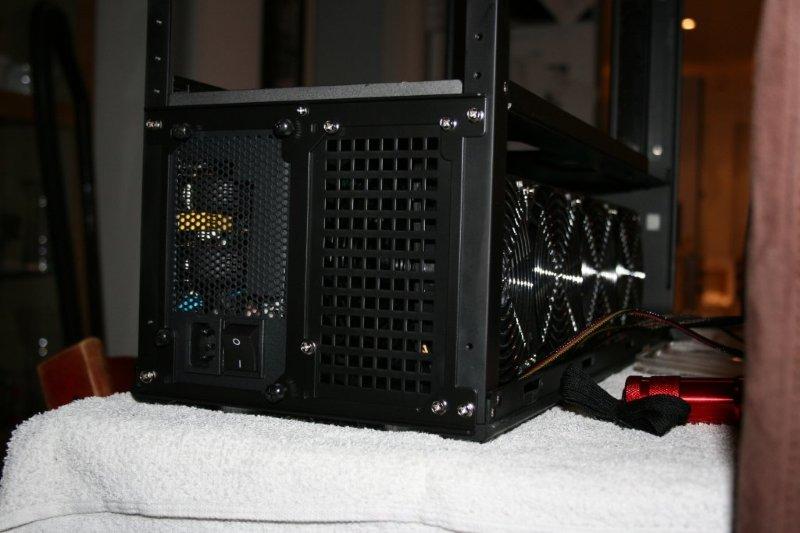
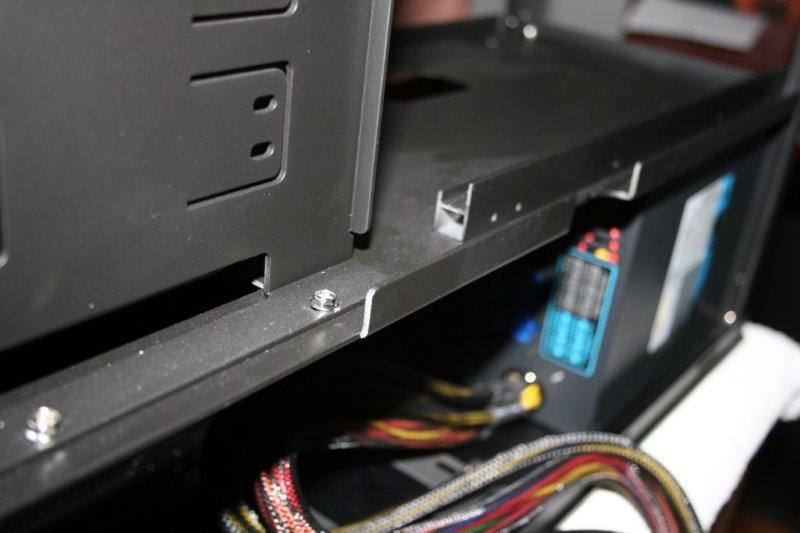
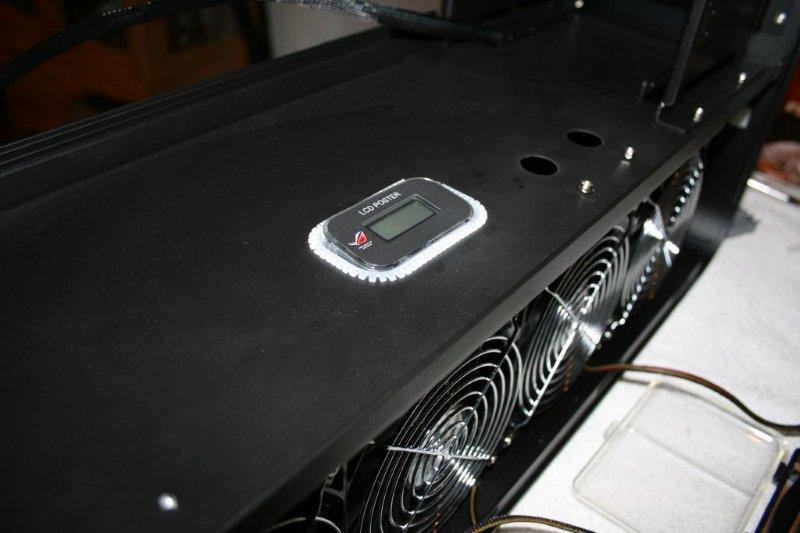
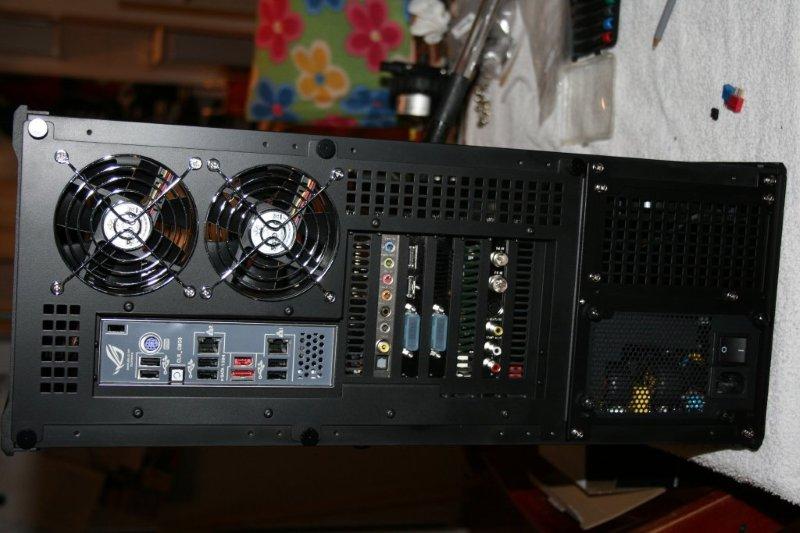
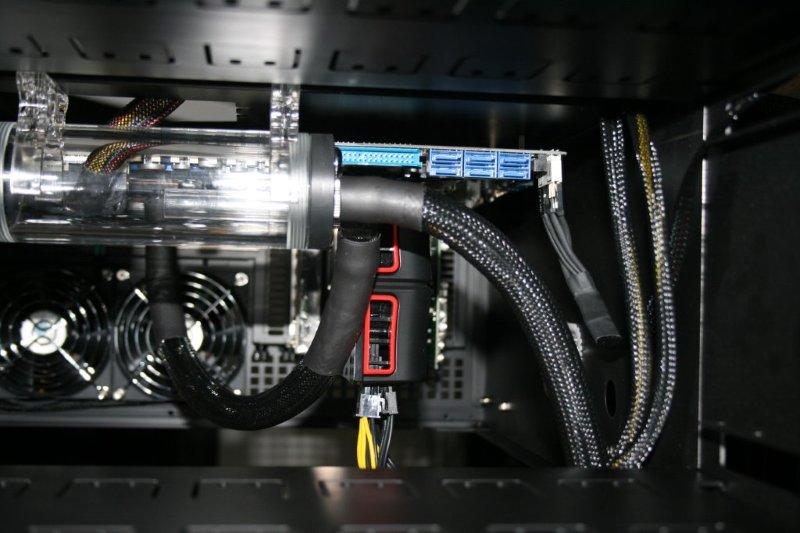
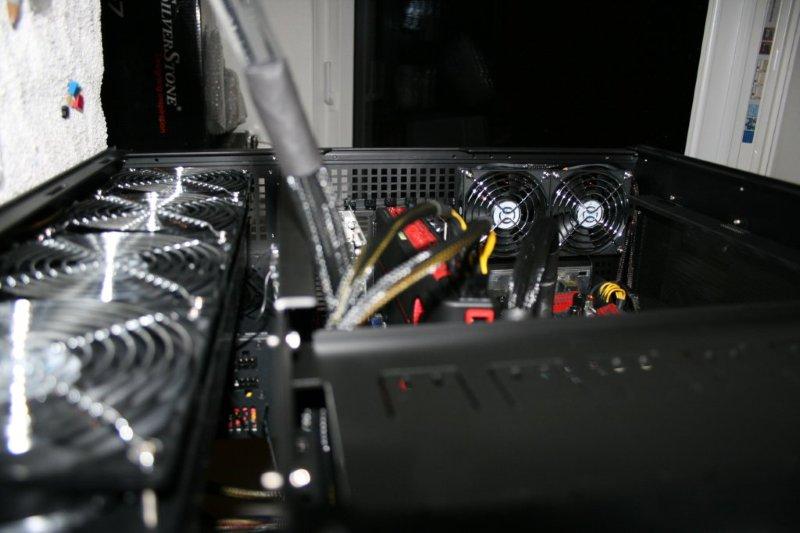
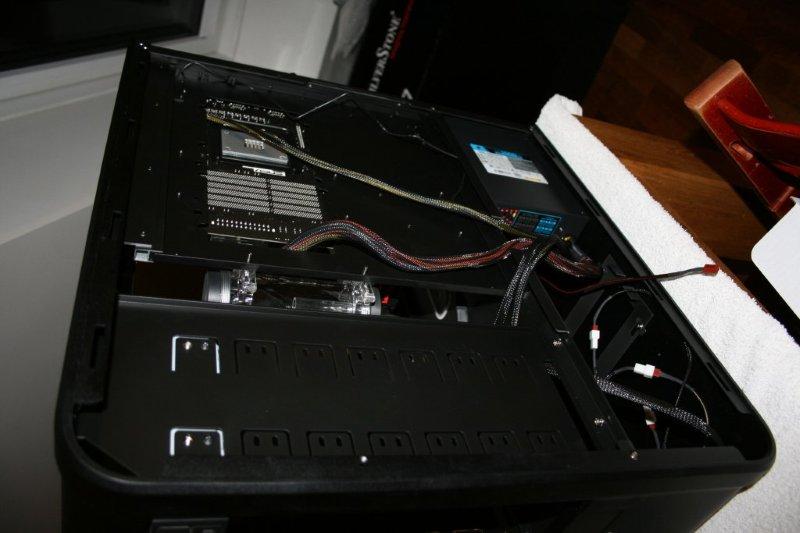
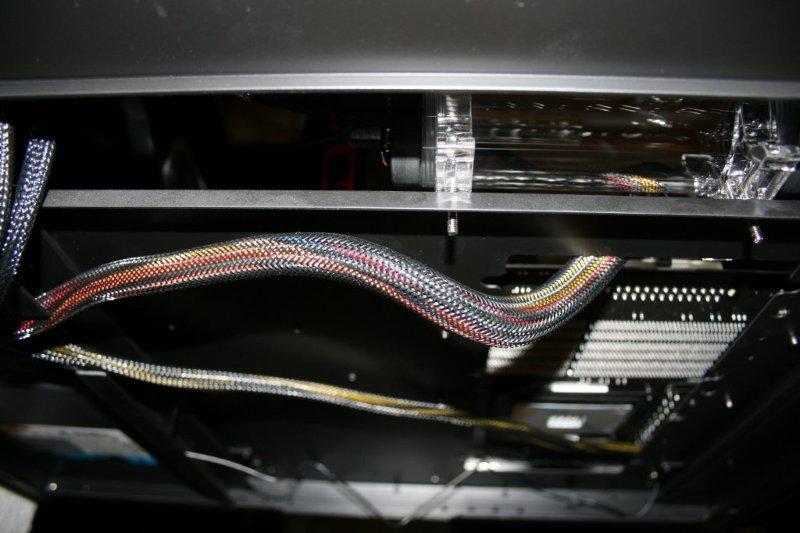
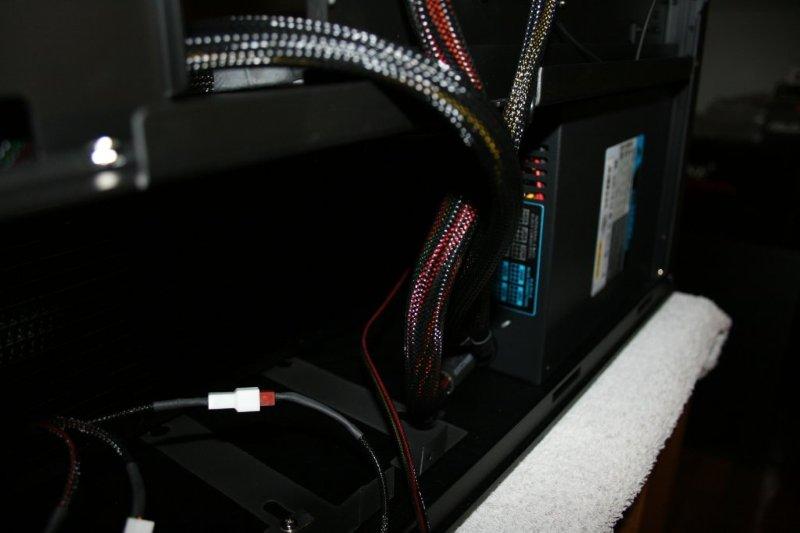
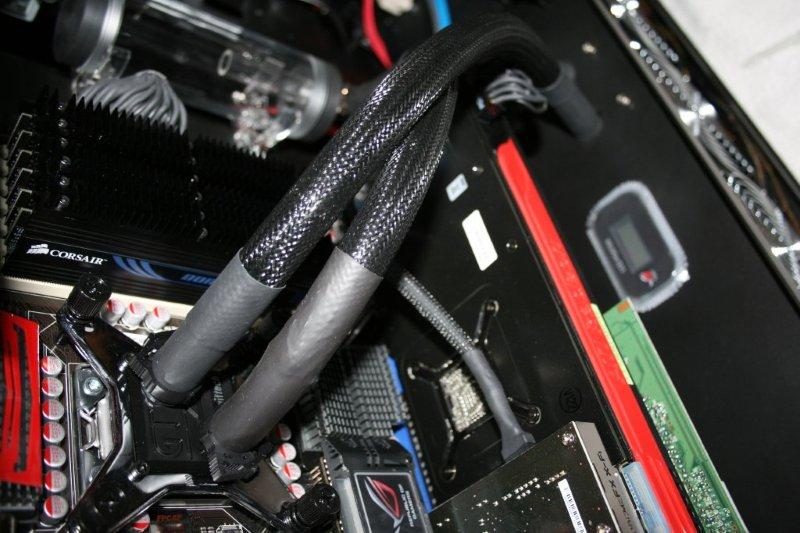
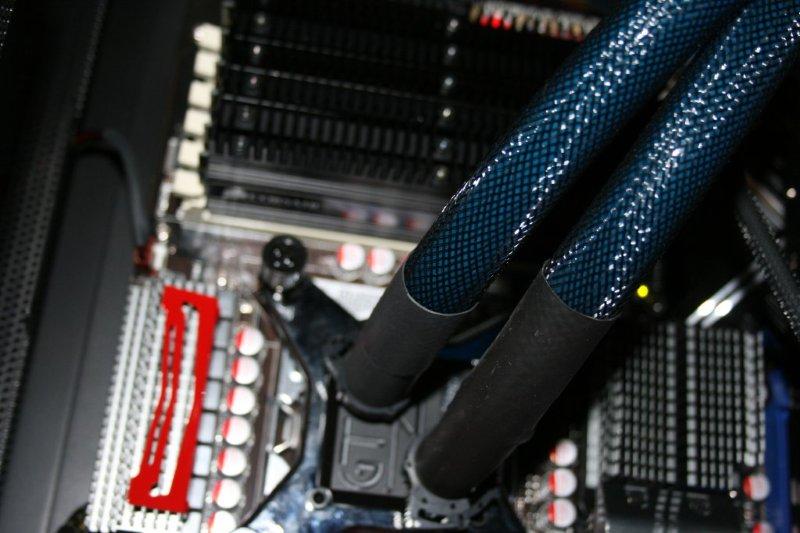
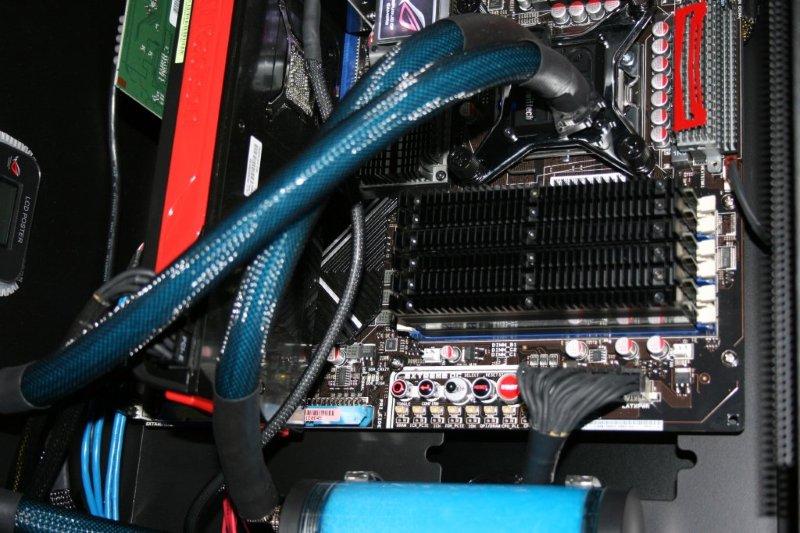
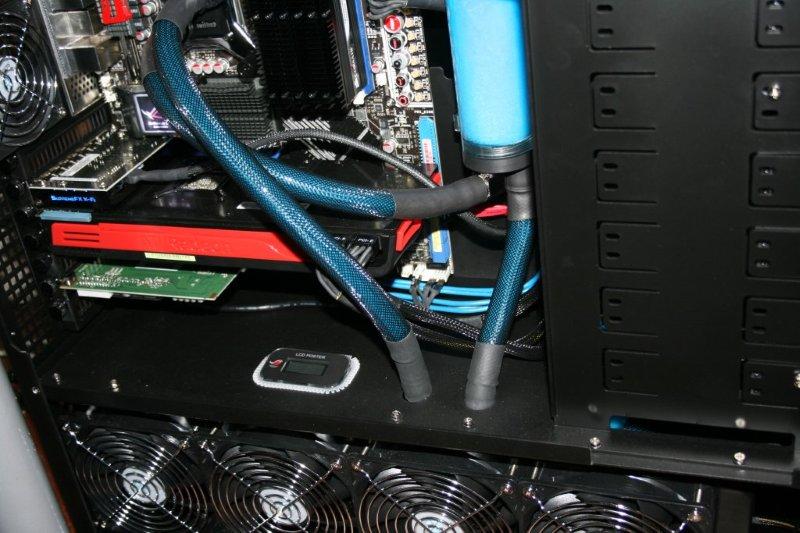
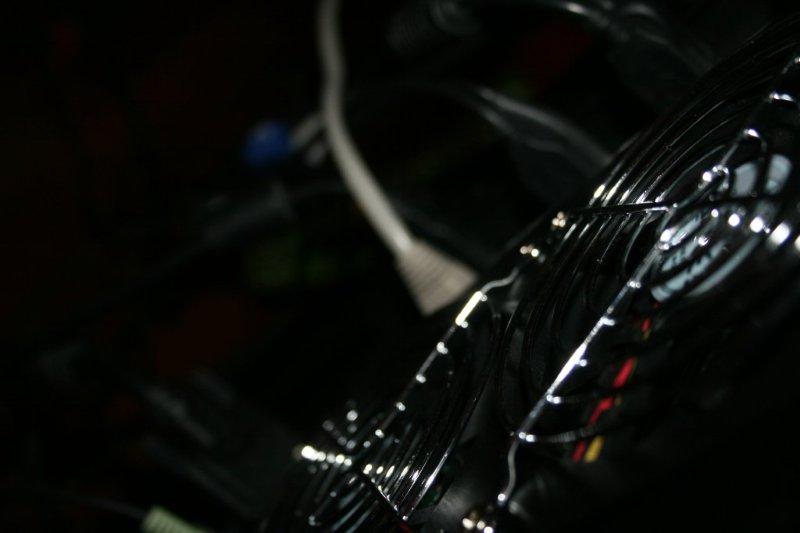
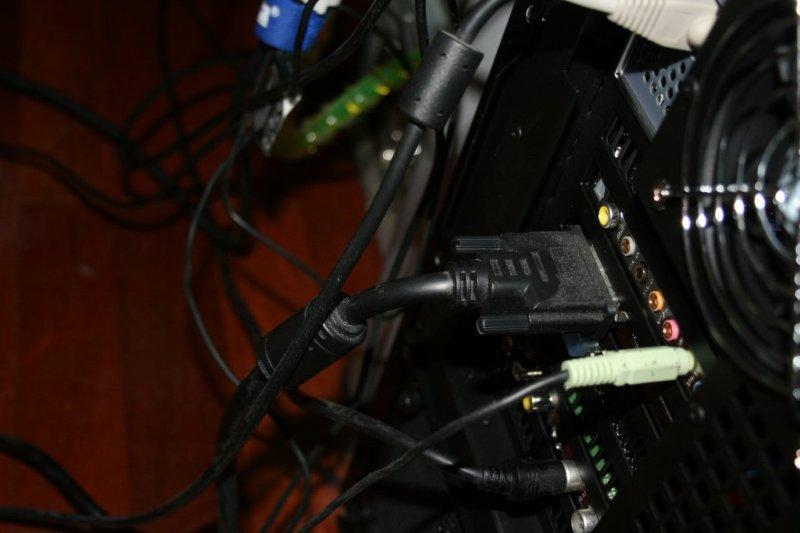
Cable Management in the TJ07
The TJ07 is famous for its clean internal layout, but achieving a tidy build still requires planning. The dual‑chamber design is the key advantage: the PSU and most cables can be hidden in the lower compartment.
Power Cable Routing
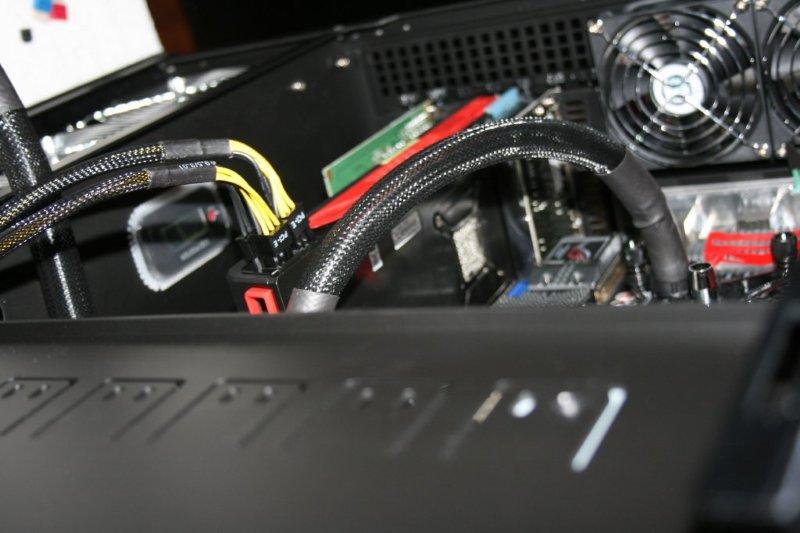
The HD 5870 requires two 6‑pin PCIe connectors per card. For a clean look:
- Route the PCIe cables through the grommeted holes near the motherboard tray
- Bring them up behind the tray and out directly beneath each GPU
- Use short cable extensions if needed to avoid visible slack
This keeps the visible area free of unnecessary clutter and highlights the GPUs themselves.
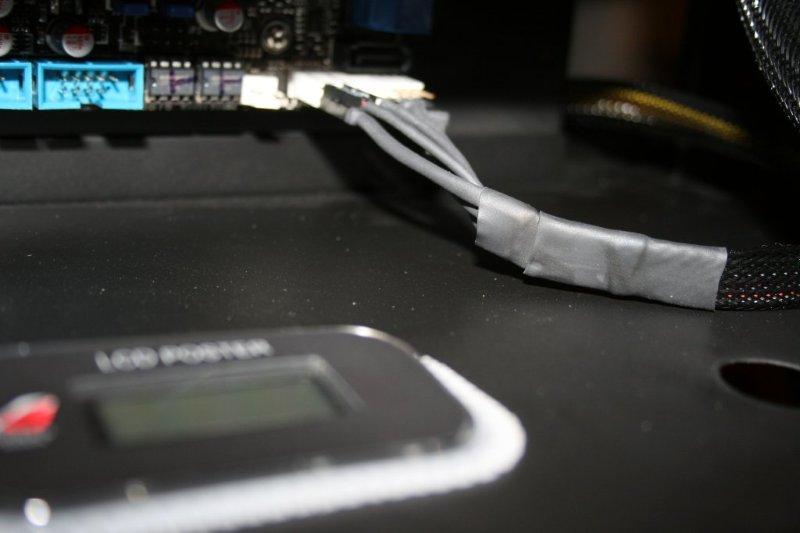
Motherboard and Front‑Panel Cables
The Rampage II Extreme has well‑placed headers, but the goal is to keep everything behind the tray when possible:
- Run the 24‑pin ATX cable along the back edge of the tray
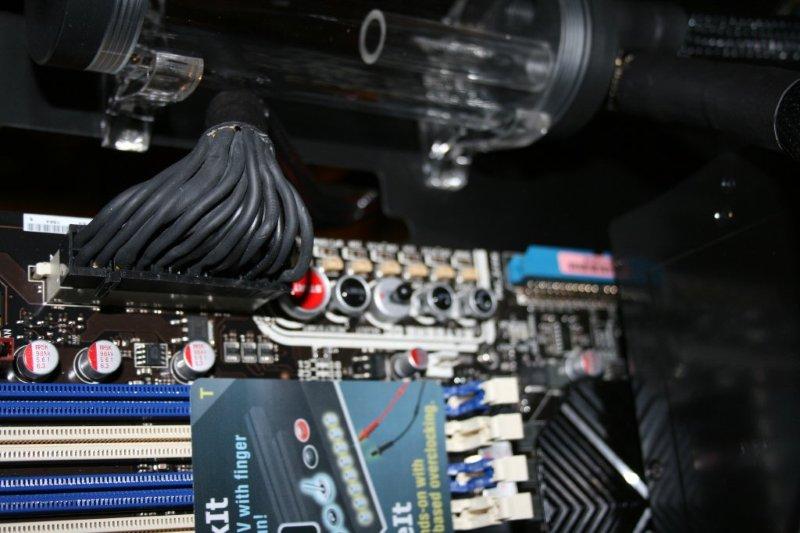
- Route the 8‑pin EPS cable up the rear corner and through the top cutout
- Tuck SATA cables into the lower chamber and bring them up only where needed
The TJ07’s large cutouts make this much easier than most cases from the same era.
Airflow Considerations
Clean cable management isn’t just aesthetic it improves cooling:
- Keeping the GPU area open ensures the HD 5870s can pull fresh air
- The lower chamber isolates PSU heat from the main components
- Minimal cable obstruction helps maintain positive airflow from front to back
This is especially important when running two high‑wattage GPUs in CrossFire.