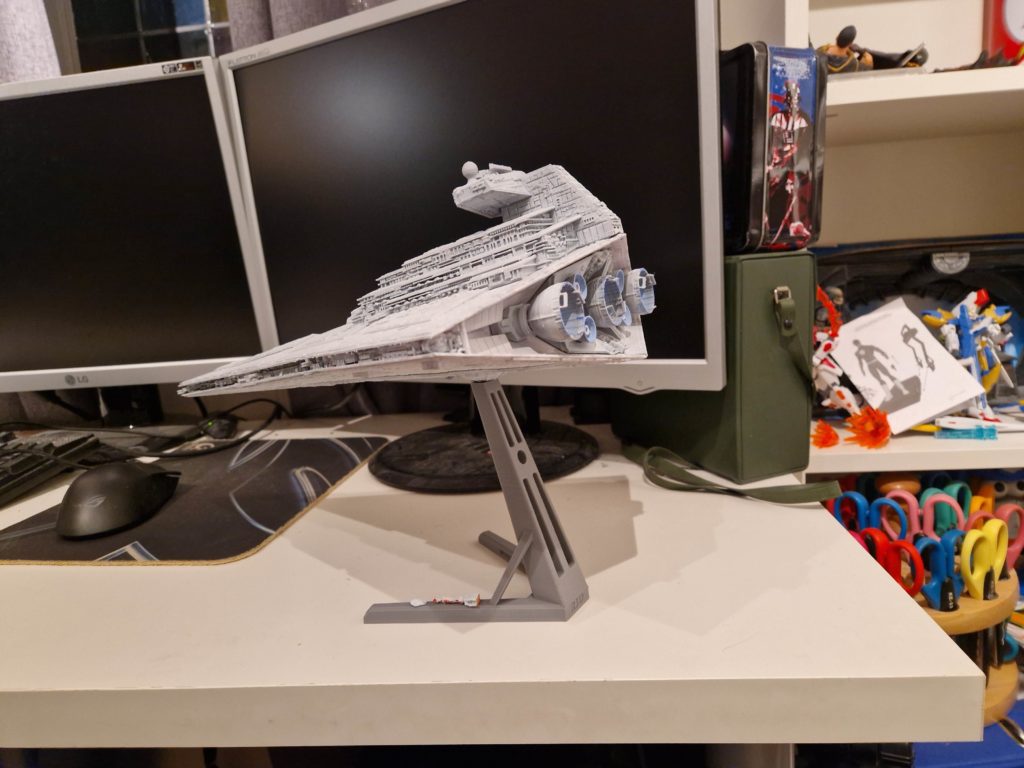
A 3D‑printed model becomes something special when the build process is treated like a project rather than a product, and the FAB365 Imperial Star Destroyer is a perfect example. This model combines intricate geometry, multi‑part engineering, and the satisfaction of assembling a ship that defined the visual identity of Star Wars. A full worklog captures the entire journey from printing and cleanup to assembly, priming, painting, and final detailing showing how raw filament becomes a display‑worthy replica.
“A 3D print becomes more than plastic when you build it yourself every layer, every brushstroke, every detail is something you shaped with your own hands.”
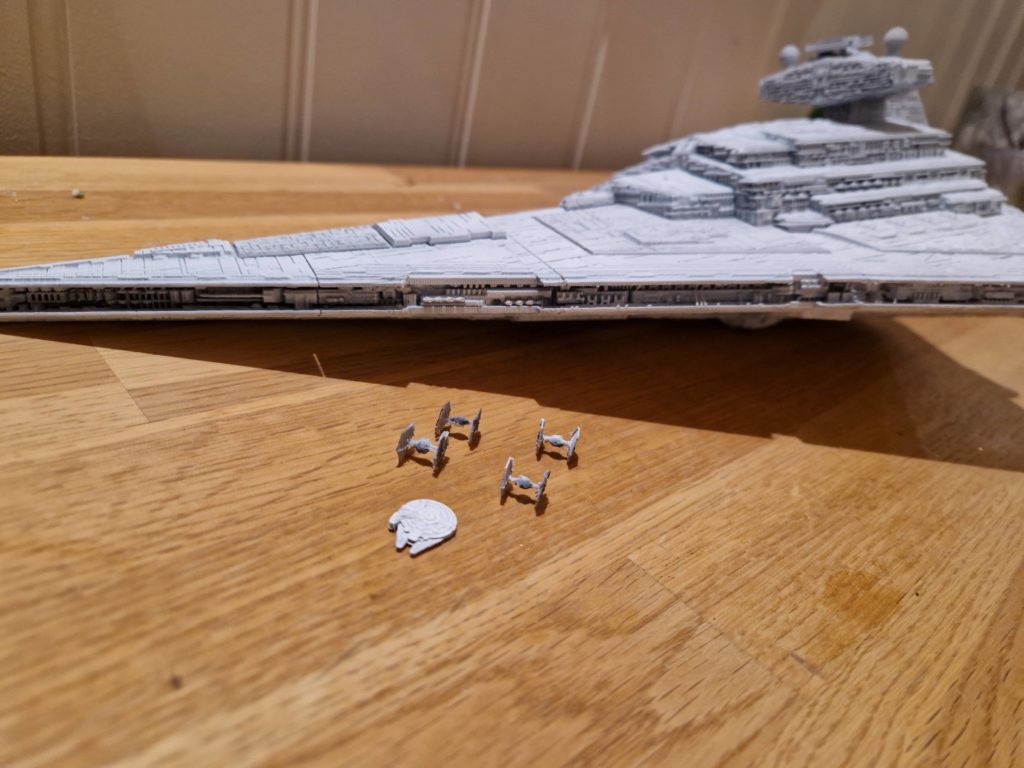
Printing the FAB365 Imperial Star Destroyer
Choosing Print Settings
The Star Destroyer’s sharp edges and panel lines benefit from settings that emphasize precision.
- Layer height — 0.12–0.16 mm for crisp surface detail
- Infill — 10–15% is enough for structural integrity
- Walls — 3–4 perimeters to keep the hull rigid
- Supports — Only where the model requires them (FAB365 designs are optimized for minimal support)
- Material — PLA is ideal for dimensional accuracy and easy sanding
The model prints in multiple interlocking sections, so consistent settings across all parts help ensure a clean fit.
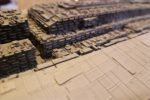
Monitoring the Print
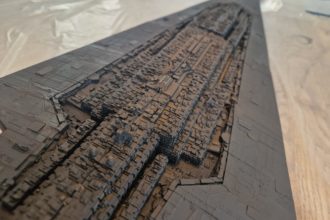
Large flat surfaces like the Star Destroyer’s hull can warp if cooling is uneven. Keeping the printer enclosed or reducing fan speed on the first few layers helps maintain adhesion. Each piece should come off the bed with sharp edges and minimal stringing.
Post‑Processing and Cleanup
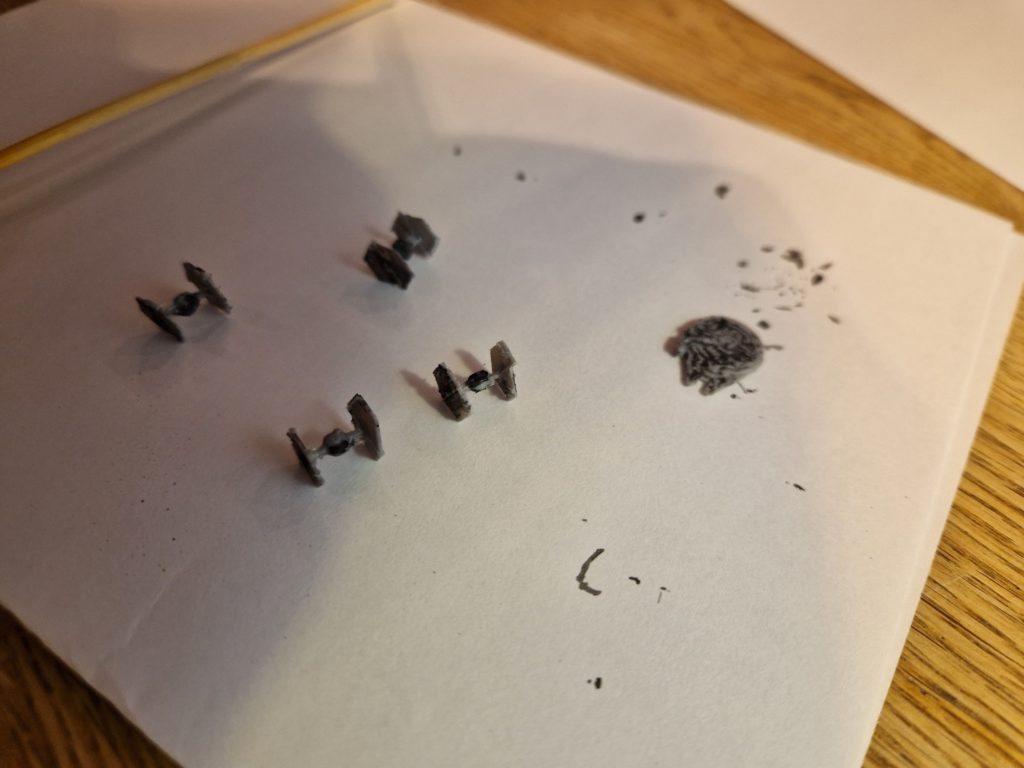
Removing Supports
Supports on FAB365 models are usually light. Remove them carefully to avoid damaging thin surface details.
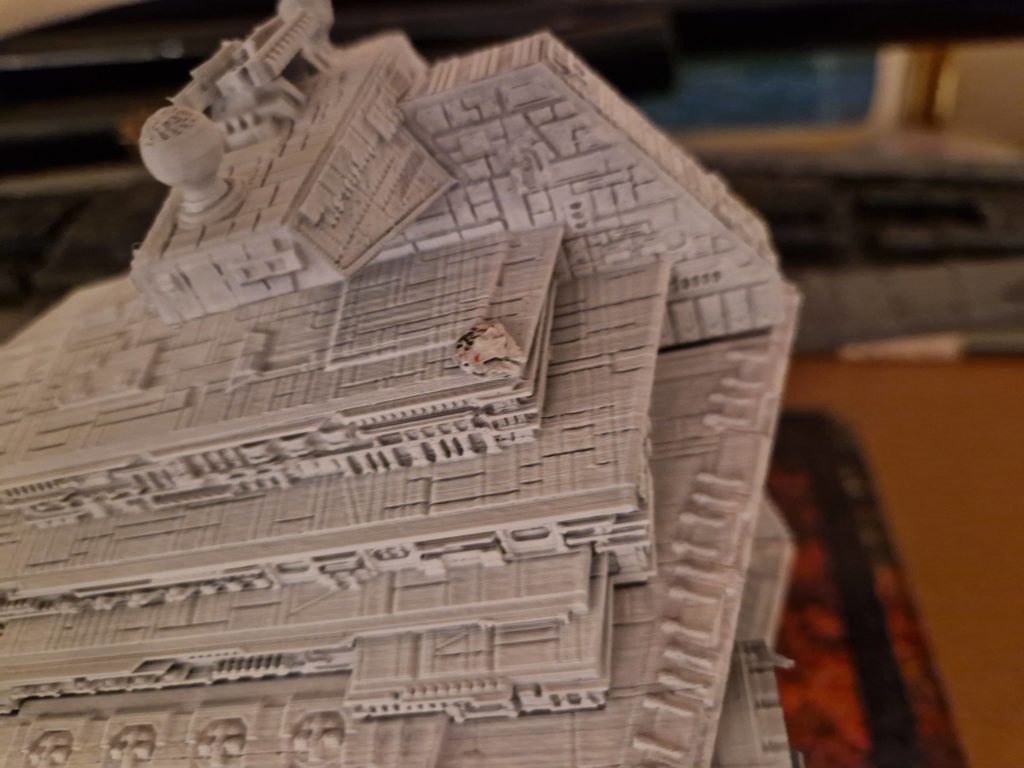
Sanding
A smooth finish makes the final paint job look more like cast resin than printed plastic.
- Start with 220–320 grit to knock down layer lines
- Move to 600–800 grit for smoothing
- Wet‑sand the final pass to eliminate scratches
Focus especially on the large triangular hull plates, where imperfections are most visible.
Test‑Fitting
Before gluing, dry‑fit all major sections:
- Upper hull
- Lower hull
- Bridge tower
- Engine block
- Side trenches
FAB365 tolerances are tight, so sanding connection tabs may be necessary.
Assembly
Gluing the Hull
Use a plastic‑safe adhesive like cyanoacrylate (CA glue). Apply sparingly along the internal seams to avoid visible residue.
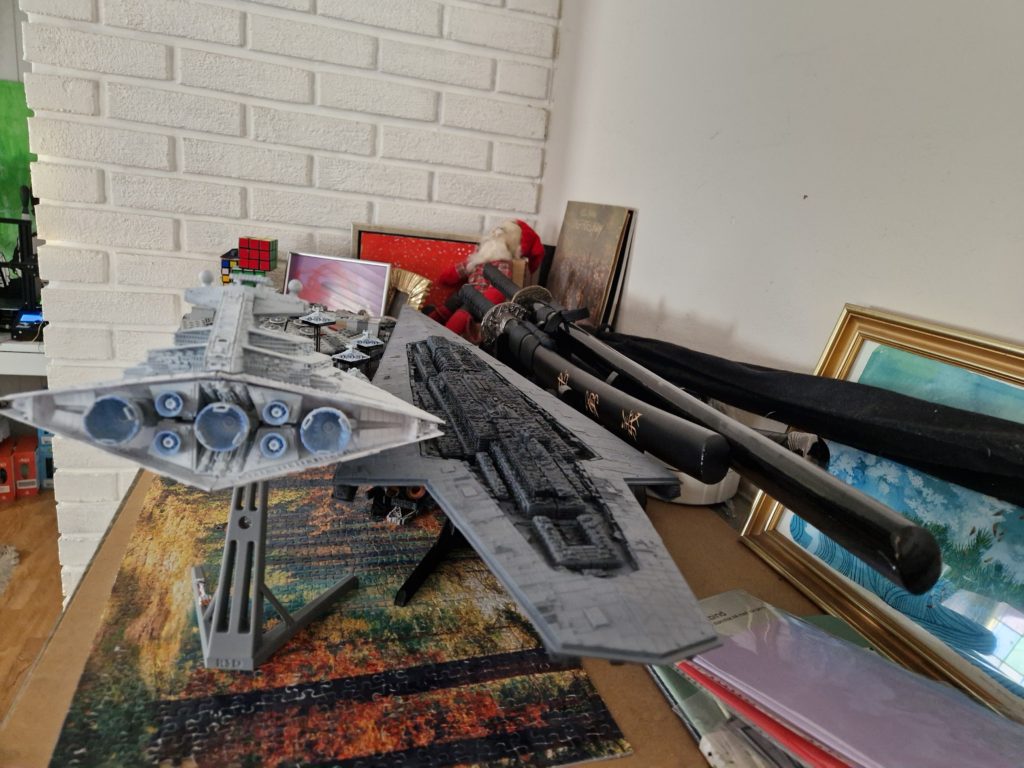
Attaching the Trenches
The side trenches define the Star Destroyer’s silhouette. Align them carefully so the panel lines match the hull.
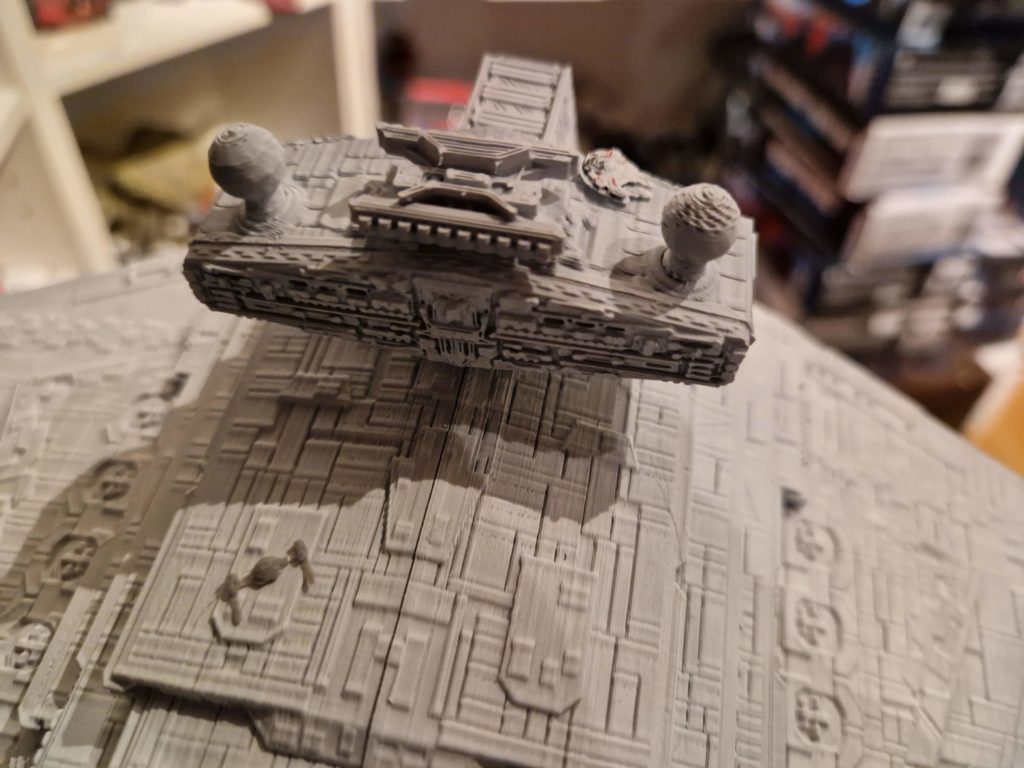
Installing the Bridge and Engines
These components add depth and scale. Ensure the engines sit flush so the rear profile looks symmetrical.
Once assembled, the ship should feel solid and ready for paint.
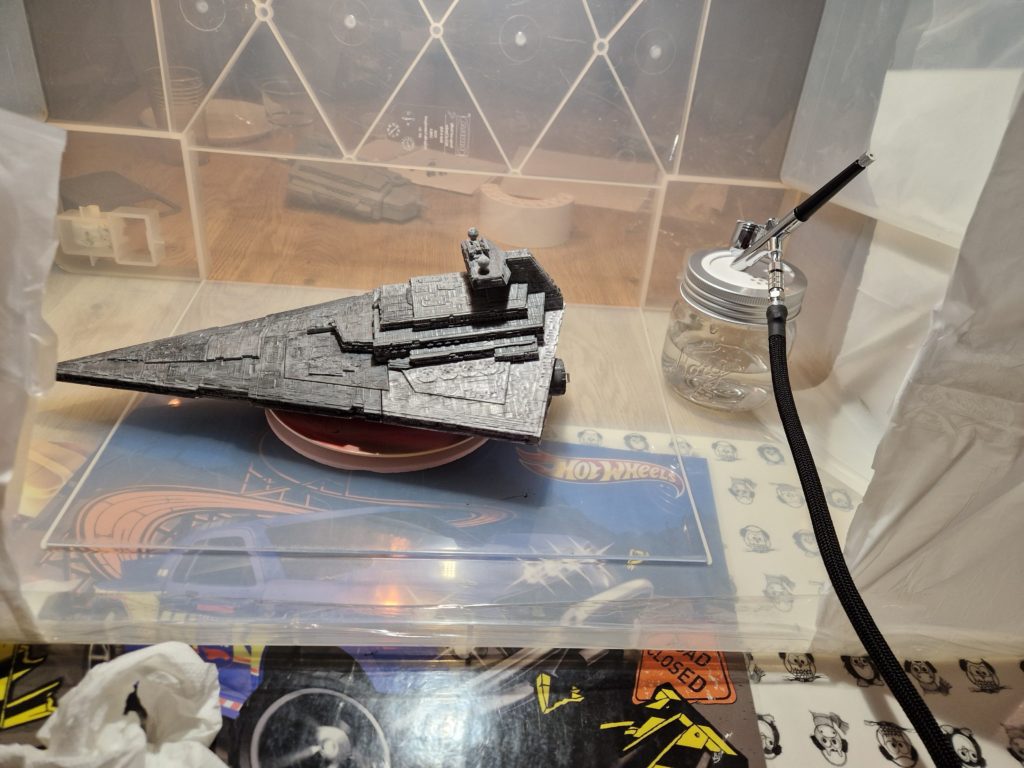
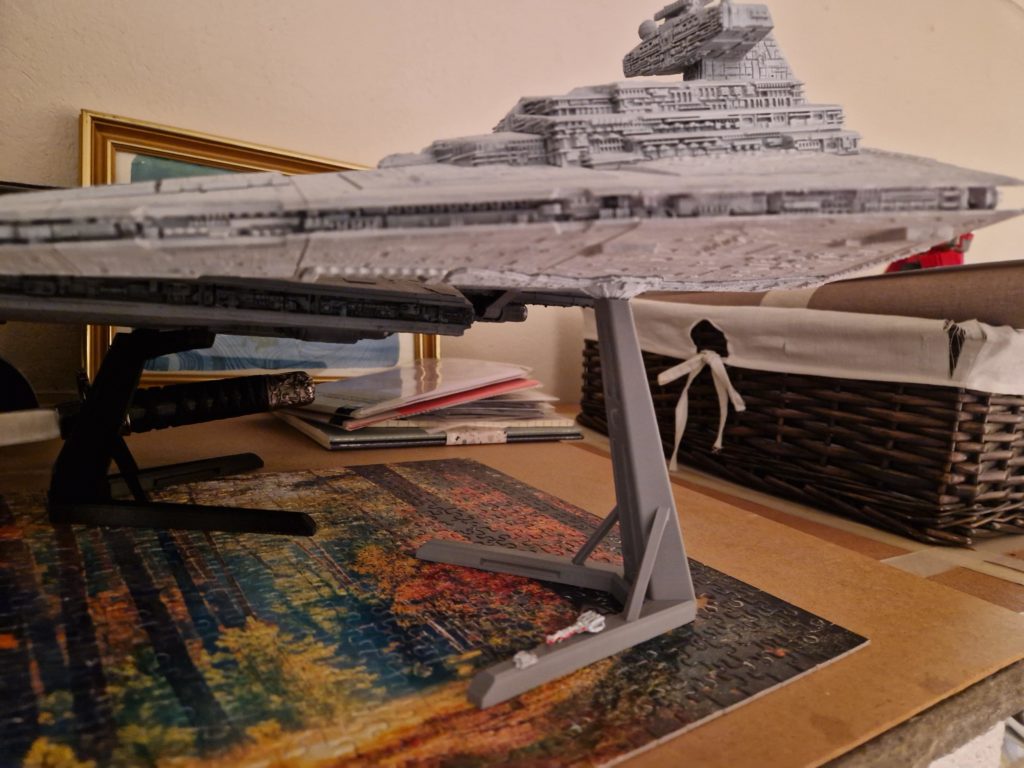
Priming the Model
A good primer coat is essential for paint adhesion and surface uniformity.
- Use a light grey primer to match the ship’s final tone
- Apply in thin, even passes
- Inspect for remaining layer lines or gaps
- Fill imperfections with putty and re‑prime as needed
The primer stage is where the model starts to look like a single unified piece.
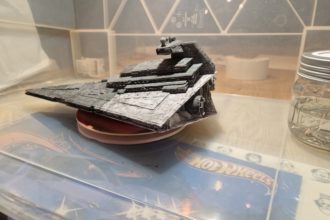
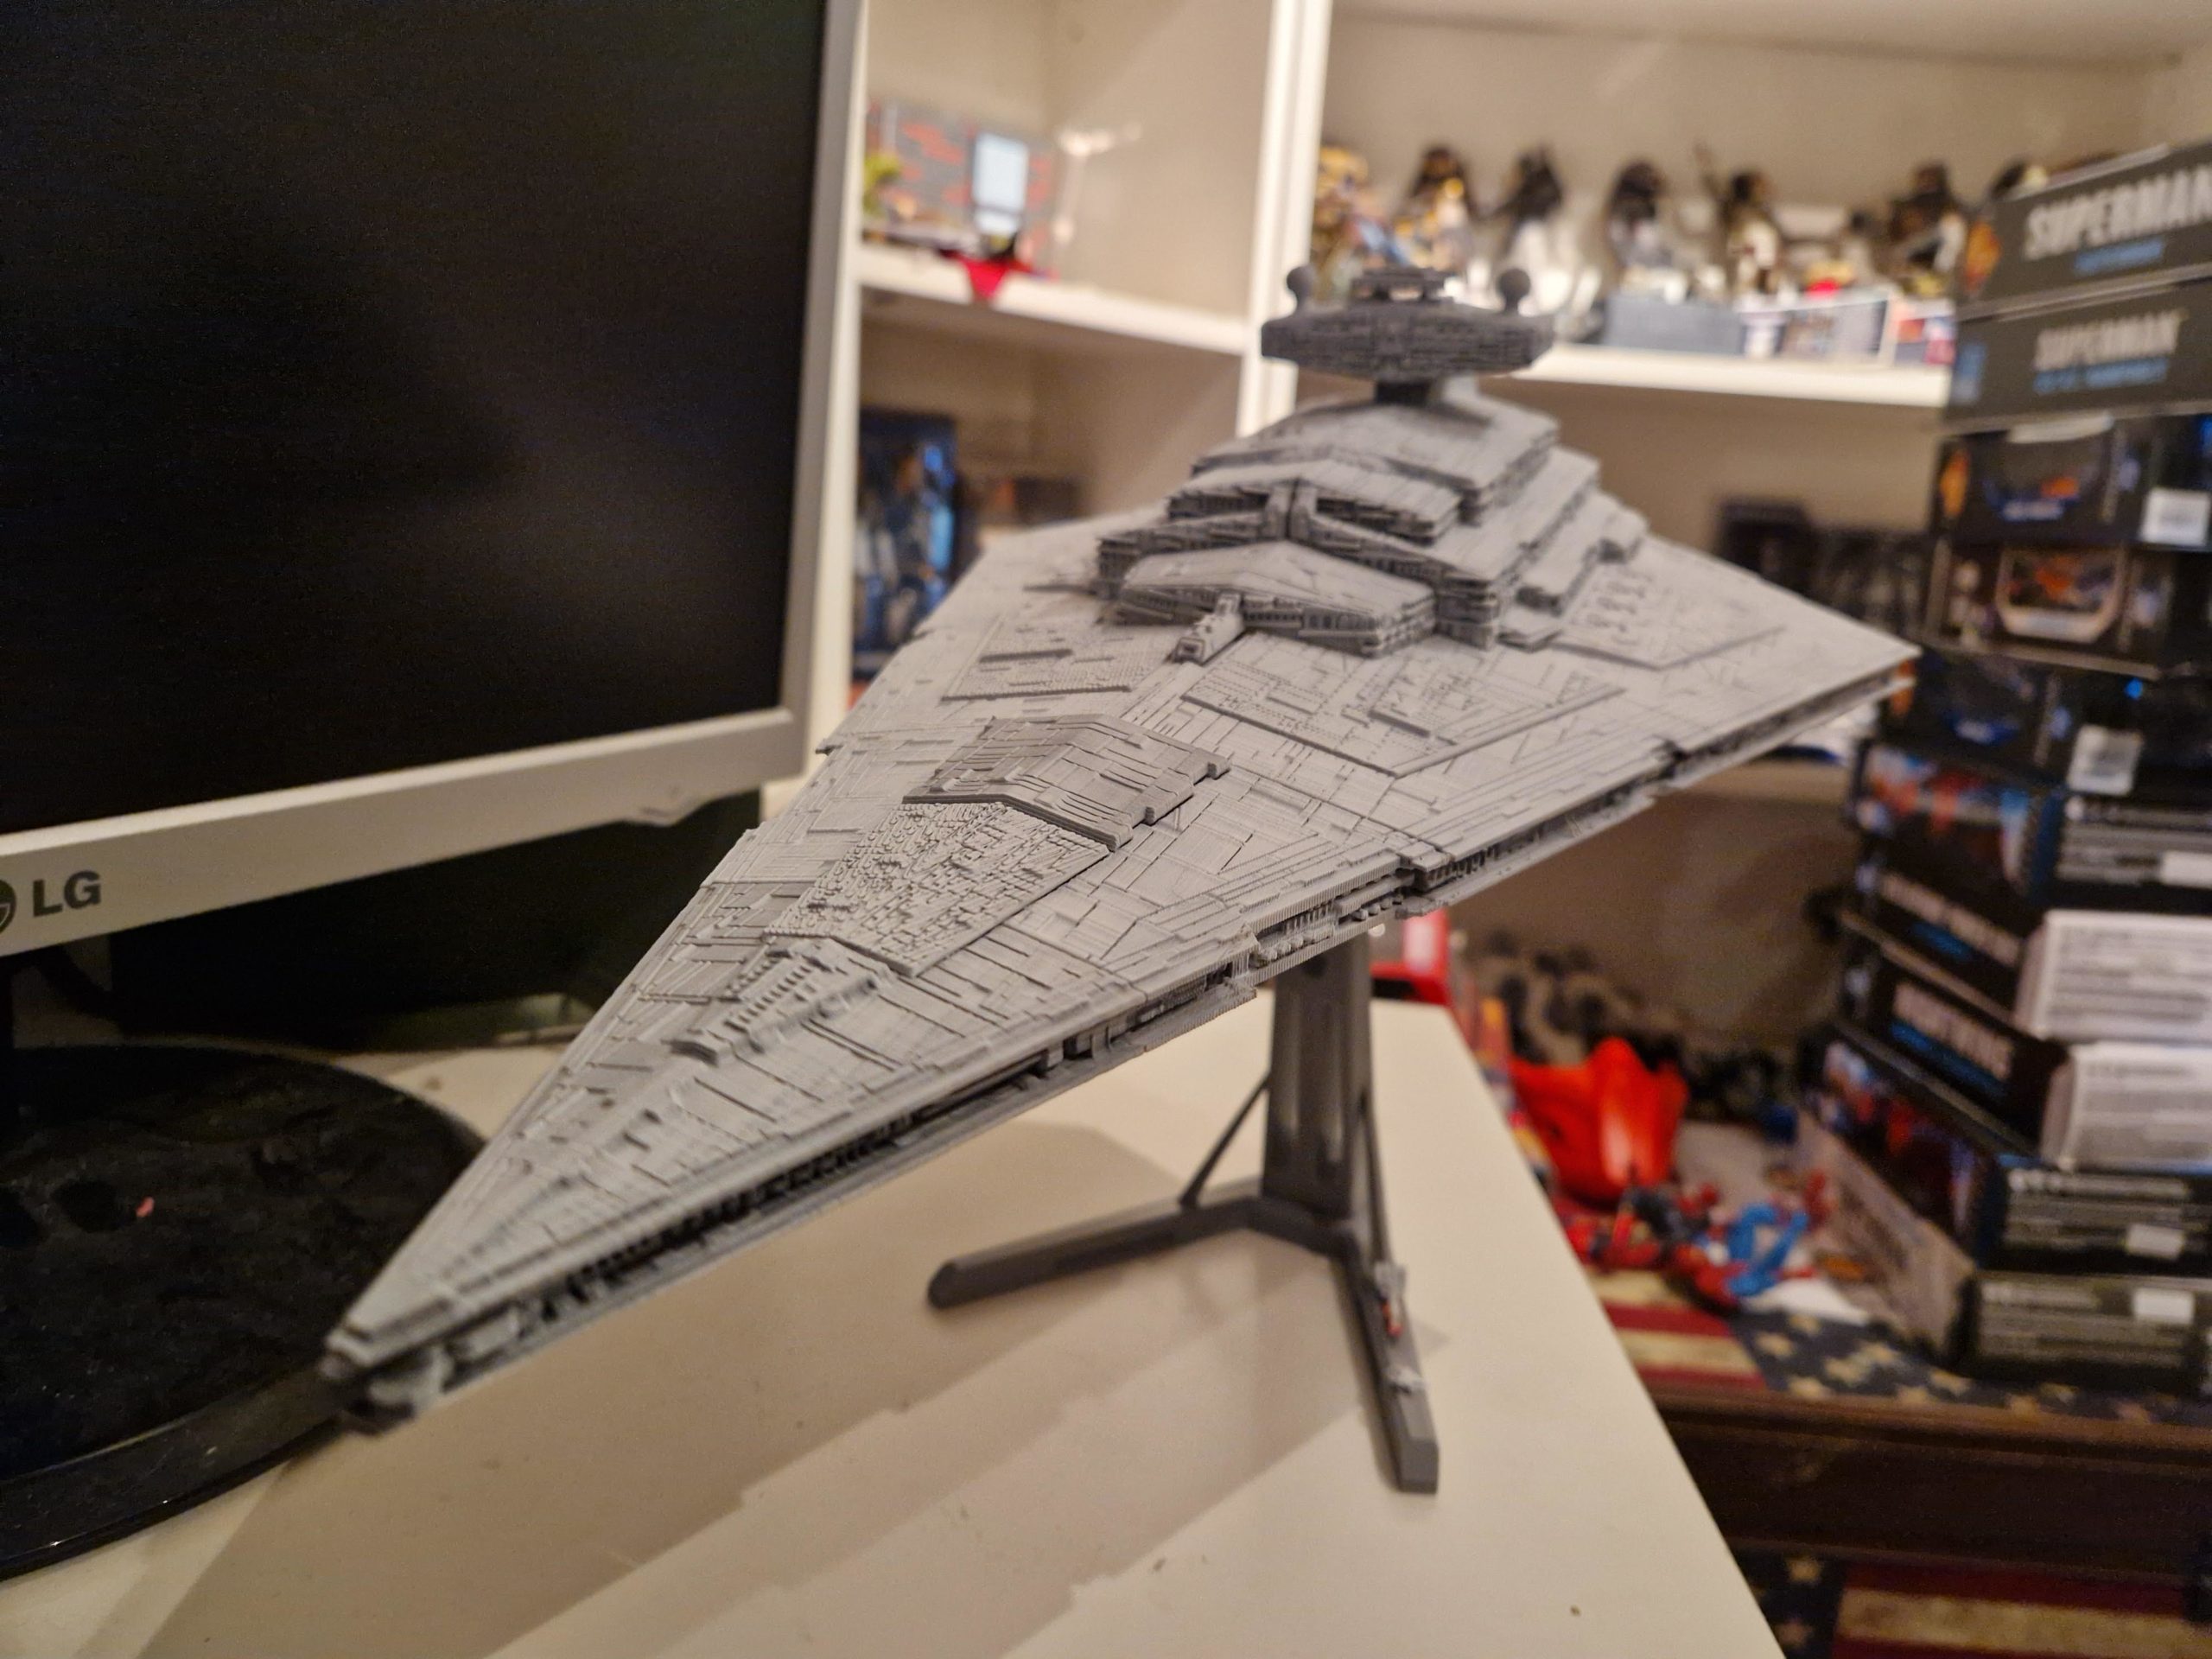
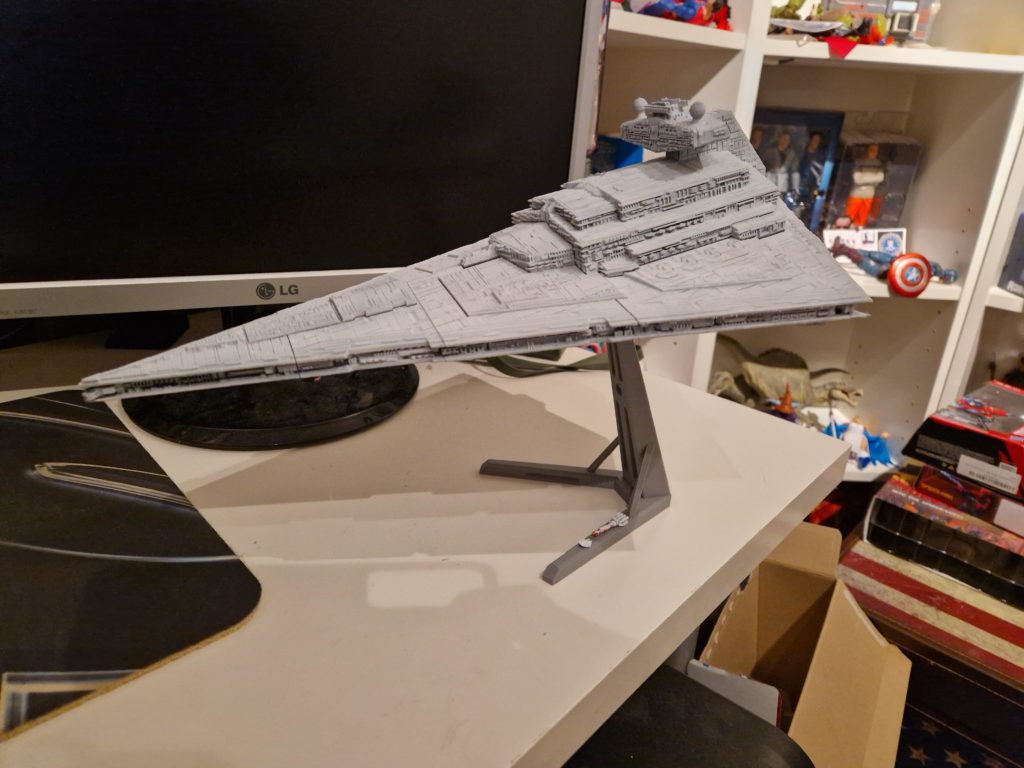
Painting the Star Destroyer
Base Coat
The classic Imperial grey is slightly warm and desaturated.
- A mix of light grey with a hint of beige works well
- Apply with an airbrush for smooth coverage
- Multiple thin coats prevent obscuring details
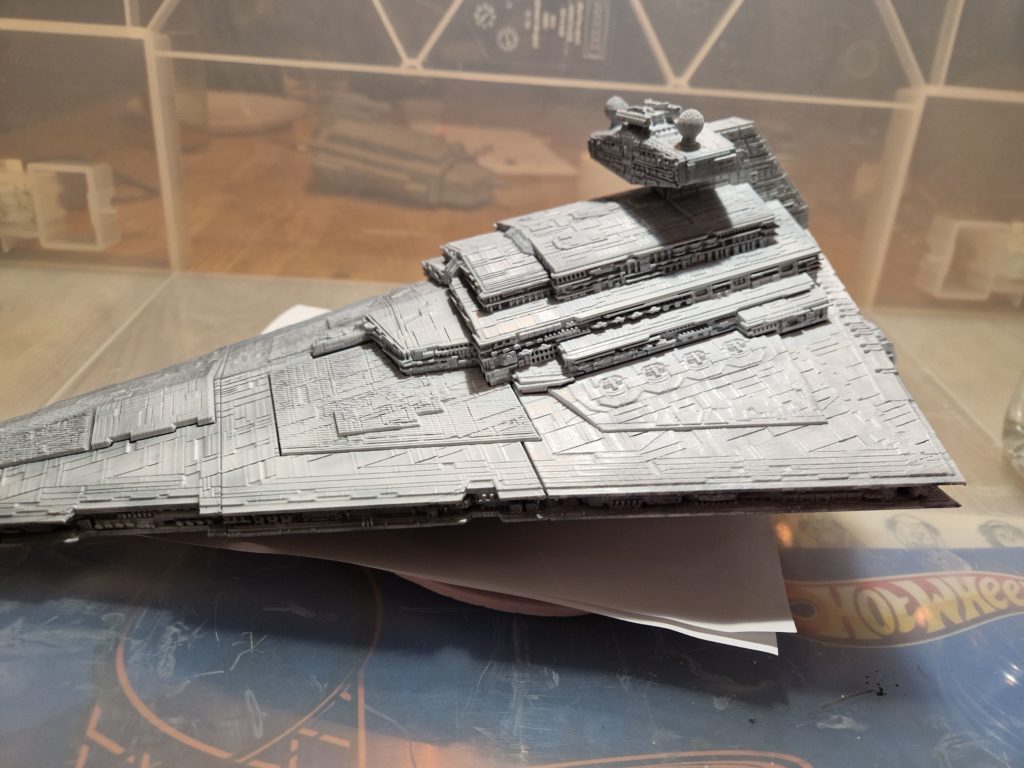
Panel Shading
To bring out the ship’s scale:
- Spray a slightly darker grey into recesses
- Highlight raised edges with a lighter tone
- Keep shading subtle Star Destroyers are massive, not heavily weathered
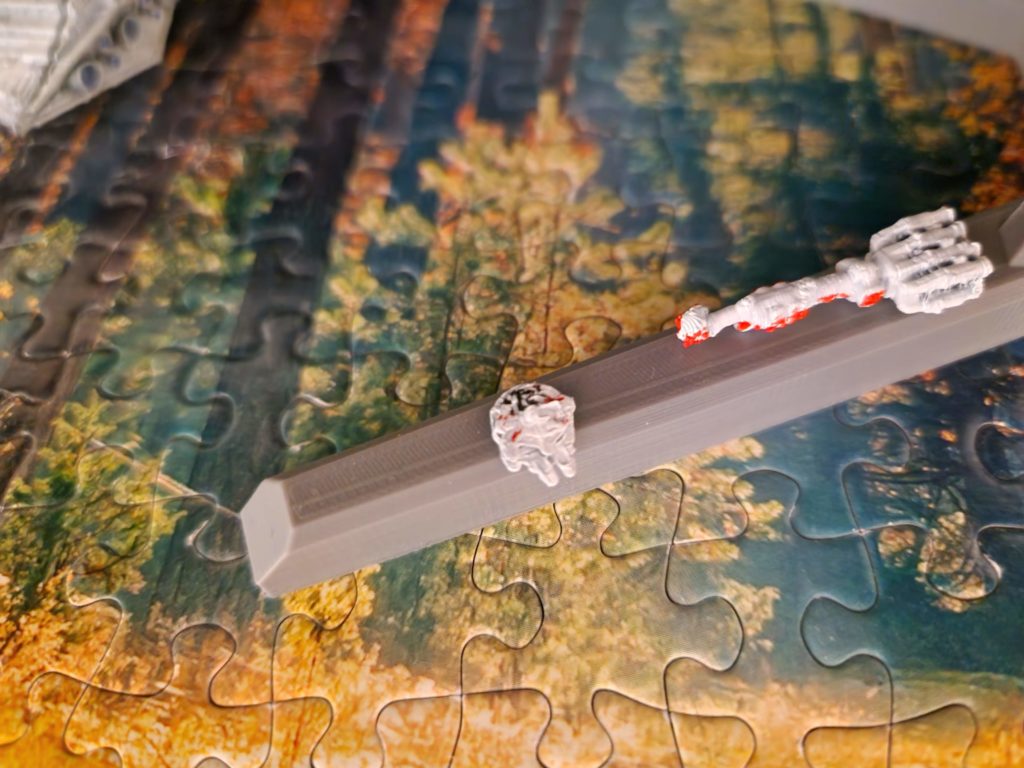
Detailing the Trenches
Use a fine brush to pick out:
- Turbolaser turrets
- Sensor domes
- Small vents and greebles
A dark wash (black or dark grey) helps deepen the mechanical detail.
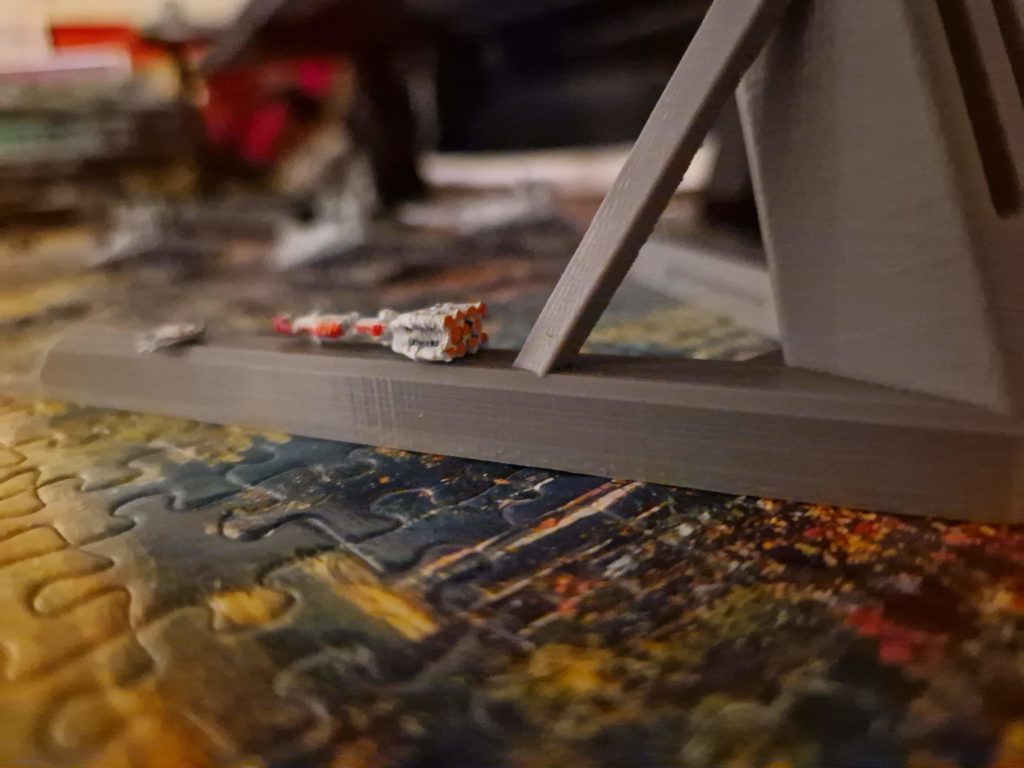
Engines
The engines look best with a glowing effect:
- Base coat in metallic grey
- Add a blue‑white gradient in the center
- Finish with a soft airbrushed glow around the exhausts
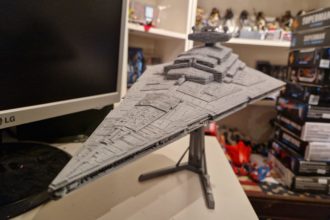
Weathering and Finishing
Washes
A thin black wash settles into panel lines and adds depth.
Dry Brushing
A very light grey dry brush highlights edges and gives the impression of scale.
Final Seal
A matte clear coat protects the paint and removes any unwanted shine.


| M | T | W | T | F | S | S |
|---|---|---|---|---|---|---|
| 1 | 2 | 3 | ||||
| 4 | 5 | 6 | 7 | 8 | 9 | 10 |
| 11 | 12 | 13 | 14 | 15 | 16 | 17 |
| 18 | 19 | 20 | 21 | 22 | 23 | 24 |
| 25 | 26 | 27 | 28 | 29 | 30 | 31 |