
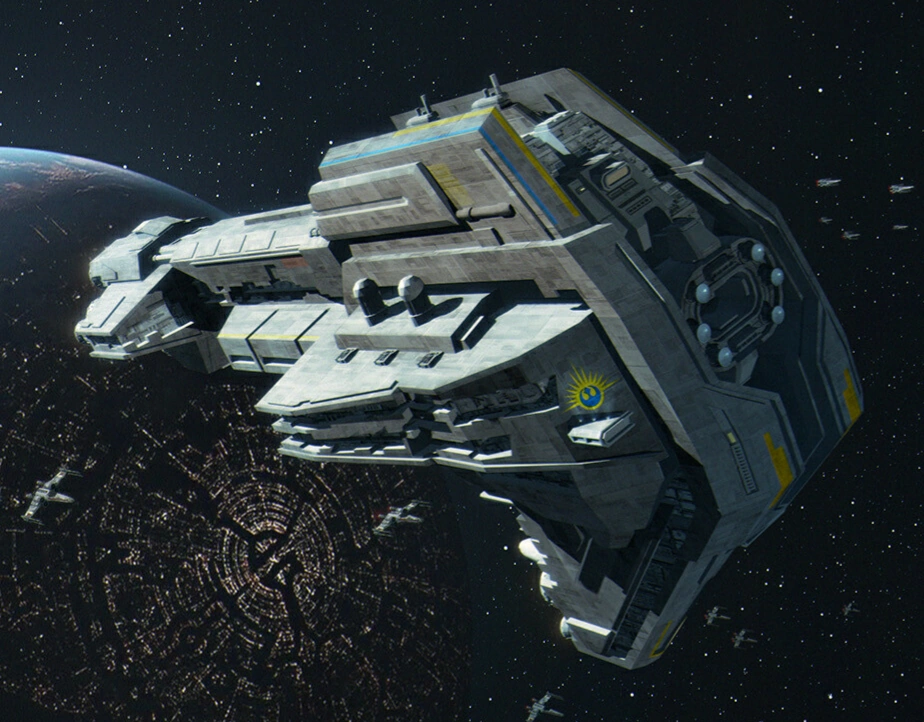
The Starhawk‑class battleship represents one of the New Republic’s boldest engineering achievements a massive warship built from salvaged Imperial Star Destroyer parts and designed specifically to counter the Empire’s most terrifying vessels. In Star Wars: Aftermath and the Battle of Jakku, the Starhawk becomes a symbol of the New Republic’s determination, famously using its powerful tractor‑beam arrays to drag the Super Star Destroyer Ravager out of orbit and into the sands below. Recreating this ship as a large‑scale 3D‑printed model is a project that blends lore, engineering, and craftsmanship.
“The Starhawk wasn’t just a battleship it was the New Republic’s answer to the Empire’s terror. A symbol that even a Super Star Destroyer could fall.”
This worklog documents the complete process of creating a large FDM‑printed Starhawk, including slicing the model into workable STL sections, printing in PLA, assembling the hull, and painting the ship to capture its rugged, kit‑bashed look reflecting its in‑universe construction from Imperial wreckage.
Preparing the Digital Model
Breaking the Starhawk Into Printable Sections
Because the Starhawk is a bulky, heavily armored vessel with a thick hull and large superstructure, the digital model was divided into:
- Forward hull wedge
- Mid‑section armor plates
- Rear engine block
- Upper superstructure and command tower
- Side plating and greeble modules
- Internal support ribs for rigidity
Each STL was cut with alignment keys and internal channels to ensure the final model would be straight and structurally sound.
Ensuring Printability
The Starhawk’s layered armor and angular geometry required careful preparation:
- Reinforced internal walls to prevent flexing
- Support‑free angles where possible
- Tabs and sockets for clean assembly
- Consistent scaling across all sections
This preparation ensured the final model would assemble cleanly and maintain its imposing silhouette.
Printing the Starhawk
Print Settings
To preserve the Starhawk’s heavy armor plating and mechanical detail:
- Layer height: 0.16 mm
- Perimeters: 4–5 for strength
- Infill: 15–20% for large structural parts
- Cooling: reduced on first layers to prevent warping
- Material: PLA in grey or silver for easier finishing
Large hull plates required slow, stable printing to avoid distortion.
Managing Large Prints
Some sections took over 20 hours. To maintain consistency:
- The printer was enclosed to stabilize temperature
- Bed adhesion was reinforced with glue stick or PEI
- Fan speed was tuned to avoid lifting corners
The Starhawk’s thick, flat armor plates are prone to warping, so temperature control was essential.
Post‑Processing and Cleanup
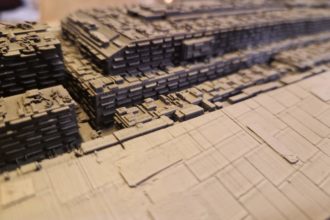
Removing Supports
Supports were used mainly for the superstructure and engine block. These were removed carefully to preserve fine mechanical details.
Sanding and Smoothing
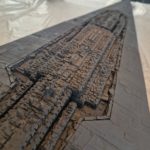
To achieve a forged‑metal look:
- 220 grit to remove layer lines
- 400–600 grit to refine surfaces
- Spot putty for seams and imperfections
- Wet sanding for the final finish
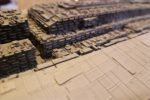
The Starhawk’s armor is rugged, so some texture adds realism.
Test‑Fitting
Before gluing, all major sections were dry‑fitted:
- Hull alignment
- Superstructure fit
- Engine block symmetry
- Side plating continuity
Internal reinforcement rods were added to prevent sagging over time.
Assembly
Joining the Hull
Cyanoacrylate and epoxy were used depending on the stress points. Internal ribs and rods ensured the long structure remained rigid.
Installing the Superstructure
The Starhawk’s upper tower is a defining feature. Each module was aligned so the armor plates and greebles flowed naturally from bow to stern.
Engine Block
The rear engine cluster was assembled and sanded until the profile matched the heavy industrial look described in the novels.
Priming the Model
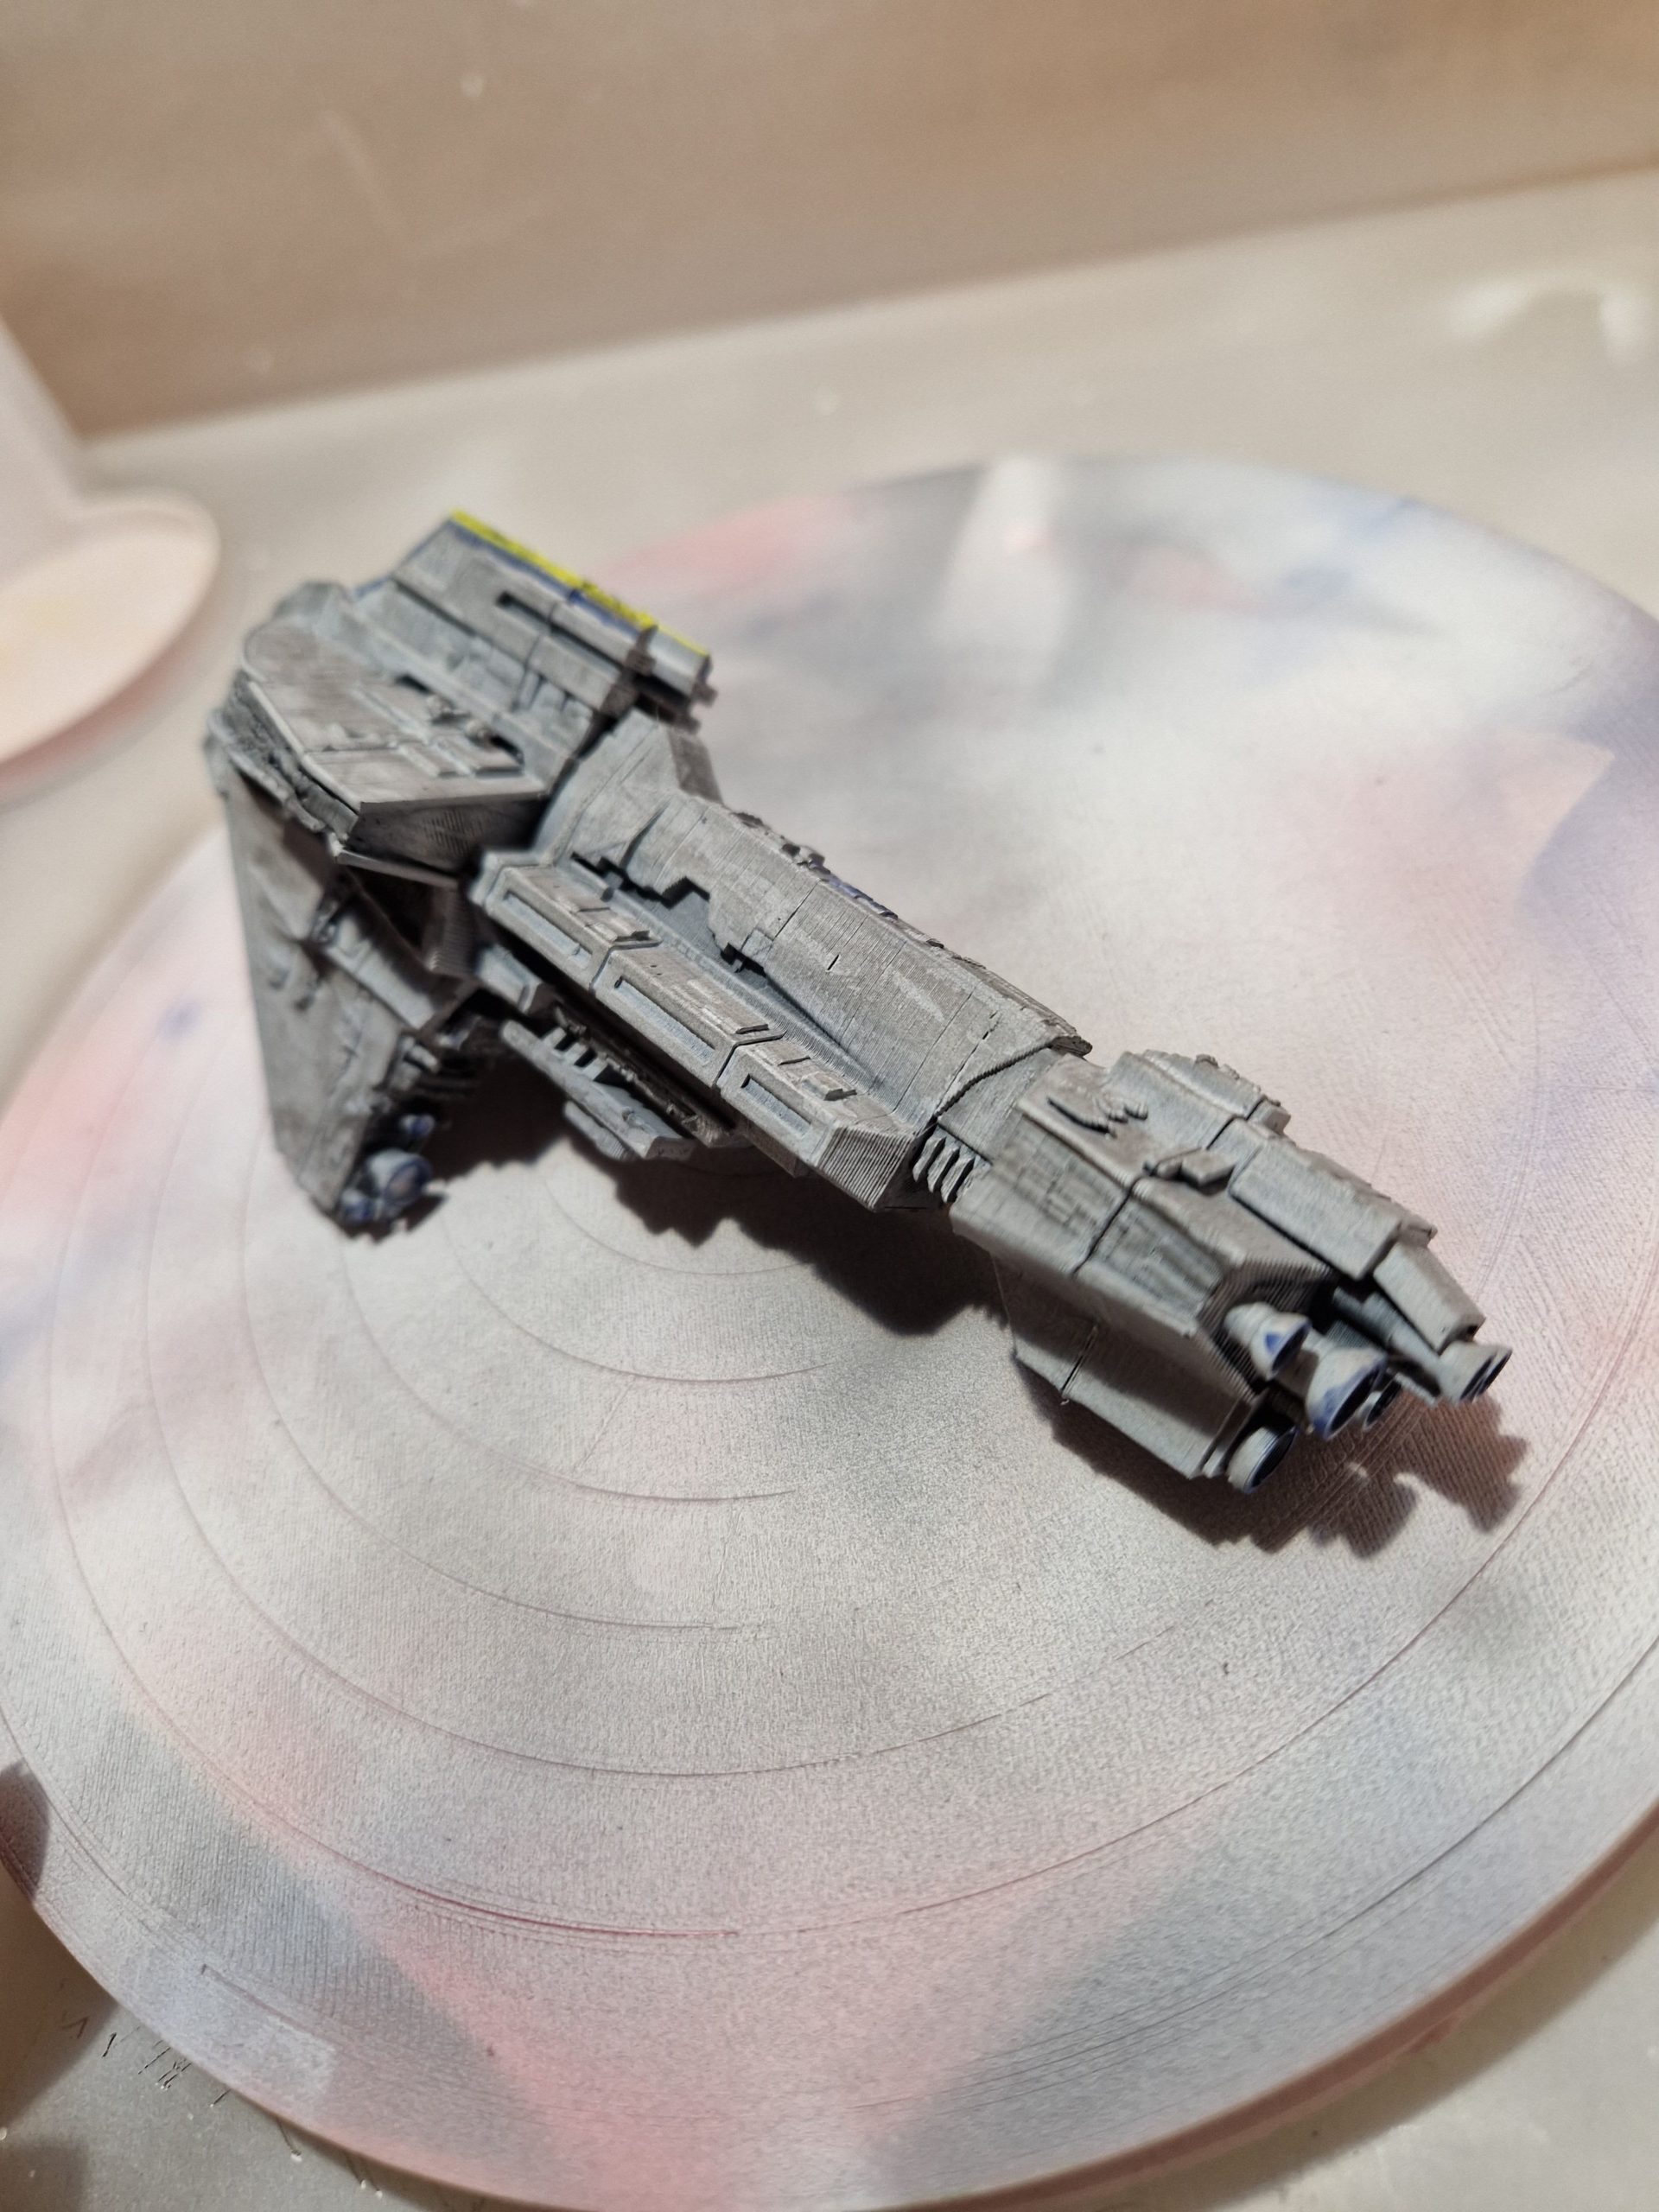
A uniform grey primer coat unified the many printed parts and revealed any remaining imperfections. Seams were filled, sanded, and re‑primed until the entire ship appeared as a single, continuous structure.
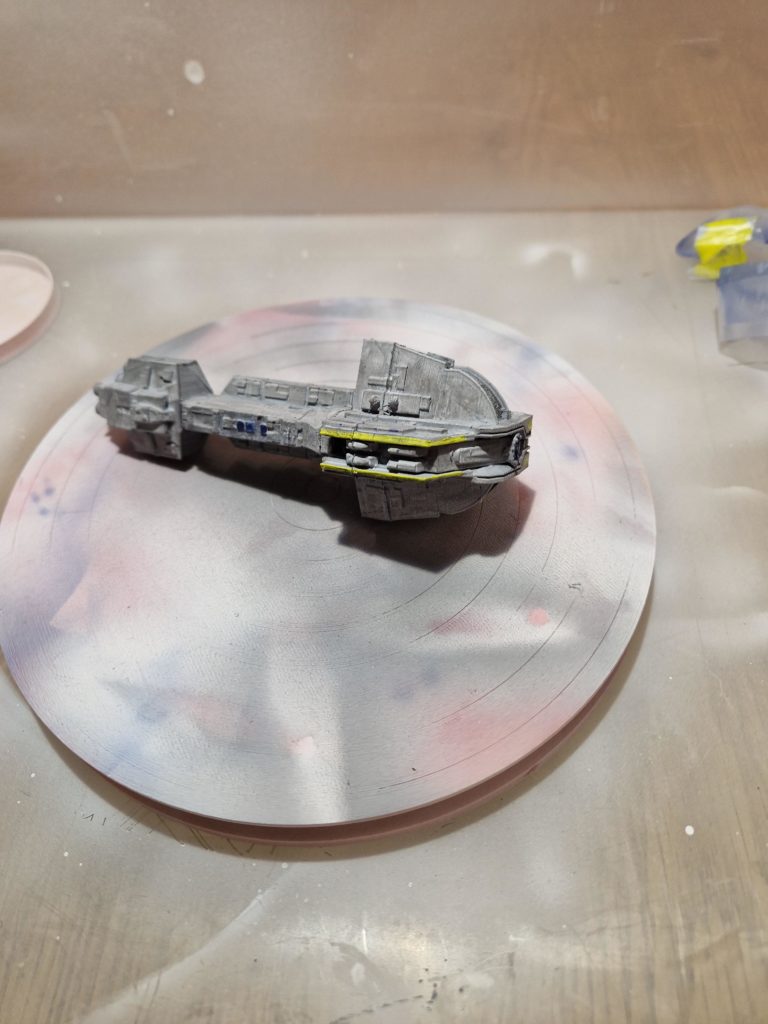
Painting the Starhawk
Base Color
The Starhawk’s hull is a mix of New Republic plating and salvaged Imperial armor. A layered approach works best:
- Base coat of neutral grey
- Subtle blue‑grey panels for New Republic sections
- Slightly warmer grey for salvaged Imperial plates
This creates a patchwork look that reflects the ship’s lore.
Panel Shading
To emphasize scale:
- Darker grey in recesses
- Lighter grey on raised edges
- Subtle shading along the hull spine
The Starhawk is a massive warship, so weathering should be heavy but controlled.
Detailing the Greebles
Fine brushes were used to highlight:
- Turbolaser batteries
- Sensor arrays
- Mechanical greebles
- Tractor‑beam emitters
A dark wash deepened shadows and brought out the complexity of the surface detail.
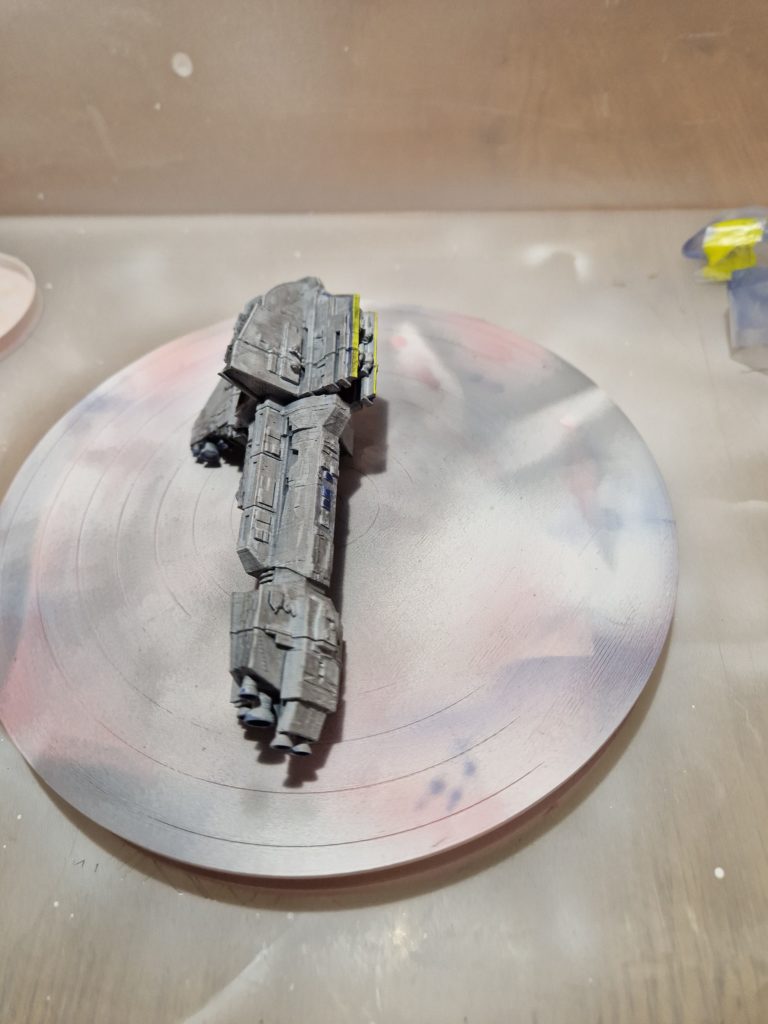
Engine Glow
The engines were painted with:
- Metallic base
- Blue‑white gradient
- Soft airbrushed glow
This recreates the Starhawk’s powerful sublight engines as described in the novels.
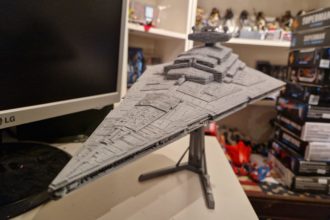
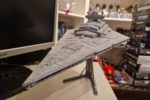
Final Assembly and Display
Once painted, all components were permanently joined. The final model captures the Starhawk’s imposing presence the same ship that helped bring down the Ravager during the Battle of Jakku and marked the turning point of the Galactic Civil War.
A custom stand supports the model and displays it at a slight upward angle, emphasizing its heavy, industrial silhouette.


One Comment
Lorem ipsum dolor sit amet, consectetur adipisicing elit. Minima incidunt voluptates nemo, dolor optio quia architecto quis delectus perspiciatis. Nobis atque id hic neque possimus voluptatum voluptatibus tenetur, perspiciatis consequuntur.